Skip to content
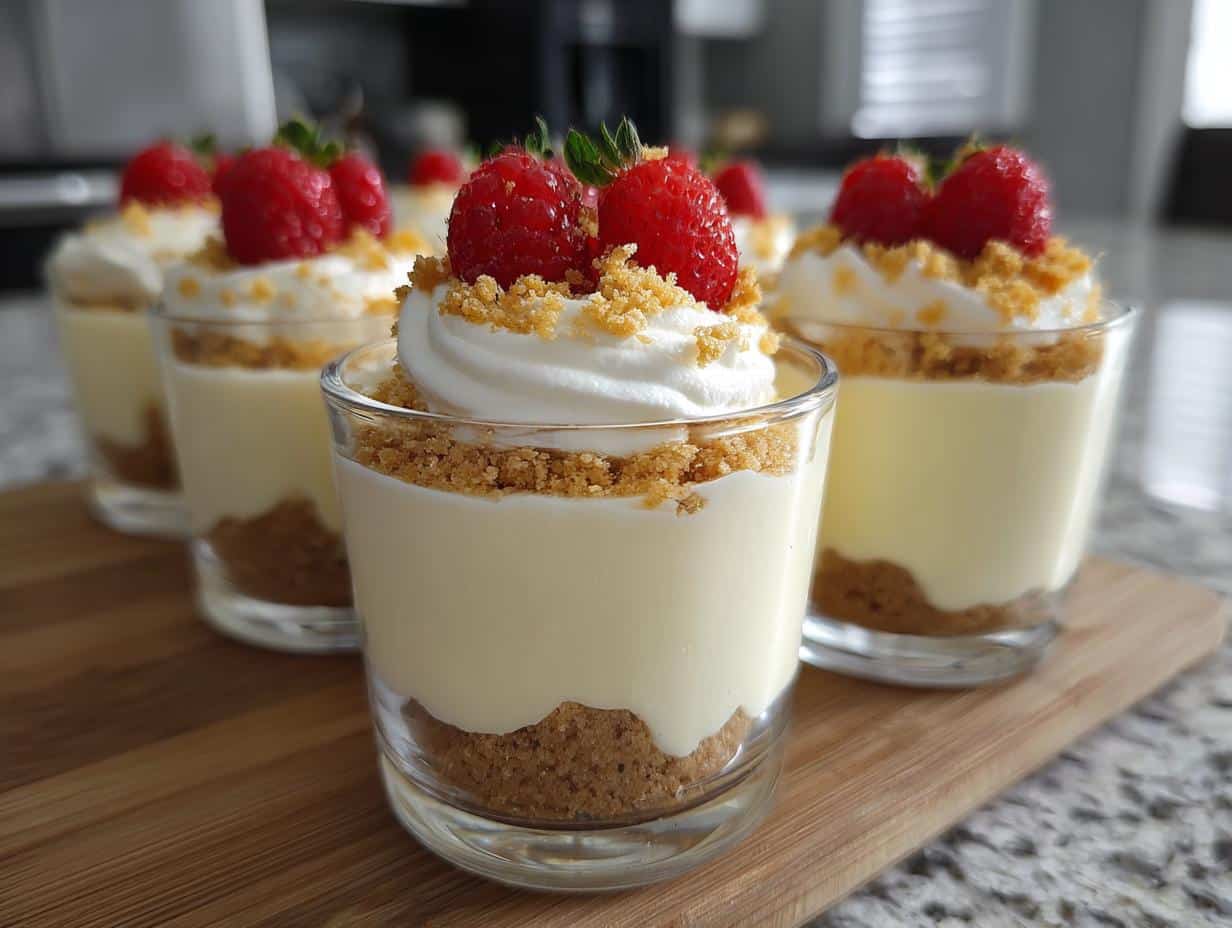
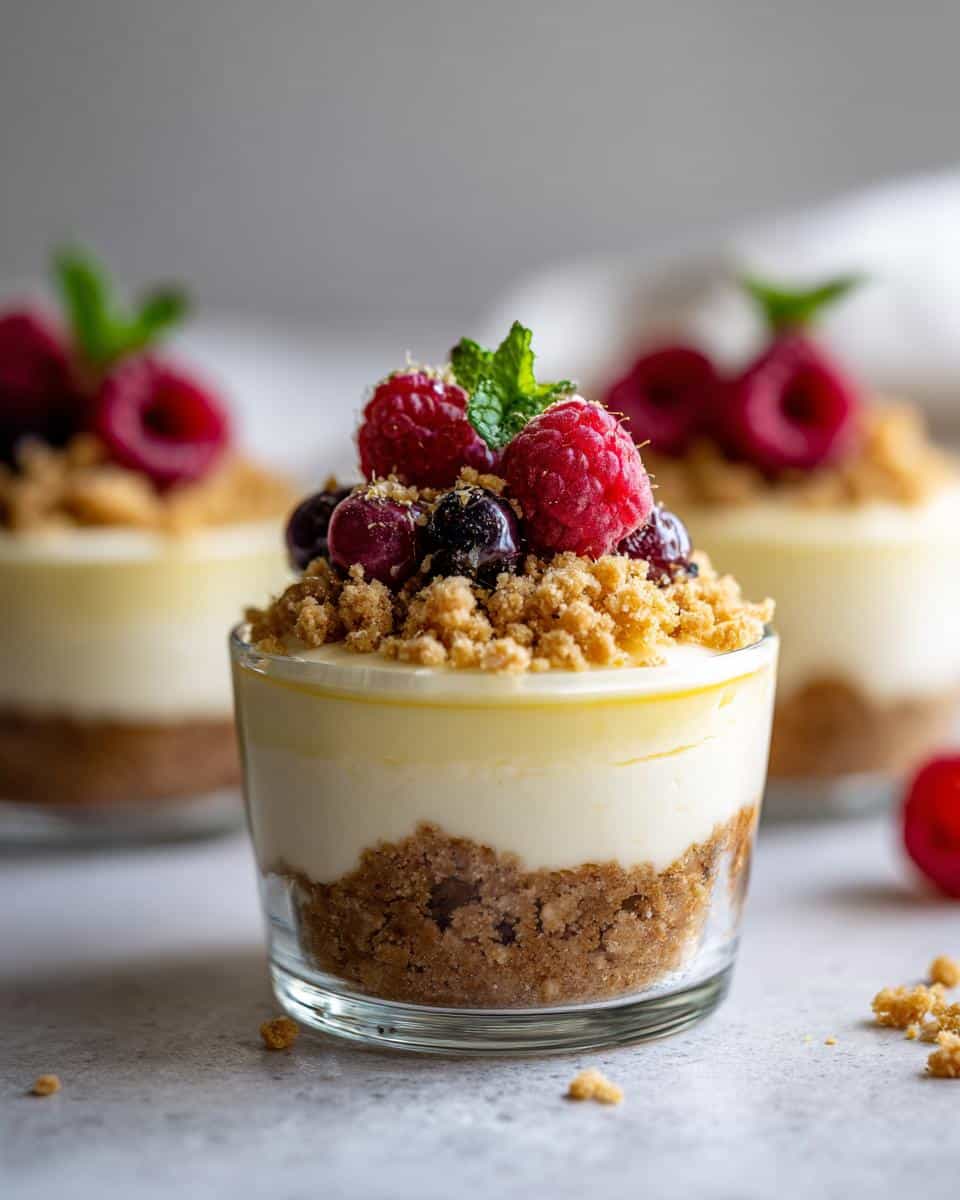
Let me tell you about the time these No-Bake Cheesecake Cups saved my sanity. It was a Saturday afternoon, and I’d completely forgotten I’d promised to bring dessert to a friend’s potluck. Panic set in—until I remembered this lifesaver of a recipe. No oven, no fuss, just creamy, dreamy cheesecake in individual cups. I whipped them up in 15 minutes, popped them in the fridge, and by the time I arrived, they were perfectly set. Everyone raved about the smooth texture and buttery crust. Honestly, after years of making desserts, this has become my go-to for quick, impressive treats. Trust me, you’ll love how easy and delicious these are!
Ingredients for No-Bake Cheesecake Cups
Here’s everything you’ll need to make these creamy, dreamy cheesecake cups:
- 1 cup graham cracker crumbs
- 4 tbsp melted butter
- 8 oz cream cheese, softened
- 1/2 cup sugar
- 1 tsp vanilla extract
- 1 cup whipped topping
Ingredient Notes
Let’s talk about the details! First, graham cracker crumbs—I always use store-bought for convenience, but if you’ve got whole crackers, just crush them finely. Make sure to pack the crumbs when measuring for the perfect crust. Softened cream cheese is a must—it blends smoothly without lumps. If you’re dairy-free, vegan cream cheese works great too! And don’t skip the whipped topping—it keeps the filling light and fluffy. For a twist, try flavored whipped toppings like coconut or chocolate. These little swaps can make a big difference!
How to Make No-Bake Cheesecake Cups
Okay, let’s get to the fun part—making these little cups of joy! The best thing about this recipe? It’s practically foolproof, but I’ve got some tricks to make sure yours turn out perfect every time.
Step 1: Prepare the Crust
First, grab your graham cracker crumbs and melted butter—mix them together until they look like wet sand. Now, here’s my secret: press the crumbs firmly into the bottom of your cups with the back of a spoon. Don’t be shy! A tight-packed crust means no crumbling when you take that first heavenly bite.
Step 2: Mix the Filling
Next up, the filling. Beat that softened cream cheese until it’s completely smooth—no lumps allowed! This is where patience pays off. Once it’s creamy, add the sugar and vanilla, then beat again until it’s silky. Gently fold in the whipped topping until everything’s combined. Taste-testing here is basically mandatory (wink).
Step 3: Layer and Chill
Spoon the filling over your crusts—I like to use a piping bag for neat layers, but a spoon works just fine. Now, the hardest part: waiting! Pop them in the fridge for at least 2 hours. Trust me, rushing this step is the only way to mess these up. The chill time lets the magic happen—creamy, set, perfection.
Tips for Perfect No-Bake Cheesecake Cups
Want your cheesecake cups to be next-level amazing? Here are my hard-earned tricks! First, pop your metal mixing bowl in the freezer for 10 minutes before whipping the filling—cold bowls make everything fluffier. A piping bag isn’t just for fancy bakers—it gives you gorgeous, even layers without the mess. Oh, and if your crust feels too crumbly? Add an extra tablespoon of melted butter. Last tip: wipe your knife with hot water before slicing for clean, Instagram-worthy edges. Trust me, these little touches make all the difference!
Variations for No-Bake Cheesecake Cups
Oh, the possibilities! These cheesecake cups are like a blank canvas—you can dress them up a million ways. My favorite? A little lemon zest whisked into the filling for a bright, tangy twist. Or go wild with a chocolate drizzle—just melt some chocolate chips and swirl it over the top before chilling. Feeling fancy? Top each cup with homemade berry compote (I swear by raspberry!). Crushed Oreos instead of graham crackers? Yes, please. Heck, sprinkle some toasted coconut or chopped nuts for crunch. The best part? No baking means you can experiment without fear. Just don’t blame me when you can’t stop making them!
Serving Suggestions
Now for the best part—eating these beauties! I love piling fresh berries on top—strawberries, raspberries, or blueberries add a pop of color and freshness. A sprig of mint makes them look fancy with zero effort. Or go full indulgence with warm caramel sauce drizzled over the top. Sometimes I’ll even crush extra graham crackers for a little crunch. Honestly? They’re amazing plain too—just grab a spoon and dig in!
Storing No-Bake Cheesecake Cups
Here’s the good news—these little cups keep beautifully! Just pop them in an airtight container (I love using those glass ones with snap-on lids) and they’ll stay fresh in the fridge for up to 3 days. Now, I know what you’re thinking—can you freeze them? Honestly, I wouldn’t. That gorgeous creamy texture turns a bit grainy after freezing. But hey, they’ve never lasted more than a day in my house anyway—between hungry kids and midnight snack attacks, they disappear fast!
Nutritional Information
Just so you know, each cheesecake cup clocks in around 320 calories—but who’s counting when they taste this good? Keep in mind, these numbers are estimates. Different brands of cream cheese or whipped topping can tweak the totals. My advice? Enjoy every creamy bite guilt-free!
Frequently Asked Questions
Q1. Can I use yogurt instead of whipped topping?
Oh, I’ve tried this! Greek yogurt works in a pinch, but it’ll give you a tangier, denser texture. If you go this route, strain the yogurt first to remove excess liquid. Honestly though, whipped topping is what gives that dreamy lightness we all love.
Q2. My cheesecake cups are too soft—what went wrong?
Two likely culprits: either your cream cheese wasn’t fully softened before mixing (lumps = uneven texture) or you didn’t chill them long enough. Those 2 hours are non-negotiable! Also, make sure your whipped topping was thawed but still cold when folded in.
Q3. Can I make these gluten-free?
Absolutely! Swap graham crackers for gluten-free cookies (I love using gluten-free Oreos or shortbread). Just crush them the same way—the buttery crust will still be perfection.
Go ahead—whip up these no-bake cheesecake cups tonight! I promise you’ll love how easy and delicious they are. Snap a pic and tag me—I’d love to see your creations!