Skip to content
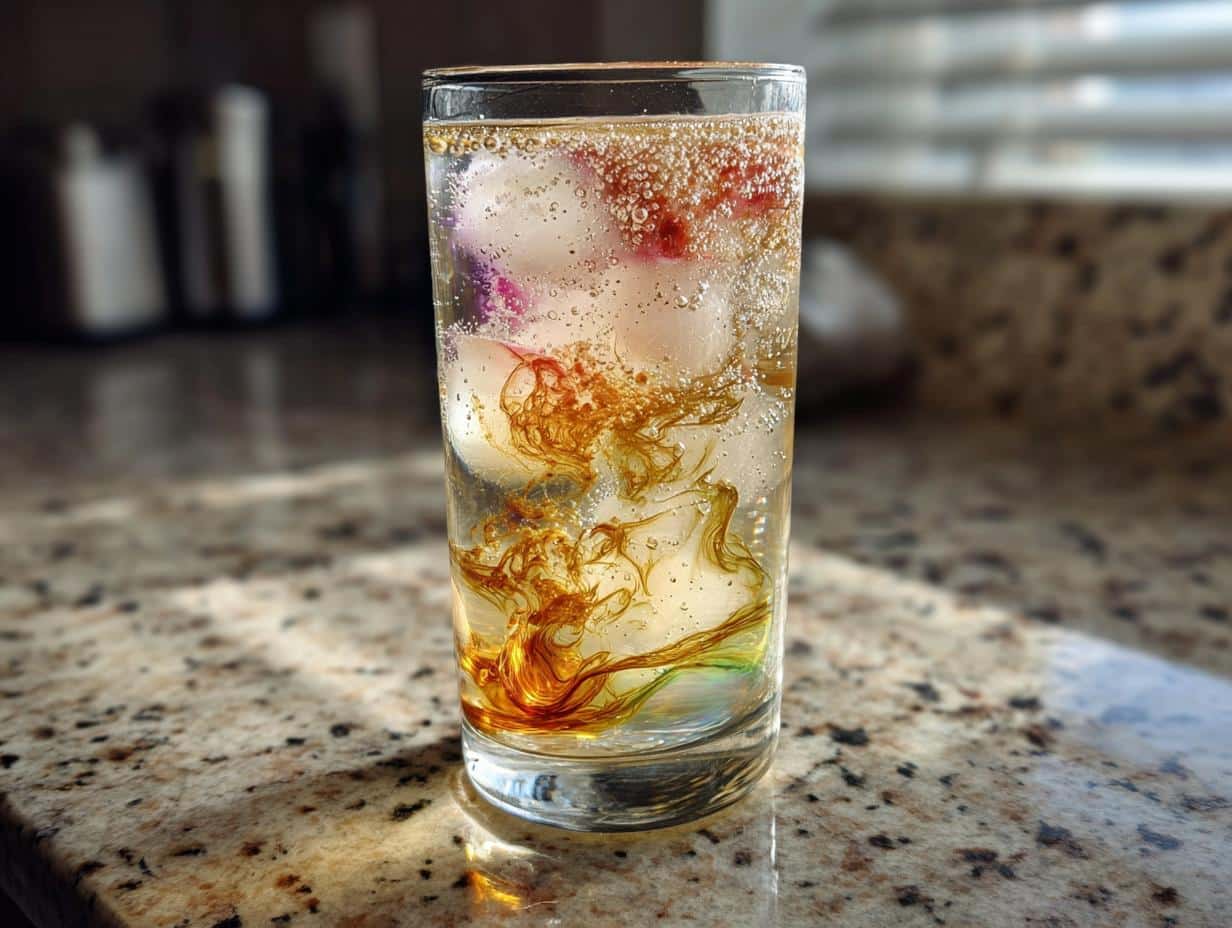
Oh my gosh, you have to try these Mummy Bubbles! They’re the fizziest, most fun drink I’ve ever whipped up – and trust me, I’ve made a lot of silly drinks for my kids. What I love is how ridiculously simple it is – just a few ingredients you probably have right now, and boom! You’ve got a magical, bubbling potion that’ll make everyone smile. The best part? You can customize it with any juice you like, so it’s perfect for picky drinkers (we’ve all got those).
Table of contents:
Ingredients for Mummy Bubbles
Okay, let’s gather our magic potion ingredients! Here’s what you’ll need for the fizziest Mummy Bubbles around:
- 1 cup soda water (this is where all those fun bubbles come from!)
- 1/2 cup fruit juice (go wild here – orange, apple, even cranberry works beautifully)
- 1 tablespoon honey (or more if you’ve got a sweet tooth – I sometimes sneak in an extra teaspoon)
- Ice cubes (lots of ’em – we want this drink ice-cold and refreshing)
That’s it – just four simple things! I love how most of these are pantry staples or things I always have in the fridge. Pro tip from my kitchen disasters: make sure your soda water is nice and chilled before mixing, or you’ll lose some of that wonderful fizz.
How to Make Mummy Bubbles
Alright, let’s make some magic happen! This is where the simple ingredients transform into something truly special. I’ve made this drink so many times I could do it in my sleep, but I’ll walk you through each step carefully – promise it’s foolproof!
Step 1: Prepare the Glass
First things first – grab your favorite drinking glass (I’m partial to mason jars for that rustic charm) and fill it to the brim with ice cubes. And I mean really pack them in there! The colder your drink stays, the longer those delightful bubbles will last. Learned this the hard way when my first attempt turned flat in minutes.
Step 2: Add the Base Ingredients
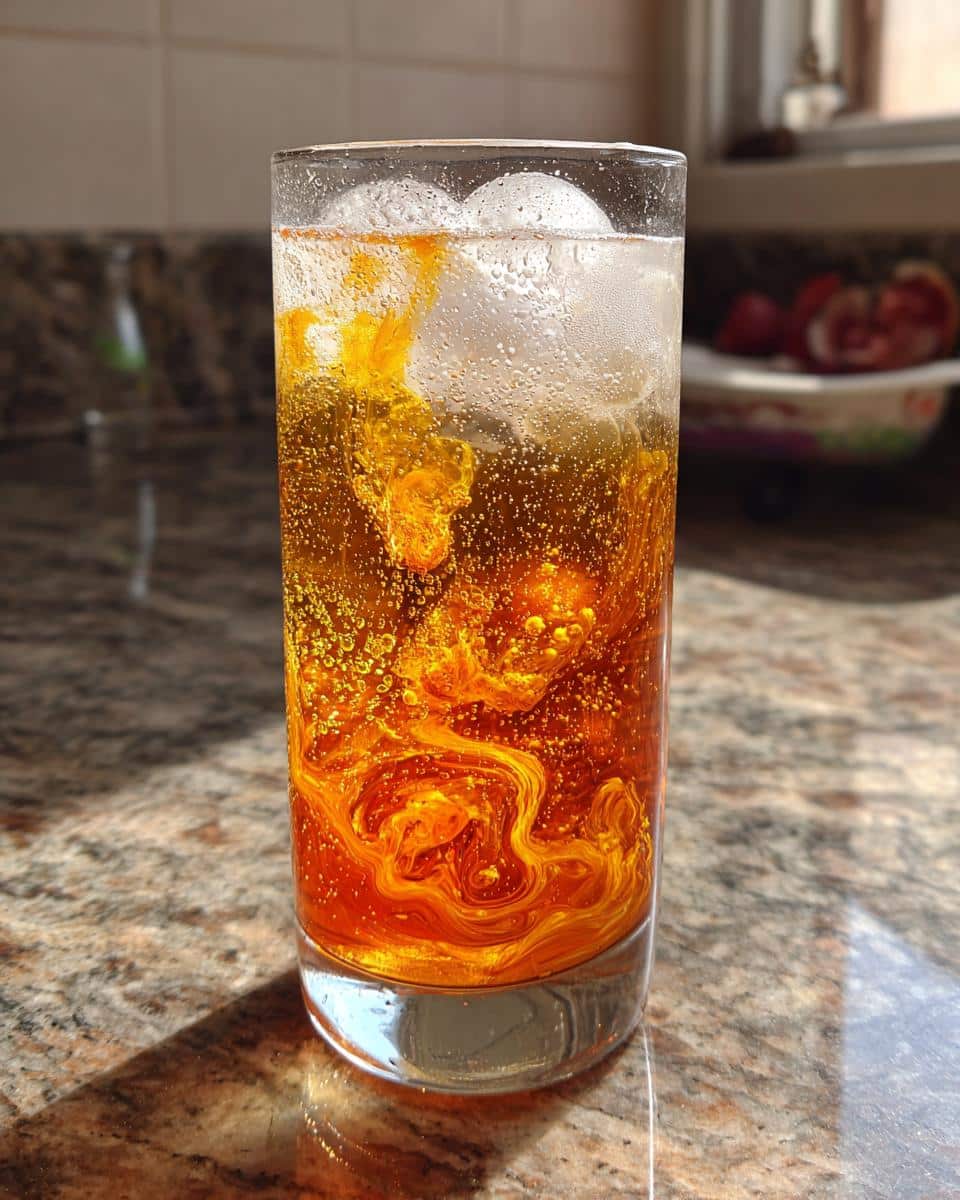
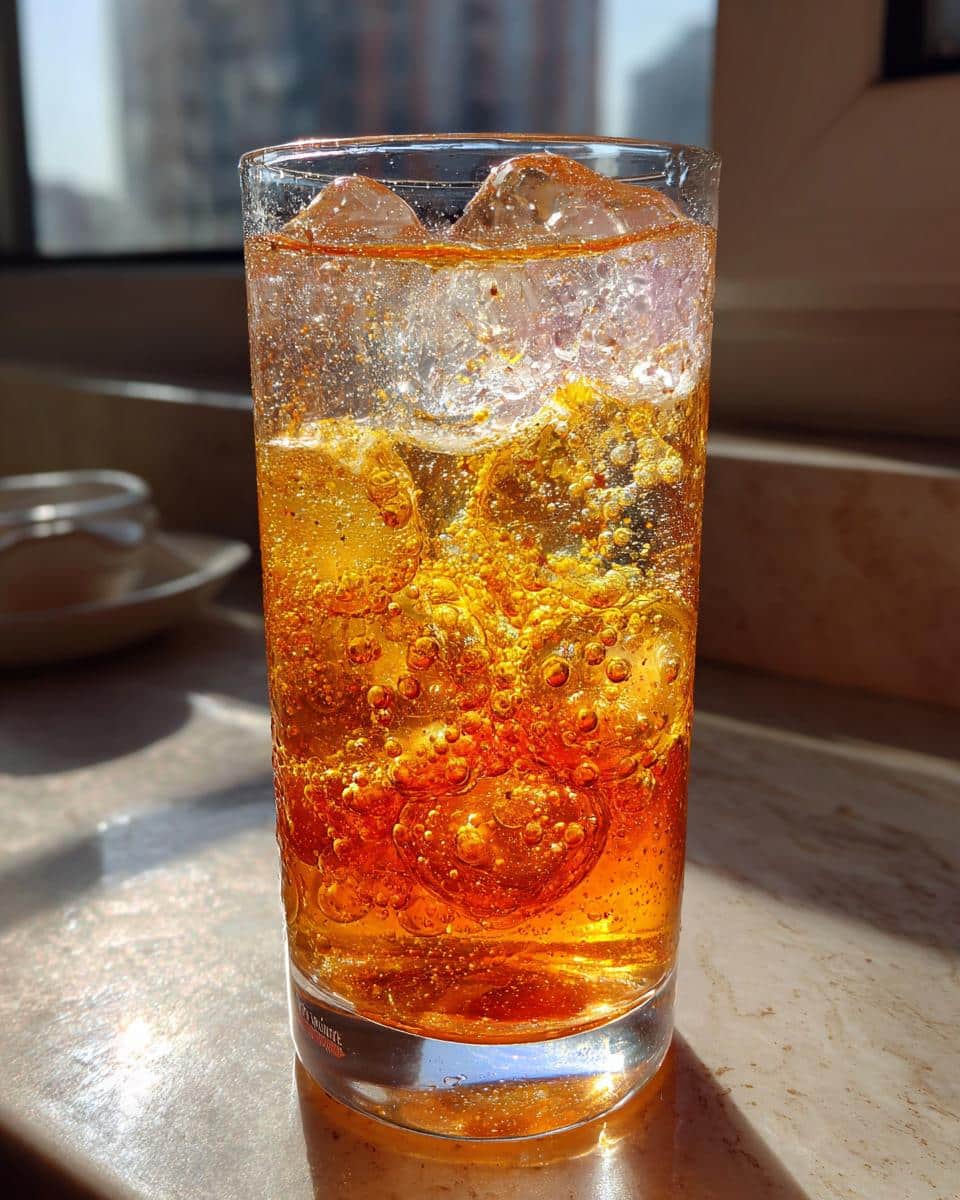
Now pour that fizzy soda water over the ice – listen for that satisfying crackle! Then gently add your fruit juice. I like to pour it down the side of the glass to create pretty layers before mixing. Pro tip: Use chilled juice so it doesn’t melt your ice too fast. The ratio here is key – too much juice and you’ll overpower the bubbles, too little and it’s just fizzy water.
Step 3: Sweeten and Mix
Here comes the magic touch! Drizzle in your honey and give it a gentle stir with a long spoon. Don’t go wild with stirring – we want to preserve those bubbles! Taste as you go – some juices are sweeter than others, so adjust the honey accordingly. My kids always fight over who gets to do this step because they love watching the honey swirl through the drink.
Step 4: Serve Immediately
No waiting around – Mummy Bubbles are at their absolute best the moment you finish mixing. That’s when the bubbles are liveliest and the flavors brightest. Hand it to your lucky drinker with a fun straw and watch their eyes light up as the bubbles dance! Trust me, the “oohs” and “aahs” make all this simple effort totally worth it.
Tips for Perfect Mummy Bubbles
After making approximately a zillion of these drinks (okay, maybe just dozens), I’ve picked up some tricks that take Mummy Bubbles from good to “wow, can I have another?” Here are my absolute must-know tips:
Chill everything first! I can’t stress this enough – warm soda water equals sad, flat bubbles. Keep your juice and soda water in the fridge until the very last second. I even pop my glass in the freezer for 5 minutes if I’m feeling fancy. Cold ingredients mean maximum fizziness that lasts way longer.
Experiment with juices – this is where the real fun begins! My kids go nuts for pineapple juice Mummy Bubbles, while I’m partial to tart pomegranate. Try mixing juices too – half orange, half cranberry makes a gorgeous sunset-colored drink. Just steer clear of super pulpy juices unless you want texture (learned that one the messy way).
Adjust sweetness carefully – honey can be tricky to mix into cold drinks. If it’s not dissolving well, I’ll microwave the honey for literally 5 seconds first (just enough to loosen it up). Or try agave syrup if you want something that blends easier. Taste as you go – some juices are plenty sweet on their own!
Serve with style – presentation matters! A colorful straw, a fun umbrella, or even just a slice of fruit on the rim turns this simple drink into a celebration. My personal favorite? Freeze small berries in your ice cubes for edible decorations that pop as they melt.
Variations of Mummy Bubbles
Oh, the possibilities! Once you’ve mastered the basic Mummy Bubbles recipe, it’s time to get creative. Here are some of my favorite twists that’ll make your fizzy drink even more exciting:
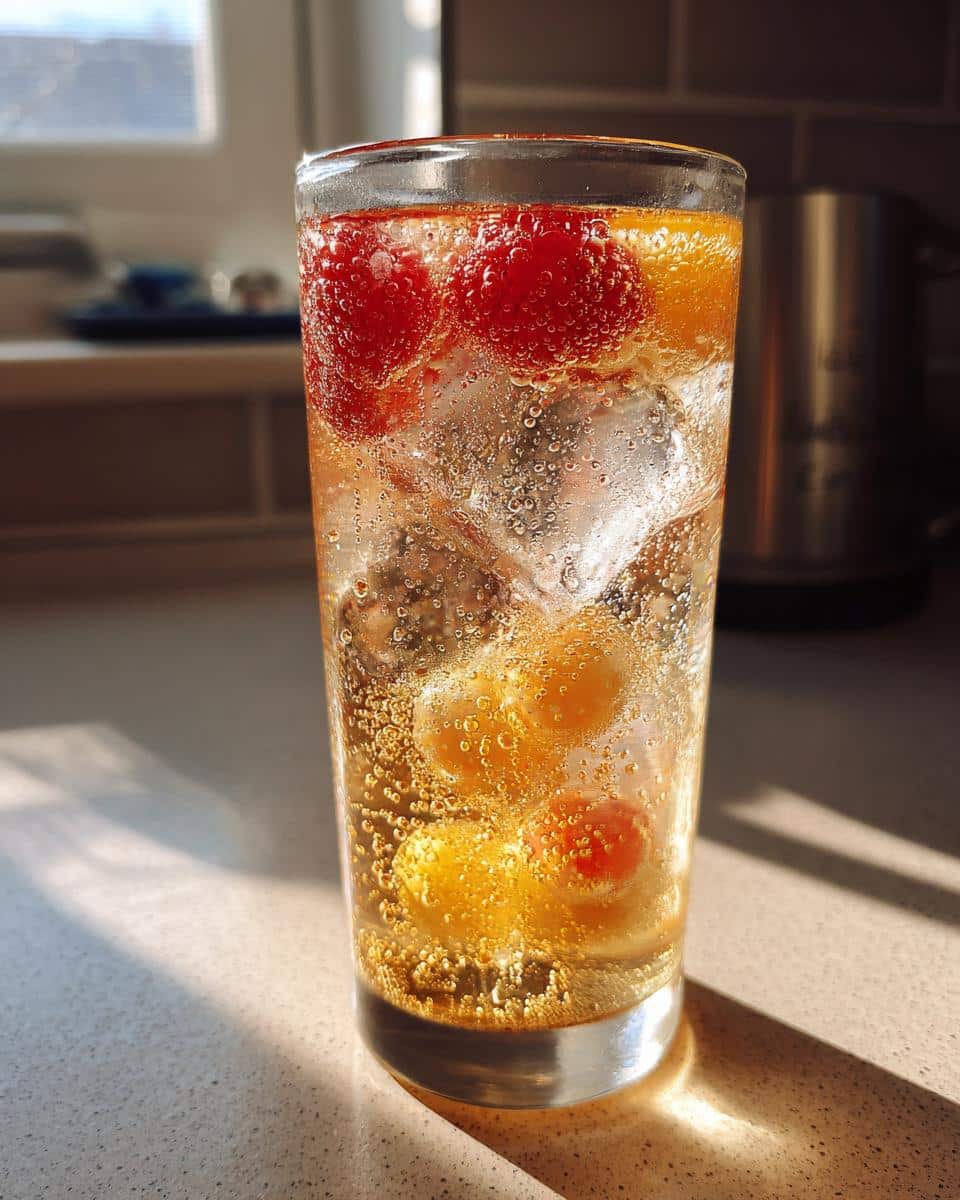
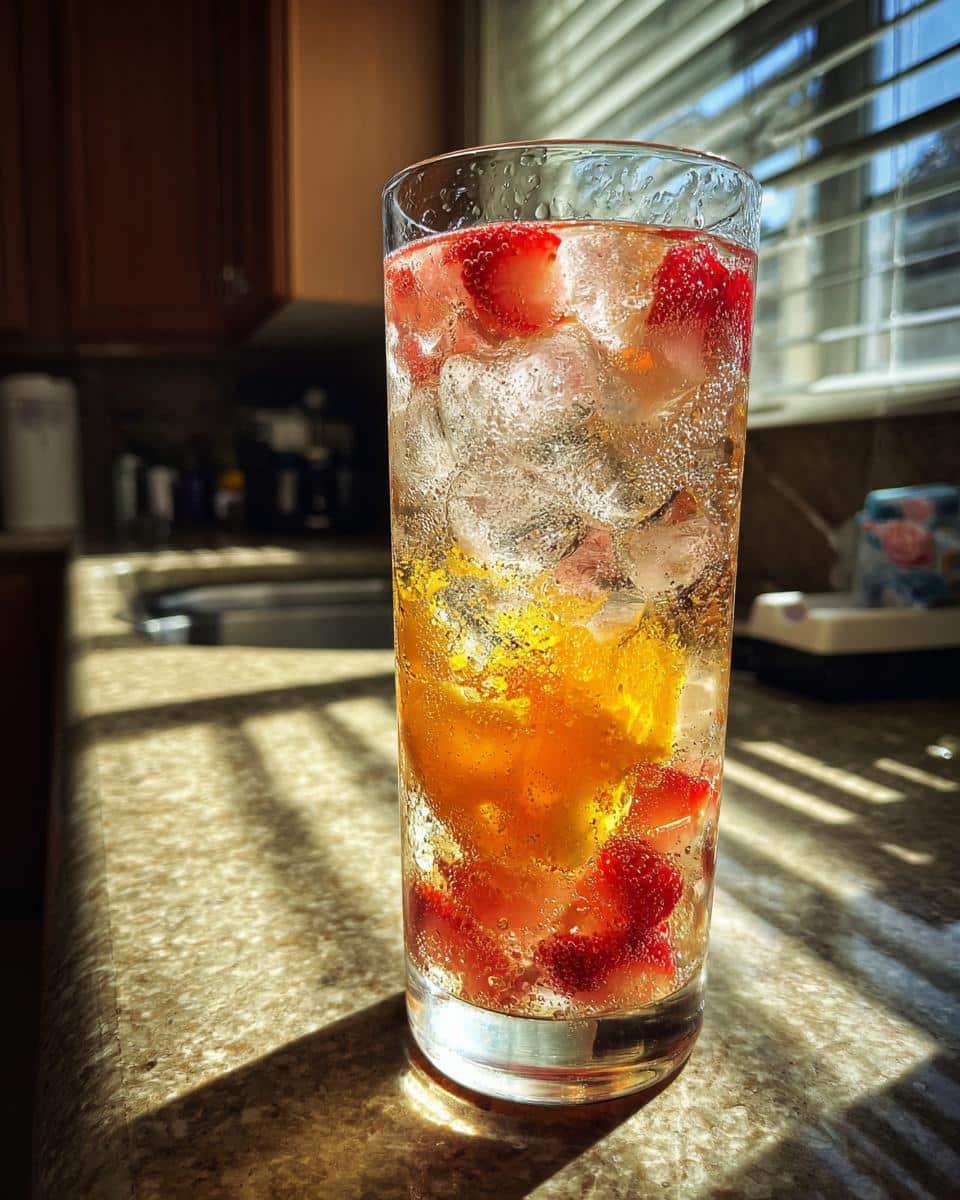
Fruity Explosion: Toss in fresh fruit slices for extra flavor and a pretty presentation. My kids go crazy when I add orange wheels or strawberry slices – they bob up and down with the bubbles like little edible buoys. Frozen berries work wonders too, chilling the drink as they thaw.
Tropical Twist: Swap regular fruit juice for coconut water or pineapple juice, then add a splash of lime. Suddenly you’re on a beach vacation! A tiny sprinkle of toasted coconut flakes on top makes it extra special (just don’t tell the kids it’s healthy).
Herbal Magic: Muddle some fresh mint or basil leaves before adding your liquids. The herbal notes play beautifully with the sweetness – my husband calls this the “grown-up” version. Rosemary works surprisingly well too, especially with apple juice.
Sparkling Colors: Use naturally colorful juices like blueberry or blackcurrant for dramatic effect. Add a few drops of food coloring if you’re feeling extra festive (purple Mummy Bubbles for Halloween, anyone?). Just watch out – the more vibrant the color, the more likely it’ll stain clothes!
The beauty of Mummy Bubbles is how easily you can make it your own. Next time you’re feeling adventurous, try mixing juices or adding a splash of vanilla extract. Every new combination feels like a delicious science experiment! Check out more recipes for more inspiration.
Serving Suggestions for Mummy Bubbles
Now that you’ve got your Mummy Bubbles perfectly fizzed, let’s talk about how to serve them for maximum enjoyment! This drink is so versatile – it fits any occasion from casual playdates to fancy brunches. Here are my favorite ways to present and pair these magical bubbles:
Kids’ Parties: This is where Mummy Bubbles truly shine! Serve them in clear plastic cups with crazy straws for birthday bashes. I love setting up a “create your own” station with different juices and toppings – let the little ones mix their own potions. Pair with simple finger foods like mini sandwiches or cheese cubes to balance the sweetness.
Sunday Brunch Upgrade: Who says mimosas get all the fun? Pour Mummy Bubbles into champagne flutes for a fancy (but kid-friendly) brunch drink. They’re perfect with pancakes or French toast – the bubbles cut through the richness beautifully. Add a raspberry or blackberry to each glass for an elegant touch that’ll impress your guests.
After-School Treat: Nothing beats the look on kids’ faces when they come home to find Mummy Bubbles waiting! I like to serve these with homemade popcorn or graham crackers for a simple snack. The fizzy sweetness helps transition from school mode to relax time (and keeps tiny hands busy while I start dinner).
Movie Night Magic: Swap out soda for Mummy Bubbles during family movie nights! The individual servings mean no fighting over drinks, and the fun colors make even regular popcorn feel special. Pro tip: Use glow-in-the-dark cups for extra excitement during the film.
Summer Picnic Perfection: These travel surprisingly well in mason jars with tight lids! Pack them in your cooler alongside fresh fruit, cheese, and crusty bread for a picnic that feels gourmet without the work. The bubbles stay fizzy longer than you’d expect – just give the jar a gentle shake before drinking.
Storing and Reheating Mummy Bubbles
Okay, let’s be real – Mummy Bubbles are absolutely meant to be enjoyed fresh, when those bubbles are dancing their happiest dance. But life happens! Maybe you got overzealous and mixed up a big batch, or perhaps you’re prepping for a party. Here’s how to handle leftovers (if you’re lucky enough to have any!).
Short-term storage: If you must save some, skip the ice and mix everything except the soda water first. Keep this “base” in a sealed container in the fridge – it’ll hold beautifully for a day or two. When you’re ready to serve, pour over fresh ice and top with soda water. The fizz won’t be quite as intense, but it’s still delicious!
What not to do: Never store fully mixed Mummy Bubbles – the carbonation will disappear faster than my kids’ allowance money. And whatever you do, don’t try freezing it! Learned this lesson the messy way when my experimental popsicles turned into sticky shards of sadness.
Reheating? Nope nope nope – this is strictly a cold drink situation. If your leftovers got warm, just start fresh. Trust me, warm honey-sweetened juice with flat soda water isn’t a taste adventure anyone wants!
The best strategy? Mix only what you’ll drink right away. Part of Mummy Bubbles’ magic is that instant gratification – watching it come together and sipping immediately. But now you know how to handle those rare occasions when you’ve got leftovers!
Nutritional Information for Mummy Bubbles
Alright, let’s talk numbers – but don’t worry, I’ll keep it simple and painless! Here’s the basic nutritional breakdown for a standard glass of Mummy Bubbles (using orange juice and honey, since that’s how we usually make it in my house):
- Calories: About 120 per serving
- Sugar: Around 25g (mostly from the natural fruit sugars)
- Sodium: Just 10mg – practically nothing!
- Fat: Zero, zip, nada
- Carbohydrates: Approximately 30g
Now here’s the important part – these numbers can change a lot depending on your ingredients! Use apple juice instead of orange? That’ll knock the sugar content down. Swap honey for agave? Different calorie count. My pineapple version tends to be sweeter, while cranberry makes it more tart with fewer carbs.
I like to think of Mummy Bubbles as a “better-for-you” alternative to soda – you’re getting actual fruit juice instead of just syrup and artificial flavors. But hey, we’re not health nuts here – sometimes you just want a fun, fizzy treat! The key is balance (and maybe chasing it with some carrot sticks to make mom happy).
Frequently Asked Questions About Mummy Bubbles
I’ve gotten so many questions about Mummy Bubbles over the years – here are the ones that pop up most often, with all my hard-earned answers!
Can I use something besides honey?
Absolutely! Maple syrup works beautifully, and agave nectar blends in super easily. For a sugar-free version, try a liquid stevia drop or two – just taste as you go since it’s much sweeter than honey. My neighbor swears by date syrup, though I haven’t tried that yet!
Is club soda or seltzer okay instead of soda water?
Yes indeed – they’re basically the same thing! Any plain carbonated water will give you those magical bubbles. Just avoid tonic water unless you want a bitter surprise (learned that one the hard way at a sleepover).
What if my kids don’t like fizzy drinks?
No problem – let the soda water sit for 5 minutes to go slightly flat before mixing. The flavor’s still great, just without the tickly bubbles. My niece prefers it this way, calling it “Mummy Puddles” instead!
Can I make a big batch for parties?
You can, but mix it in stages! Prepare the juice and sweetener ahead, then add soda water to individual glasses right before serving. I once made a giant pitcher version that turned into sad, flat juice after 20 minutes – total party fail!
Are there any juices that don’t work well?
Super pulpy juices can make the texture weird, and super tart ones like pure lemon or lime need extra sweetener. I avoid vegetable juices (tomato Mummy Bubbles? No thank you!). But honestly, most fruit juices work great – even weird combos like pear or guava!
Now Go Make Some Mummy Bubbles Magic!
Okay, you’ve got all my secrets – now it’s your turn to create some fizzy fun! I can’t wait for you to experience that first sip of homemade Mummy Bubbles. Seeing those little faces light up when the bubbles start dancing? Pure magic every single time.
Don’t be afraid to play around with the recipe – that’s half the fun! Some of my best versions came from happy accidents (who knew watermelon juice could be so good?). And seriously, send me pictures of your creations! I live for seeing how other families put their own spin on this simple drink. You can find more ideas on Pinterest!
One last tip before you go – make extra. Because once your crew gets a taste, they’ll be begging for refills. Trust me, I speak from experience! Now grab those ingredients and start bubbling. Can’t wait to hear how your Mummy Bubbles adventure turns out!
Print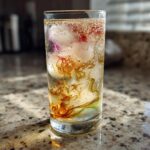
3-Ingredient Mummy Bubbles – Irresistible Fizzy Fun for Kids
- Total Time: 5 minutes
- Yield: 1 serving
- Diet: Vegetarian
Description
A fun and fizzy drink that kids and adults will love.
Ingredients
- 1 cup soda water
- 1/2 cup fruit juice
- 1 tablespoon honey
- Ice cubes
Instructions
- Fill a glass with ice cubes.
- Pour soda water into the glass.
- Add fruit juice.
- Stir in honey.
- Serve immediately.
Notes
- Use any fruit juice of your choice.
- Adjust honey to taste.
- Best served cold.
- Prep Time: 5 minutes
- Cook Time: 0 minutes
- Category: Beverage
- Method: No-Cook
- Cuisine: International