Skip to content
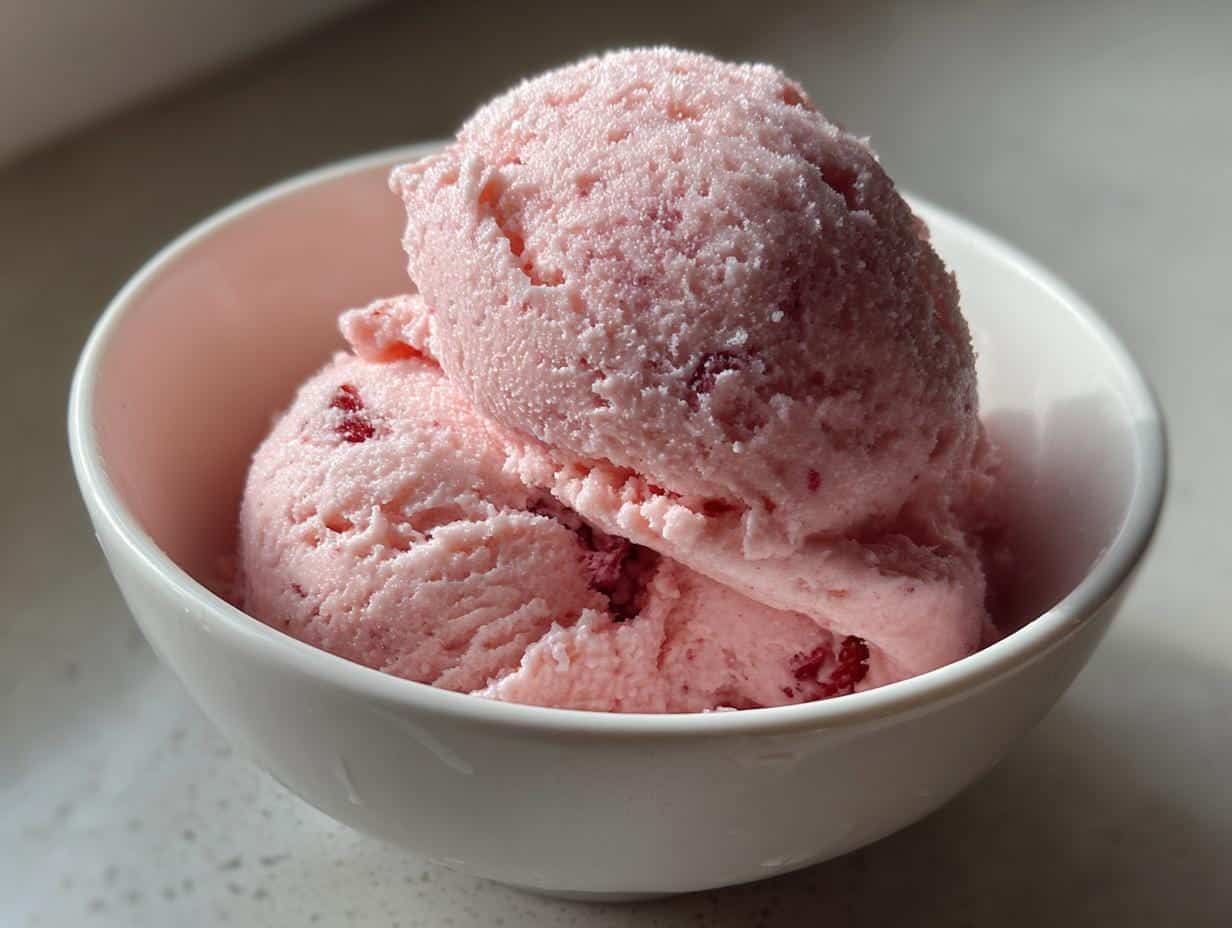
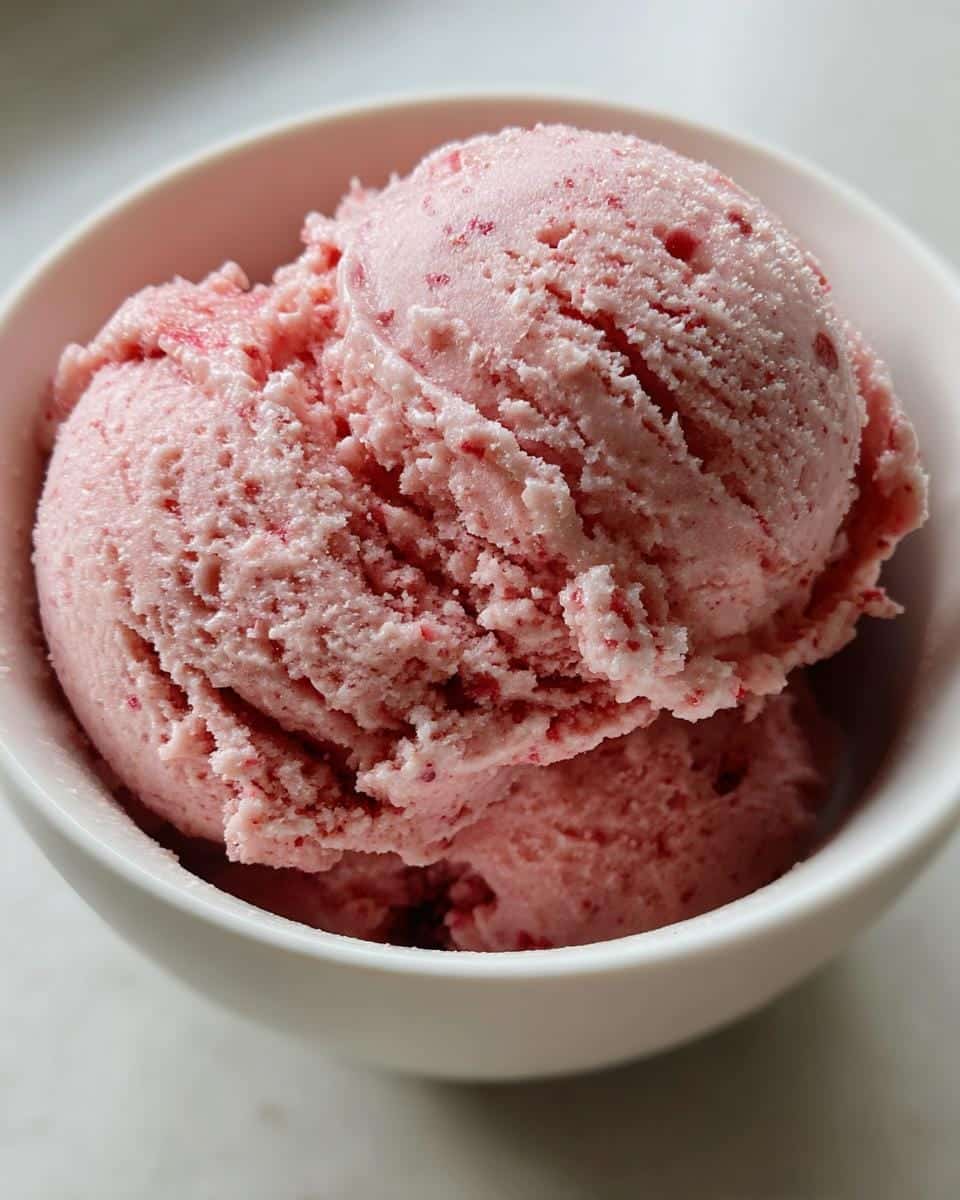
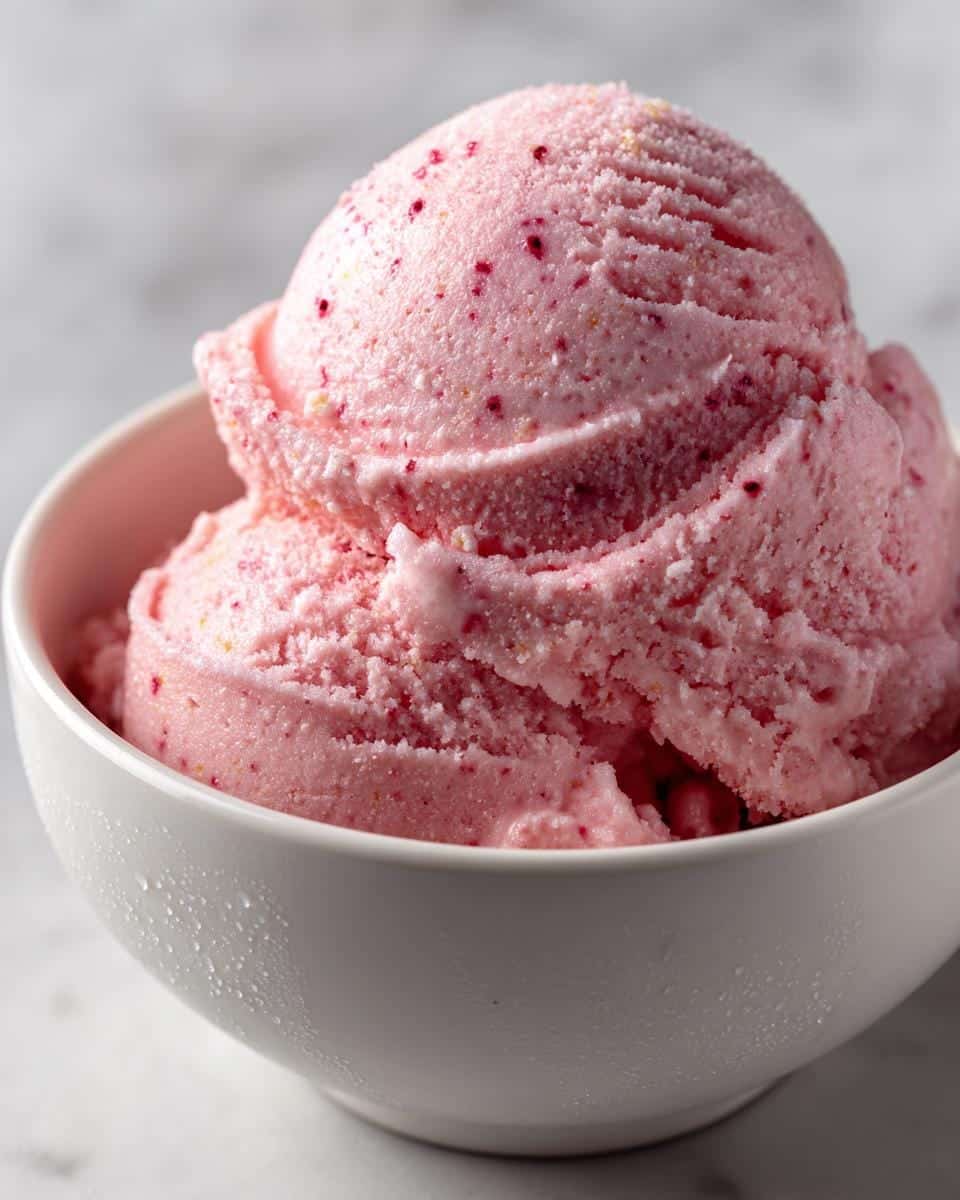
There’s nothing quite like the taste of homemade strawberry ice cream on a hot summer day – that perfect balance of sweet berries and rich cream instantly transports me back to childhood. I remember standing on a chair next to my grandmother at her old Formica counter, watching wide-eyed as she poured our pink concoction into the churn. Now I make this same simple recipe for my own kids, and their excited faces when they take that first lick prove some traditions never get old. With just fresh strawberries, cream, and a little patience (okay, maybe not much patience when you’re six), you can create magic in your own kitchen.
Table of contents:
Why You’ll Love This Homemade Strawberry Ice Cream
This isn’t just any strawberry ice cream – it’s the kind that makes you close your eyes and savor every bite. Here’s why it’s special:
- Creamy dreamy texture: That perfect balance of heavy cream and whole milk gives it richness without being overly heavy
- Real fruit flavor: No artificial colors or flavors here – just the honest taste of fresh strawberries
- Sweetness you control: Adjust the sugar based on how sweet your berries are (I always taste the mixture before churning)
- Summer in a bowl: The lemon juice adds just enough brightness to make it irresistible on hot days
Plus, it’s so simple – my kids can practically make it themselves (though they usually just “supervise” the churning part).
Ingredients for Homemade Strawberry Ice Cream
Here’s what you’ll need to make that perfect bowl of strawberry bliss – and trust me, the simple ingredients make all the difference:
- 2 cups fresh strawberries, hulled and chopped (please don’t use frozen here unless you’re desperate – fresh is best!)
- 1 cup granulated sugar (I sometimes use a bit less if my berries are super sweet)
- 1 cup whole milk (skim just won’t give you that creamy texture we’re after)
- 2 cups heavy cream (this is where the magic happens)
- 1 teaspoon vanilla extract (the good stuff, not imitation)
- 1 tablespoon lemon juice (fresh squeezed if you can – it brightens everything up)
See? Nothing fancy – just honest ingredients that let the strawberries shine.
Equipment Needed for Homemade Strawberry Ice Cream
You’ll be shocked how little gear you actually need to make magic happen. My must-haves:
- A good blender (my trusty old Oster has been pulverizing strawberries for a decade)
- Ice cream maker (I use a basic Cuisinart model – worth every penny)
- Airtight container for freezing (I prefer glass but plastic works too)
No ice cream maker? No problem! Just grab a whisk and shallow dish – I’ll show you the no-churn trick later. That’s it! Now let’s make some ice cream.
How to Make Homemade Strawberry Ice Cream
Okay, friends – here’s where the magic happens! Making this strawberry ice cream is easier than you think, but I’ll walk you through each step so you get that perfect creamy texture every time. Just follow along – you’ll be scooping heaven in no time!
Step 1: Prepare the Strawberry Mixture
First, grab those gorgeous red berries and toss them in your blender with the sugar. Now blend until it’s completely smooth – no chunks allowed! I usually stop halfway to scrape down the sides with a spatula to make sure everything gets evenly incorporated. This strawberry puree is the flavor foundation of our ice cream, so take your time here. You’ll know it’s ready when it looks like a vibrant pink smoothie.
Step 2: Combine the Ice Cream Base
Pour that beautiful strawberry mixture into a large mixing bowl. Now add in the milk, heavy cream, vanilla, and lemon juice. Here’s my secret: whisk it slowly at first to combine, then really go for it – you want everything fully incorporated. The mixture should turn a lovely pale pink color. Taste it now (my favorite part!) and adjust the sweetness if needed. Too tart? Add a bit more sugar. Perfect? Let’s move on!
Step 3: Churn and Freeze
Now the fun part! Pour your mixture into your ice cream maker (don’t fill more than 2/3 full – trust me, it expands!). Churn for about 20-30 minutes until it reaches soft-serve consistency. No machine? No worries! Pour into a shallow dish, freeze for 30 minutes, then whisk vigorously. Repeat every 30 minutes until firm (about 2-3 times). Either way, transfer to an airtight container and freeze for at least 4 hours before serving. The wait is torture, but oh so worth it!
Tips for Perfect Homemade Strawberry Ice Cream
Want that dreamy, creamy texture and bold strawberry flavor every time? Here are my hard-won secrets:
- Pick the ripest berries – they should smell amazing at room temperature. Underripe berries just won’t give you that intense flavor.
- Chill your mixture for an hour before churning – cold base freezes faster, giving you smoother results.
- Press plastic wrap directly on the surface before freezing to prevent those dreaded ice crystals.
- Let it soften slightly before scooping – 5 minutes on the counter makes all the difference!
Follow these tips and you’ll have ice cream that rivals any fancy shop – I promise!
Variations for Your Homemade Strawberry Ice Cream
Once you’ve mastered the basic recipe, the fun really begins! Here are my favorite ways to mix it up:
- Chocolate lovers: Fold in chopped dark chocolate during the last 5 minutes of churning – the contrast with sweet berries is incredible
- Fancy swirl: Layer in homemade strawberry jam as you transfer to the freezer container for a ripple effect
- Dairy-free delight: Swap the milk and cream for full-fat coconut milk – it’s surprisingly creamy!
My kids beg for the “confetti version” where we add rainbow sprinkles right before freezing. Whatever you choose, make it your own!
Serving and Storing Homemade Strawberry Ice Cream
The moment has arrived – time to scoop! For picture-perfect servings, run your ice cream scoop under hot water first (my grandma’s trick). I love serving this in waffle cones with extra fresh berries scattered on top – the extra crunch and juice make it feel extra special. Leftovers? Ha! But if you somehow have some, store it in an airtight container with that plastic-wrap-pressed-directly-on-top trick I mentioned earlier. It’ll keep beautifully for about 2 weeks in the freezer… though it never lasts that long in my house!
Nutritional Information for Homemade Strawberry Ice Cream
Okay, let’s be real – we’re not eating ice cream for our health! But since you asked, here’s the scoop on what’s in each creamy serving (all values are estimates, of course – your exact berries and measurements may vary slightly):
- Per 1/2 cup serving:
- 280 calories
- 18g fat (11g saturated)
- 28g carbs (24g sugar from all that berry goodness!)
- 2g protein (who knew?)
The best part? You can feel good knowing exactly what went into it – no mystery ingredients hiding in this bowl!
Frequently Asked Questions
Got questions? I’ve got answers! Here are the strawberry ice cream mysteries I get asked about most:
- Can I use frozen strawberries? Absolutely! Just thaw them first and drain any excess liquid – though fresh will always give you the brightest flavor.
- No ice cream maker? No problem! The shallow pan method works great – just stir every 30 minutes to break up ice crystals. It takes longer but tastes just as delicious.
- Want less sugar? Start with 3/4 cup and taste your mixture before churning. Berries vary in sweetness, so trust your taste buds!
Try this recipe and share your results – I’d love to hear how your strawberry masterpiece turns out! You can find more delicious recipes on our recipes page.

Creamy 2-Ingredient Strawberry Ice Cream That Melts Hearts
- Total Time: 4 hours 15 minutes
- Yield: 6 servings
- Diet: Vegetarian
Description
A simple and delicious homemade strawberry ice cream recipe that’s perfect for summer.
Ingredients
- 2 cups fresh strawberries, hulled and chopped
- 1 cup granulated sugar
- 1 cup whole milk
- 2 cups heavy cream
- 1 teaspoon vanilla extract
- 1 tablespoon lemon juice
Instructions
- Blend strawberries and sugar until smooth.
- Add milk, cream, vanilla, and lemon juice. Mix well.
- Pour mixture into ice cream maker and churn according to manufacturer’s instructions.
- Transfer to airtight container and freeze for at least 4 hours before serving.
Notes
- For best results, use ripe strawberries.
- If you don’t have an ice cream maker, freeze the mixture in a shallow container and stir every 30 minutes until firm.
- Adjust sugar based on sweetness of your strawberries.
- Prep Time: 15 minutes
- Cook Time: 0 minutes
- Category: Dessert
- Method: Churned
- Cuisine: American