Skip to content
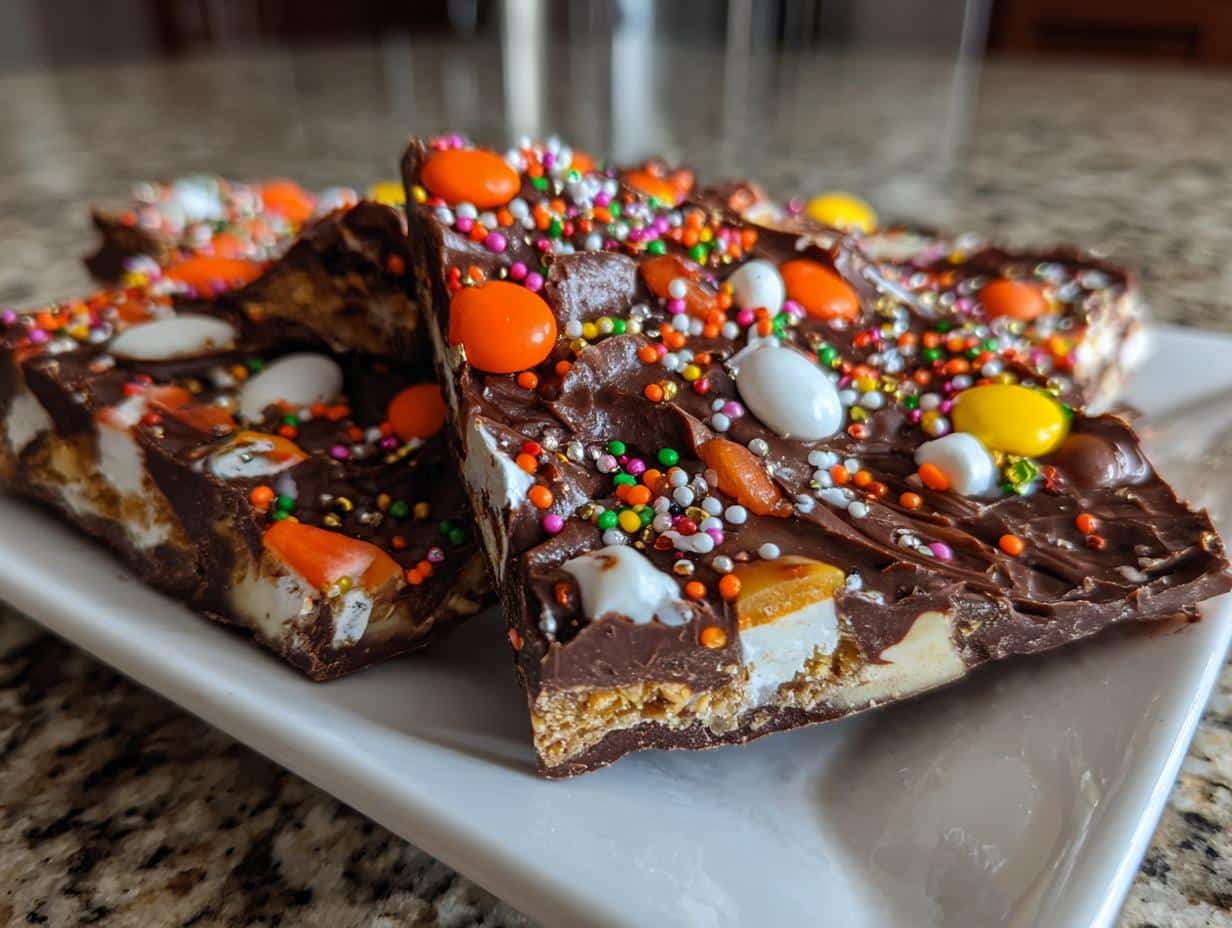
Oh my gosh, you HAVE to try this Halloween candy bark—it’s the easiest, most festive treat you’ll make all season! I first whipped this up on a total whim when my kids begged for a “spooky” dessert (and I had zero time to bake). Ten minutes later, we were cracking into this chocolatey, sprinkle-covered masterpiece. The best part? It’s completely foolproof—just melt, decorate, and break into chunks. No baking, no fancy skills, just pure Halloween magic. Every year now, we make big batches to give as gifts (if it lasts long enough to leave the kitchen!). Trust me, once you see how simple it is to create this dazzling Halloween candy bark, you’ll want to make it every October.
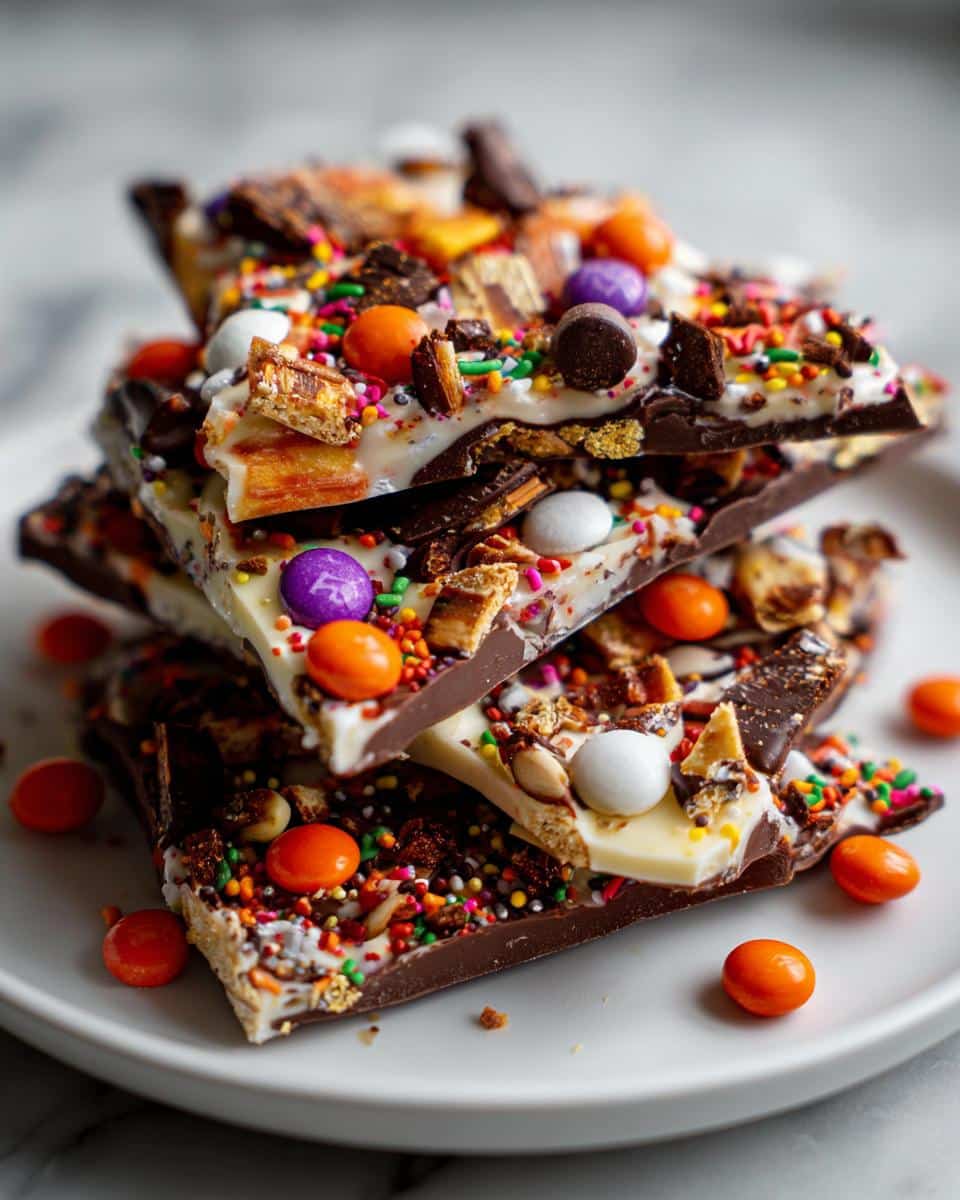
Table of contents:
Why You’ll Love This Halloween Candy Bark
This Halloween candy bark is about to become your new go-to treat—here’s why:
- Quick & easy: Done in 15 minutes flat (no oven required!)—perfect for last-minute Halloween cravings.
- Impossible to mess up: Burnt cookies? Lopsided cakes? Not here. Just melt, decorate, and snap apart.
- Kid-approved magic: Let little hands go wild with sprinkles and candy—their favorite part!
- Customizable: Swap chocolates or candies based on what’s in your pantry or your party theme.
- Party superstar: Pile it on a platter and watch it disappear faster than a ghost in the night.
Ingredients for Halloween Candy Bark
Grab these simple ingredients—you might already have most in your pantry! The beauty of this Halloween candy bark is how adaptable it is, but here’s what I always use for that perfect balance of chocolatey richness and festive crunch:
- 2 cups semi-sweet chocolate chips (or dark chocolate if you prefer a deeper flavor)
- 1 cup white chocolate chips (high-quality melts smoother—trust me!)
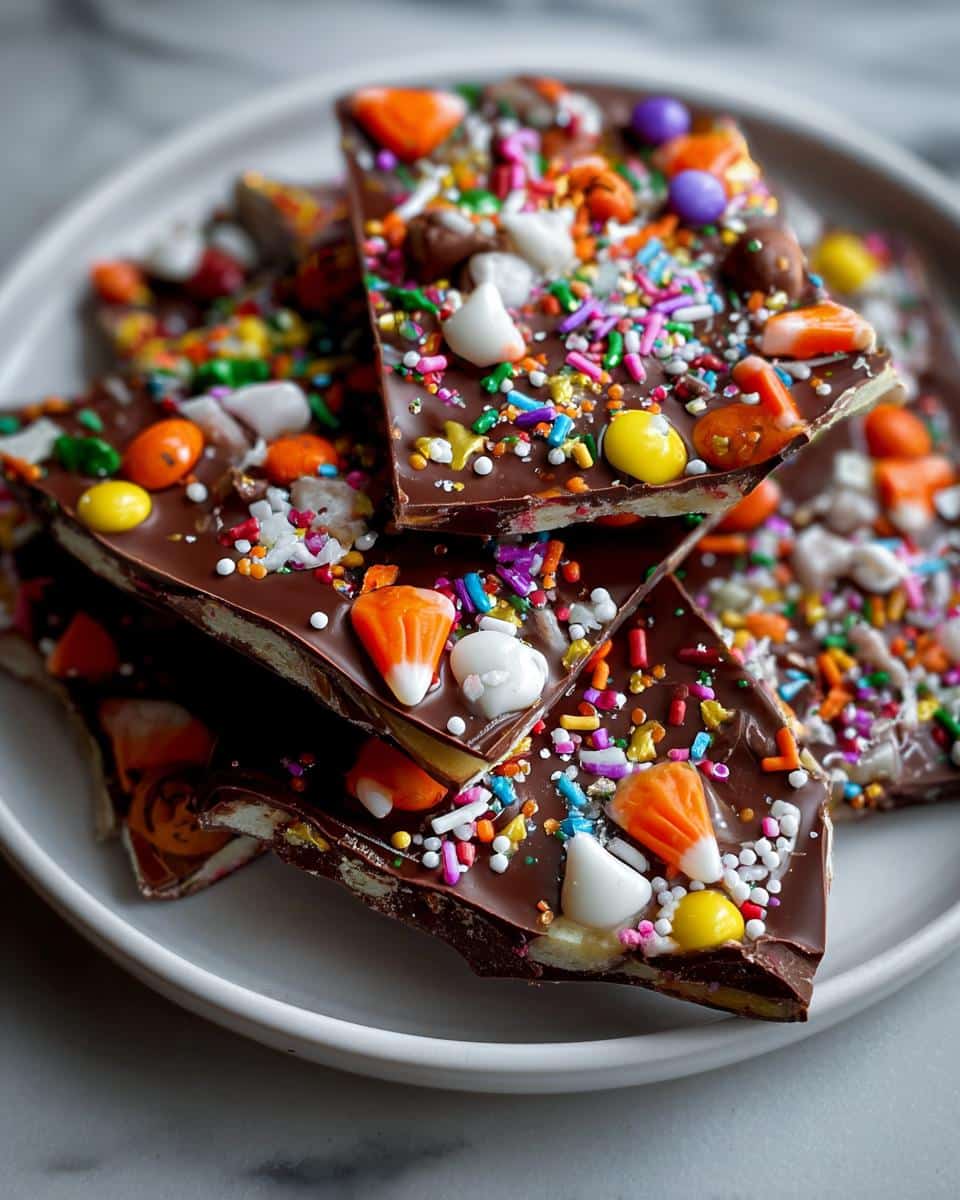
- 1/2 cup Halloween sprinkles (the more orange and purple, the better!)
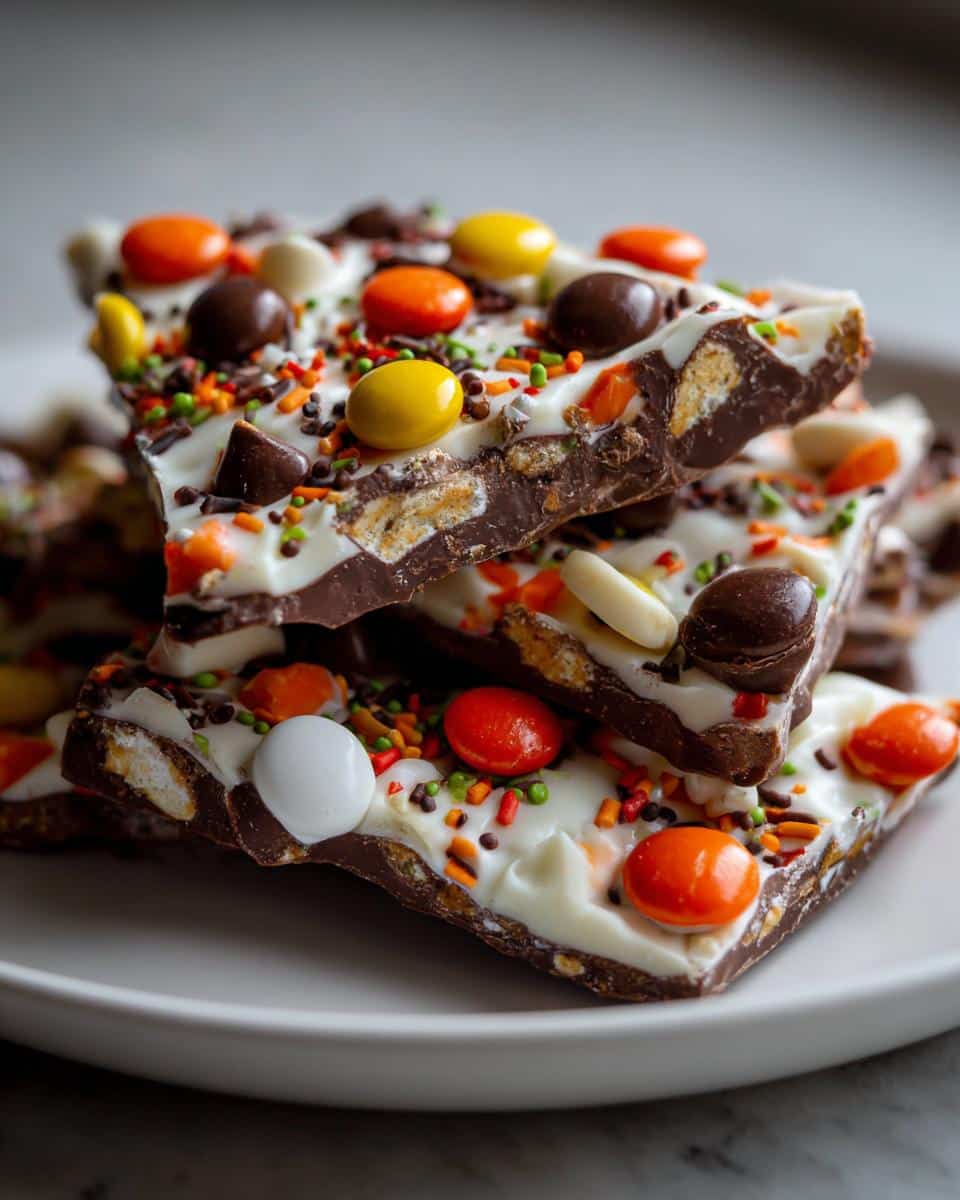
- 1/2 cup assorted Halloween candies (like mini Reese’s cups or chopped candy bars—get creative!)
Pro tip: If your candies are large (looking at you, full-size Snickers!), give them a rough chop so they distribute evenly and make the bark easier to break later.
How to Make Halloween Candy Bark
This is where the magic happens—and I promise, it’s easier than you think! Follow these simple steps and you’ll have a spooktacular treat in no time.
Melting the Chocolate
First things first: the chocolate. I always use the microwave because it’s quick, but you’ve got to baby it a bit! Here’s how I do it:
- Pour your semi-sweet chocolate chips into a microwave-safe bowl (glass works best).
- Microwave in 30-second bursts, stirring well between each one. This prevents those dreaded burnt bits!
- Stop when it’s just melted—it should look smooth and glossy. If there are a few unmelted chips left, the residual heat will finish the job as you stir.
Repeat the process with the white chocolate in a separate bowl. And here’s my golden rule: never walk away while microwaving chocolate! It goes from perfect to scorched faster than you can say “trick or treat.”
Assembling the Bark
Now for the fun part—time to get creative!
- Line a baking sheet with parchment paper (trust me, this makes cleanup a breeze).
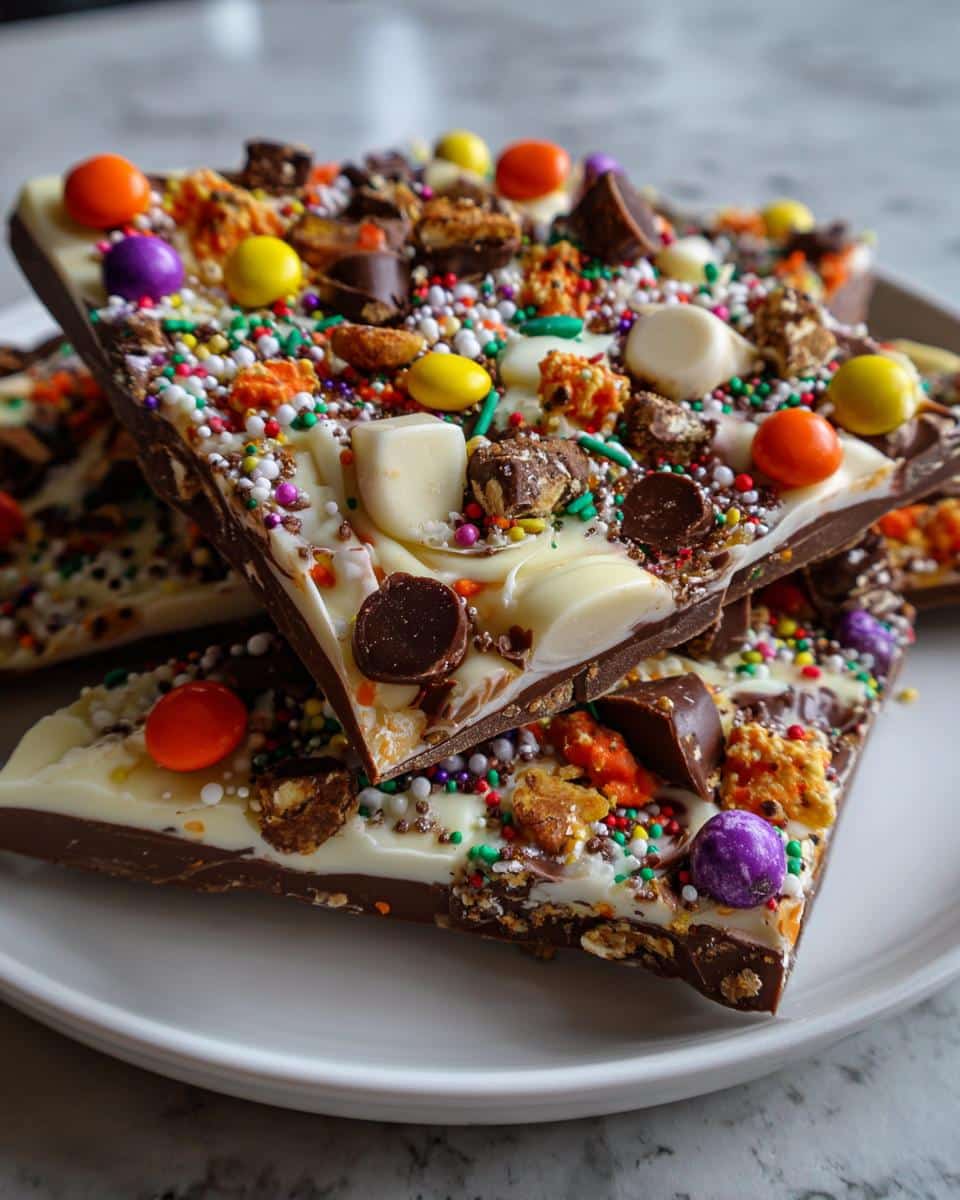
- Pour the melted semi-sweet chocolate onto the paper and spread it into an even layer—about 1/4 inch thick works great.
- Immediately drizzle the white chocolate over the top (I like to use a spoon for messy zigzags).
- While the chocolate is still wet, go wild with sprinkles and candies! The key is to work fast before everything sets.
- Let it cool at room temperature until firm (about 1 hour) or pop it in the fridge for 20 minutes if you’re impatient like me.
See? Simple as that! Now just break it into rustic pieces with your hands—no perfect squares needed here. The messier, the more “haunted house” it looks!
Tips for Perfect Halloween Candy Bark
After making this Halloween candy bark more times than I can count (hello, annual neighbor gifts!), I’ve picked up some foolproof tricks:
- Parchment is non-negotiable: Wax paper sticks—trust me, I learned the hard way!
- Splurge on good chocolate: Cheap chips seize up easier. Ghirardelli or Guittard melt like a dream.
- Sprinkle from high up: Hold your hand 12 inches above the chocolate for even coverage (no clumps!).
- Chill time matters: Let it fully set before breaking—otherwise, you’ll get smear-city instead of clean snaps.
Bonus tip: If your kitchen’s warm, refrigerate the bark for 10 minutes before decorating to prevent sprinkles from sinking!
Variations for Halloween Candy Bark
The best part about this Halloween candy bark? You can totally make it your own! Here are my favorite ways to mix it up:
- Chocolate switcheroo: Try dark chocolate for grown-up vibes or milk chocolate for extra sweetness.
- Candy chaos: Crushed Oreos for “dirt,” gummy worms for creep factor—whatever candies scream Halloween to you!
- Sprinkle themes: Swap classic Halloween sprinkles for bat-shaped ones or eerie green and black for a witchy twist.
Seriously—if it’s sweet and spooky, it belongs on this bark!
Serving and Storing Halloween Candy Bark
Here’s the best part—this Halloween candy bark stays delicious for days (if it lasts that long!). I always stash extra in an airtight container at room temperature—no fridge needed—for up to a week. Just beware: humidity can make sprinkles weep, so avoid steamy kitchens. If your bark softens, 10 minutes in the fridge crisps it right back up!
Halloween Candy Bark Nutritional Information
Each serving (about 1 piece) packs roughly 180 calories with 10g fat and 15g sugar—but let’s be real, who stops at one? Exact values vary based on your candy choices, so consider this your friendly spooky snack disclaimer!
FAQs About Halloween Candy Bark
Can I use milk chocolate instead of semi-sweet?
Absolutely! Milk chocolate makes a sweeter bark—just watch it closely while melting since it burns faster than semi-sweet. I sometimes do half milk, half dark for the best of both worlds.
How long does Halloween candy bark last?
Stored in an airtight container at room temperature, it stays fresh for about a week (if your family doesn’t devour it first!). The sprinkles might lose some crunch after day 3, but the chocolate stays delicious.
Can I freeze the bark?
You bet! Freeze it flat in a single layer for up to a month. Thaw at room temperature for 10 minutes—just don’t let it sweat or the toppings might slide off.
Help! My chocolate seized up—what now?
Been there! Stir in a teaspoon of vegetable oil or shortening to smooth it out. And next time, make sure no water gets in the bowl (even a drop can cause chaos!).
What’s the best way to break the bark?
I love rustic chunks—just whack it with a rolling pin or your hands! For cleaner pieces, score lightly with a knife before it fully sets.
Share Your Halloween Candy Bark Creations
I’d love to see your spooky masterpieces! Tag me on Instagram or leave a comment below—tell me what wild candy combos you tried. Nothing makes me happier than seeing your kitchen turn into a Halloween candy bark factory! You can also find more Halloween inspiration on Pinterest.
Print
**10-Minute Halloween Candy Bark That Steals the Show**
- Total Time: 15 minutes
- Yield: 12 servings
- Diet: Vegetarian
Description
Easy and fun Halloween candy bark made with melted chocolate, festive sprinkles, and assorted candies.
Ingredients
- 2 cups semi-sweet chocolate chips
- 1 cup white chocolate chips
- 1/2 cup Halloween sprinkles
- 1/2 cup assorted Halloween candies (chopped if large)
Instructions
- Line a baking sheet with parchment paper.
- Melt semi-sweet chocolate chips in a microwave-safe bowl, stirring every 30 seconds until smooth.
- Spread melted chocolate evenly on the parchment paper.
- Melt white chocolate chips separately and drizzle over the semi-sweet chocolate.
- Immediately sprinkle Halloween sprinkles and candies over the melted chocolate.
- Let it cool at room temperature or refrigerate until firm.
- Break into pieces and serve.
Notes
- Store in an airtight container for up to a week.
- Use high-quality chocolate for best results.
- Prep Time: 10 minutes
- Cook Time: 5 minutes
- Category: Dessert
- Method: No-Bake
- Cuisine: American