Skip to content
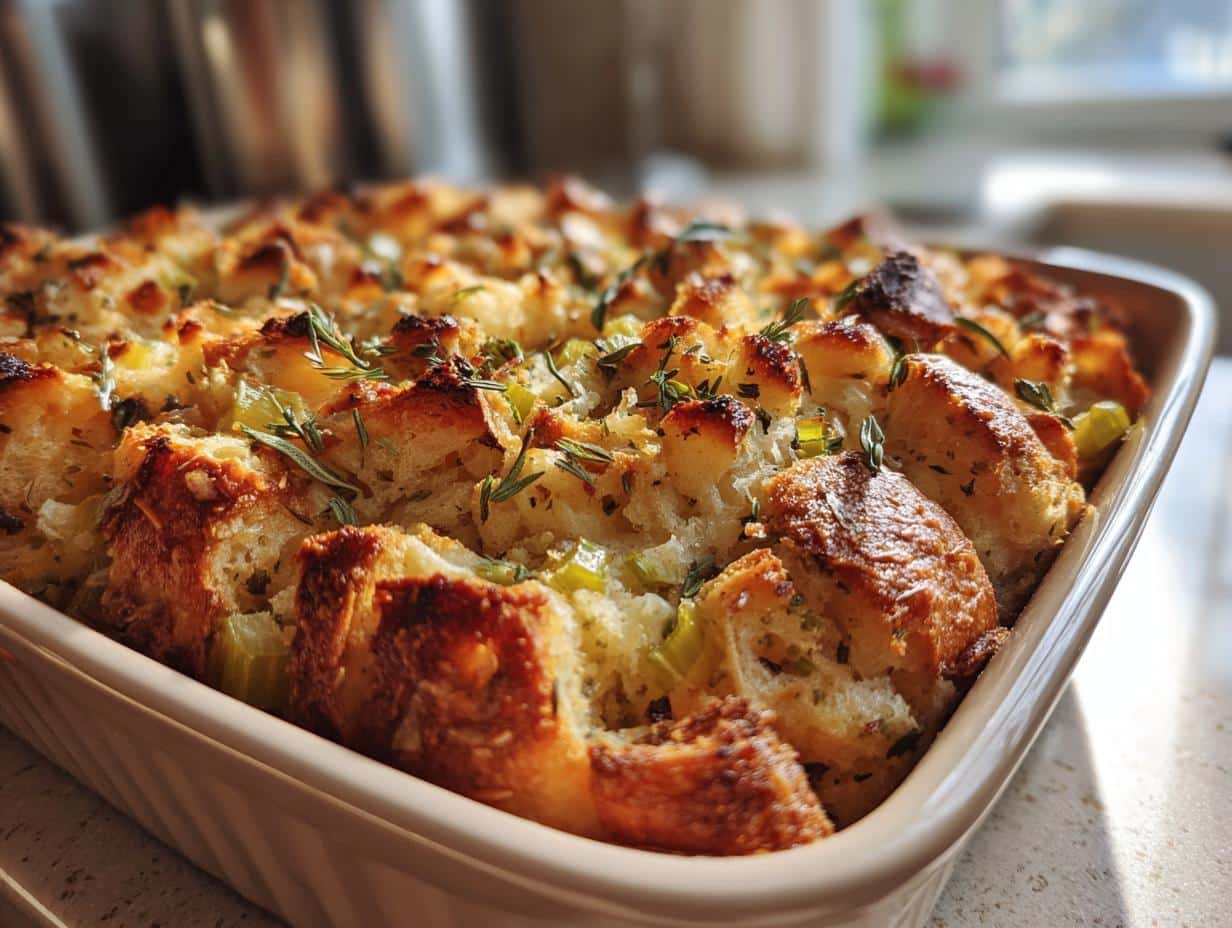
There’s something magical about Grandma’s Thanksgiving Stuffing Recipe that instantly transports me back to childhood. I can still picture her bustling around the kitchen, arms dusted with flour, humming as she stirred that big yellow mixing bowl. The scent of sage and thyme would fill the whole house, mingling with the roasting turkey – it wasn’t truly Thanksgiving until that first heavenly whiff hit your nose.
This isn’t just any stuffing – it’s the kind of classic, hearty dish that makes everyone at the table go quiet after the first bite. What I love most is how simple it is – just good bread, fresh herbs, and vegetables cooked in enough butter to make it irresistible. No fancy ingredients, no complicated techniques. Just pure comfort food that’s stood the test of time.
Grandma always said the secret was in the texture – crispy golden edges giving way to a moist, flavorful center. She’d bake it in her old blue ceramic dish, the one with the little chips around the rim from years of holiday meals. Now when I make it for my own family, I swear I can hear her voice reminding me: “Don’t skimp on the butter, dear.” Some traditions are worth keeping exactly as they are.
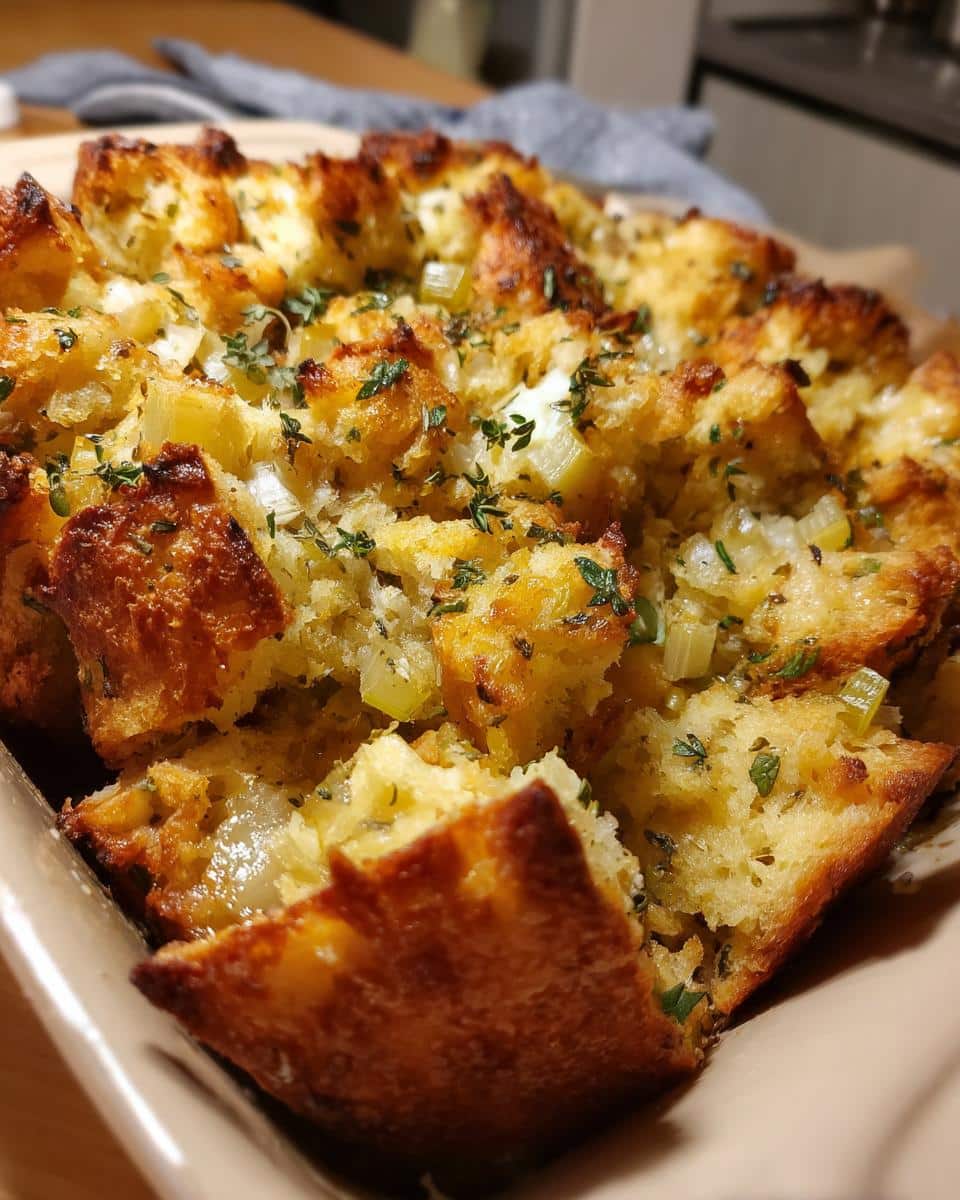
Table of contents:
Why You’ll Love This Grandma’s Thanksgiving Stuffing Recipe
- It tastes like home – That perfect blend of buttery bread, savory herbs, and tender veggies will have everyone asking for seconds (and the recipe!).
- Simple ingredients, big flavor – No fancy grocery runs needed—just good bread, fresh herbs, and staples you probably already have.
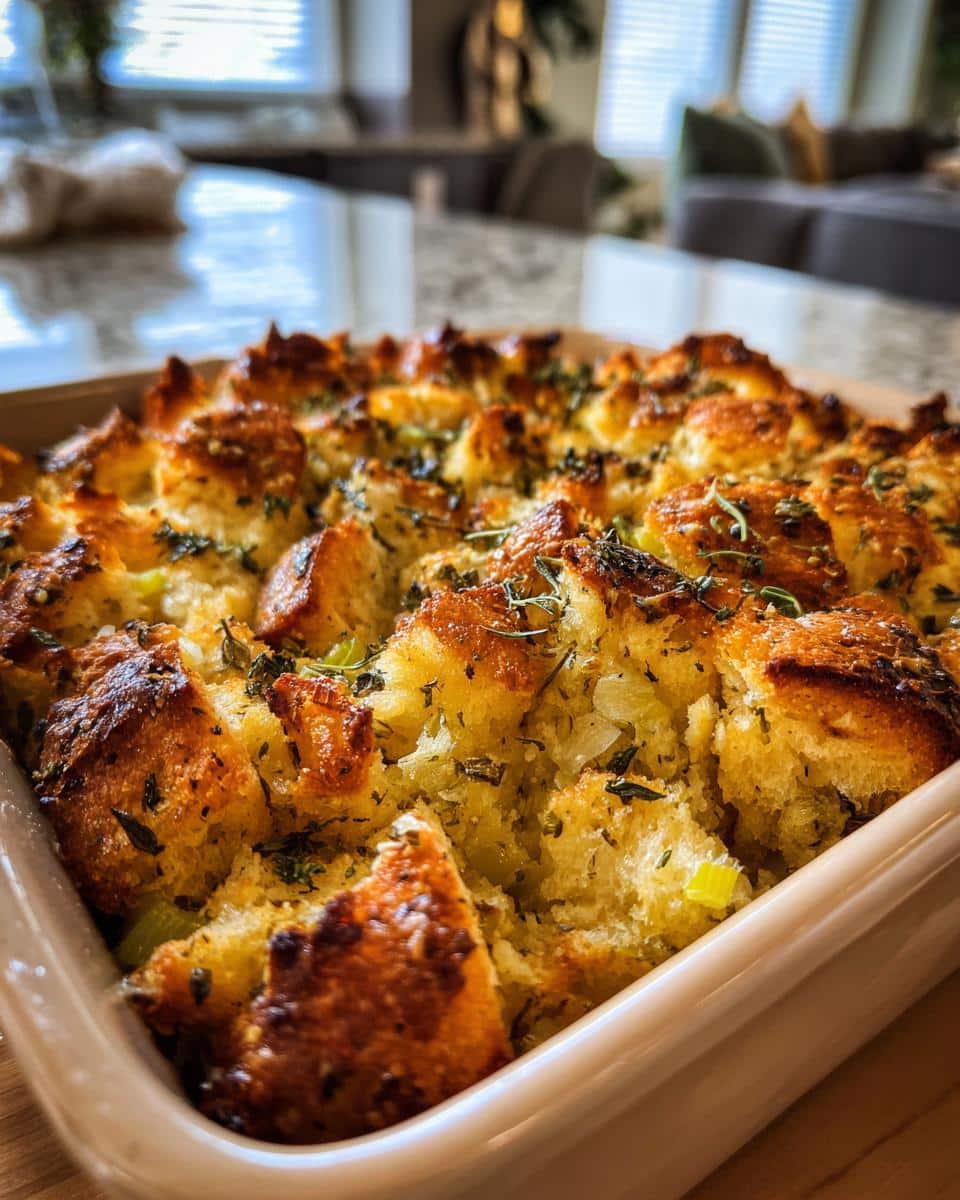
- Crispy edges, soft center – The way the top gets golden and crunchy while staying moist inside? That’s Grandma’s magic touch.
- Easy to make ahead – Prep it the night before and just pop it in the oven when the turkey comes out—one less thing to stress about!
- Brings back memories – Every bite smells and tastes like those happy, noisy Thanksgiving dinners from childhood.
Ingredients for Grandma’s Thanksgiving Stuffing Recipe
Here’s what you’ll need to make this classic stuffing just like Grandma did – simple ingredients that come together to create something truly special. I’ve included all her little prep notes too, because those details make all the difference!
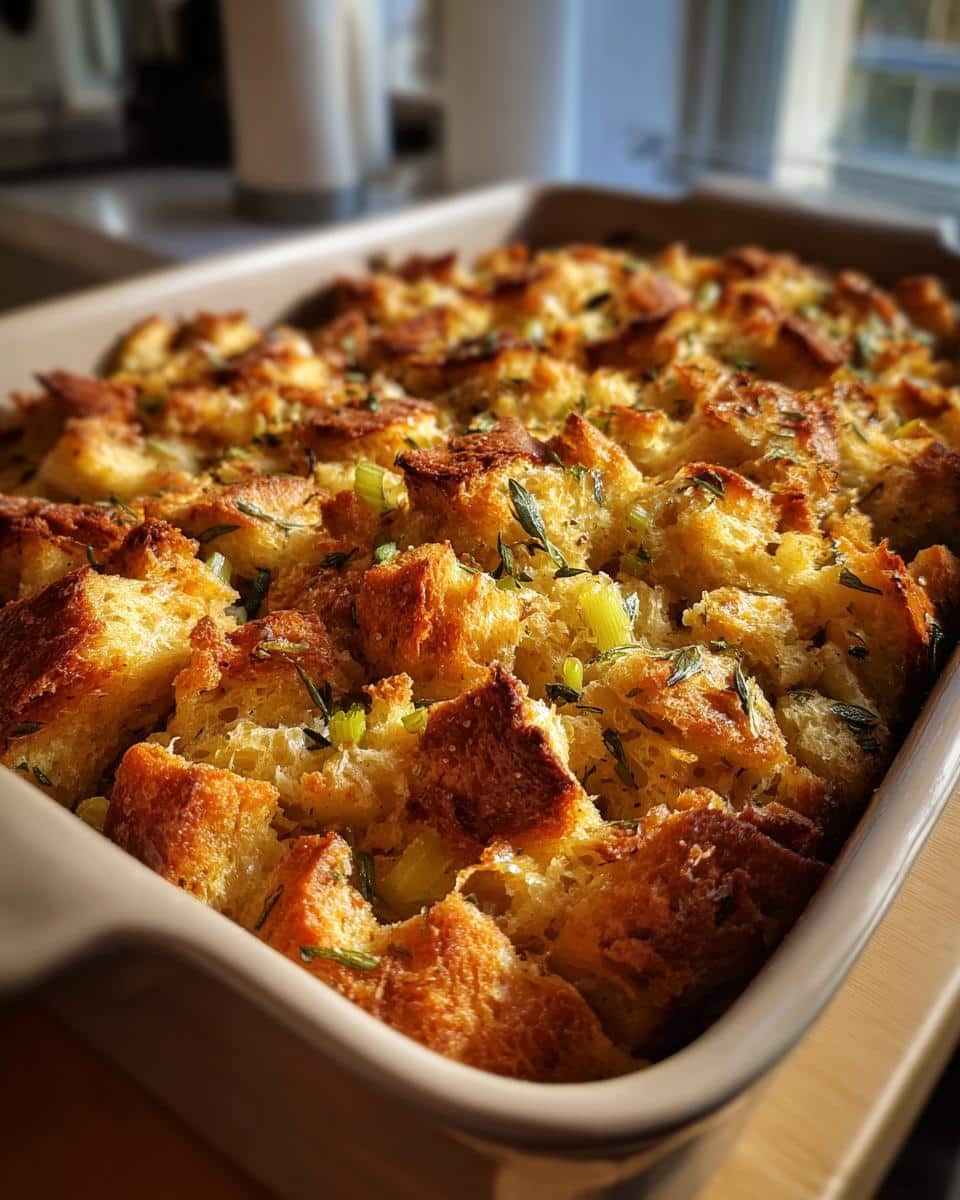
- 1 loaf stale bread, cubed (about 8 cups) – Grandma always used a good crusty white bread left out overnight. Day-old is perfect!
- 1 cup (2 sticks) unsalted butter – And yes, it really needs to be the full cup. This is Thanksgiving, after all.
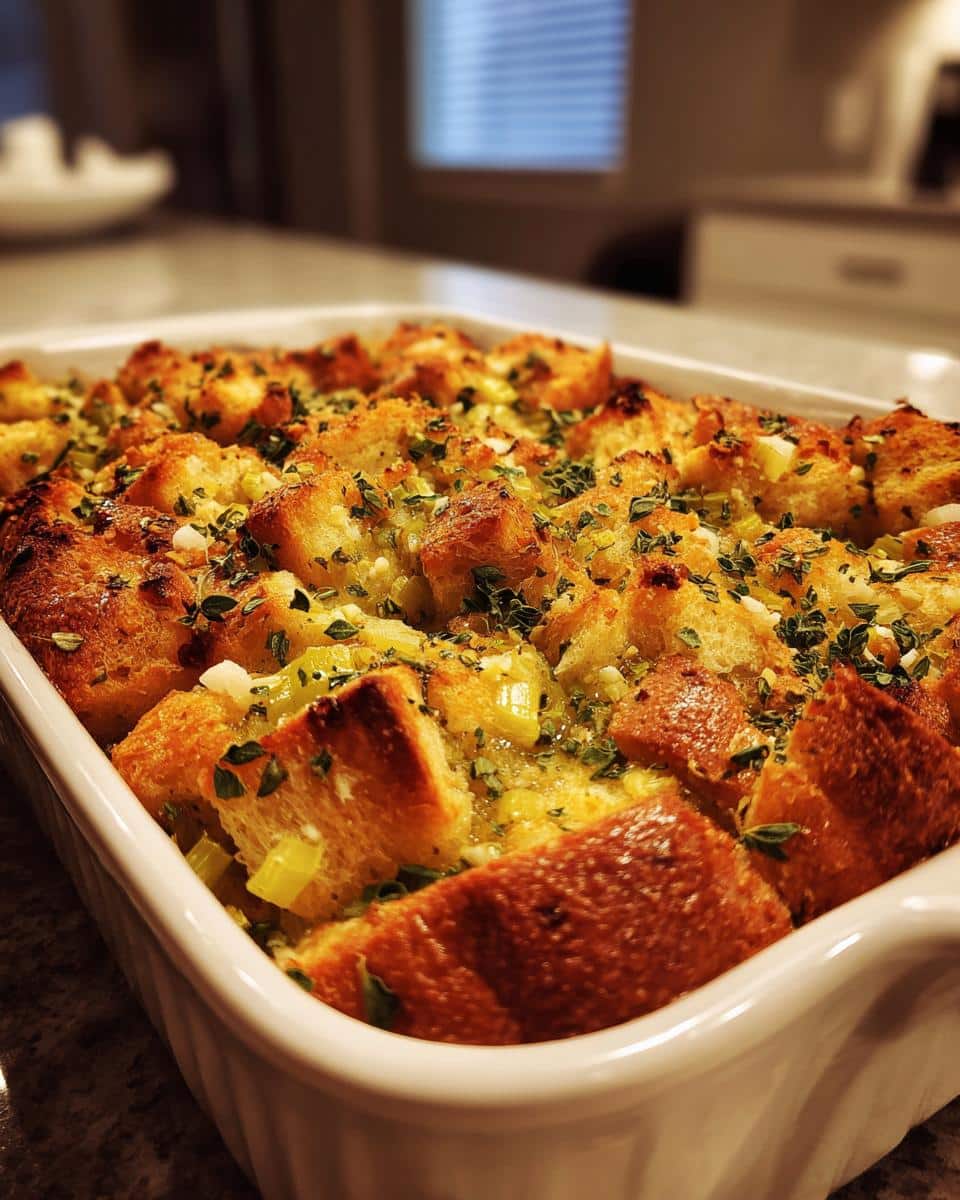
- 2 cups chopped celery (about 4 medium stalks) – Cut into small pieces so they soften just right.
- 2 cups chopped yellow onion (1 large onion) – Grandma swore yellow onions had the best flavor for stuffing.
- 2 tbsp fresh sage, finely chopped – Rubbing the leaves between your fingers before chopping releases more flavor.
- 1 tbsp fresh thyme leaves – No stems! Just those tiny fragrant leaves.
- 1 tsp salt – Start with this, then taste before baking – you can always add more.
- ½ tsp freshly ground black pepper – Freshly ground makes a world of difference.
- 2 cups chicken or vegetable broth – Low-sodium so you can control the saltiness.
- 2 large eggs, beaten – These help bind everything together beautifully.
See? Nothing fancy – just real, honest ingredients. Half of these are probably in your kitchen right now! The magic happens in how you put them together, which we’ll get to next.
How to Make Grandma’s Thanksgiving Stuffing Recipe
Now for the fun part – let’s bring all those simple ingredients together into something magical. I’ll walk you through each step just like Grandma taught me, with all her little tricks for perfect stuffing every time. Don’t worry if your kitchen starts smelling amazing halfway through – that’s how you know you’re doing it right!
Preparing the Vegetables
First things first – get that butter melting in your biggest skillet over medium heat. You’ll know it’s ready when the foaming subsides but before it starts to brown. Now toss in those chopped onions and celery with a pinch of salt (it helps draw out their moisture).
Here’s Grandma’s secret: stir them just enough to coat in butter, then let them sit for a good minute before stirring again. This gives them a chance to get a little golden in spots, which adds so much flavor. They’re ready when the onions turn translucent and the celery’s lost its crunch but still has some structure – about 5-7 minutes total. Stir in the sage and thyme right at the end so their oils bloom in the butter – your kitchen will smell incredible!
Mixing the Stuffing
Dump your bread cubes into the biggest bowl you’ve got – I use the same enormous yellow mixing bowl Grandma did. Now pour that gorgeous buttery vegetable mixture over top and give it a gentle toss with a big wooden spoon. You want every cube to get some of that herby butter goodness.
Now here’s where you need to trust your instincts. Slowly drizzle in the broth while mixing, stopping when the bread is moistened but not soggy. The cubes should hold their shape when pressed but not drip liquid. Grandma always said it’s better to start with less broth – you can always add more, but you can’t take it out! Finally, mix in the beaten eggs until you don’t see any streaks.
Baking to Perfection
Transfer everything to your greased baking dish (I still use Grandma’s blue ceramic one) and don’t pack it down too hard – you want those crispy bits on top! Pop it in the center rack of your preheated 350°F oven and set your timer for 30 minutes.
When that timer goes off, your house will smell like Thanksgiving and the top should be just starting to golden. This is when I do the “Grandma test” – gently press the center. If it springs back nicely and the edges are getting crispy, it’s done. If not, give it another 10-15 minutes until the top is golden brown and you can’t resist sneaking a corner piece.
Let it rest for 5 minutes before serving – I know it’s hard to wait, but this lets all those flavors settle in perfectly. That first bite of crispy top and soft, savory center? That’s pure love on a plate.
Tips for the Best Grandma’s Thanksgiving Stuffing Recipe
After making this stuffing for almost as many years as Grandma did, I’ve picked up a few tricks that guarantee perfection every time. First – that bread really needs to be stale! Fresh bread turns to mush, but day-old gives you that perfect texture. If you forgot, just cube it and toast lightly in a 300°F oven for 10 minutes.
Second – broth is your friend, but don’t overdo it. Start with 1½ cups and add more if needed. The mixture should hold together when squeezed but not drip. And here’s my favorite time-saver – you can mix everything except the eggs the night before, then just stir in the eggs before baking. The flavors actually get better!
One last thing – don’t cover it while baking. That crispy golden top is half the magic. If it’s browning too fast, just tent lightly with foil for the last 15 minutes.
Ingredient Substitutions & Variations
While nothing beats Grandma’s original recipe, I’ve learned a few smart swaps over the years for when you’re in a pinch or want to mix things up. Here are my favorite variations that still keep that classic stuffing spirit alive – just maybe don’t tell Grandma about some of these!
- Gluten-free bread – Use a sturdy gluten-free loaf (the crustier the better) and let it stale overnight. The texture will be slightly different, but the flavor’s still fantastic. Just check your broth’s GF too!
- Dried herbs instead of fresh – In a pinch, use 1/3 the amount of dried (so 2 tsp sage, 1 tsp thyme). Rub them between your fingers first to wake up the oils. The flavor’s more concentrated but lacks that fresh brightness.
- Whole wheat or sourdough bread – These add nice depth, especially sourdough’s tang. Cut back slightly on salt since these breads are often saltier. You might need a touch more broth too.
- Vegetable oil for butter – Okay, Grandma would faint, but in a real emergency, use 3/4 cup oil. You’ll lose that rich butter flavor, so bump up the herbs to compensate. Not ideal but works!
- Add-ins for fun twists – Try 1/2 cup dried cranberries or golden raisins soaked in warm water, or 1/2 cup toasted pecans added with the bread. Just don’t go overboard – the classic flavors should still shine.
The beauty of this recipe is how forgiving it is – as long as you keep the basic ratios right, you can play around and still end up with something delicious. Just promise me you’ll try the original version first – some things really are perfect as they are!
Serving Suggestions for Grandma’s Thanksgiving Stuffing
Oh, the possibilities! This stuffing shines brightest next to juicy roasted turkey with all the drippings spooned over top – that’s the classic pairing Grandma always insisted on. But don’t stop there! It’s heavenly with homemade cranberry sauce (the tartness cuts through the richness) or piled high next to garlic mashed potatoes. For the ultimate comfort bite? A little stuffing, a little turkey, and a river of hot gravy right down the middle. Leftovers? Tuck them into sandwiches with mayo and leftover cranberries – trust me!
Storing and Reheating Leftover Stuffing
Let’s be real – leftovers are half the joy of Thanksgiving, and this stuffing reheats like a dream if you do it right. Grandma always said the secret was keeping that perfect texture – no one wants soggy or dried-out stuffing the next day!
In the fridge: Cool completely first (about 2 hours), then tuck it into an airtight container with a piece of parchment paper pressed right on top. This keeps it from getting that weird dried-out skin. It’ll stay fresh for 3-4 days – though in our house, it never lasts that long!
To reheat: My favorite trick is the oven – 350°F for about 15-20 minutes covered with foil, then 5 minutes uncovered to crisp up the top. If you’re impatient (no judgment!), microwave single portions for 1-2 minutes with a damp paper towel over top to keep it moist. Grandma would’ve scolded me for saying this, but it works in a pinch!
Freezing: Oh yes, this stuffing freezes beautifully! Pack cooled stuffing in freezer bags (squeeze out air) or airtight containers for up to 2 months. Thaw overnight in the fridge before reheating. Pro tip: freeze individual portions for quick future meals – nothing beats stuffing on a random Tuesday when you need some comfort food!
One last Grandma-approved tip: if your leftovers seem a tad dry when reheating, drizzle a tiny bit of warm broth over top and let it soak in. It’s like magic – suddenly you’ve got fresh-from-the-oven stuffing all over again!
Grandma’s Thanksgiving Stuffing Recipe FAQs
Over the years, I’ve gotten so many questions about this beloved stuffing recipe – and honestly, I love talking about it almost as much as I love eating it! Here are the answers to the most common things people ask me, along with all the little tips Grandma would share if she were here:
Can I use fresh bread instead of stale?
Technically yes, but Grandma would shake her head! Fresh bread turns mushy, while stale absorbs the broth perfectly. If you forgot to leave bread out, cube it and toast lightly at 300°F for 10 minutes – it’ll work almost as well.
How can I make this stuffing vegan?
Swap the butter for vegan butter or olive oil, use vegetable broth, and skip the eggs (add an extra 1/4 cup broth). The texture will be slightly looser but still delicious. Grandma might raise an eyebrow, but even she’d admit it tastes pretty darn good!
Why does my stuffing come out dry?
Two likely culprits: not enough broth or overbaking. Remember, the bread should feel moist but not soggy before baking. And check early – ovens vary! If it’s already dry, drizzle warm broth over the top before serving.
Can I prepare the whole thing ahead of time?
Absolutely! Mix everything except the eggs up to 24 hours ahead (keep chilled). Add eggs right before baking. The flavors actually improve! Just add 5-10 extra minutes baking time since it’s going in cold.
What’s the best bread to use?
Grandma swore by good old white sandwich bread, but I’ve had great results with French bread, sourdough, or even whole wheat. Just avoid super soft breads like brioche – they disappear into mush. The crustier the better!
Nutritional Information
Here’s the nutritional breakdown per serving (about 1/8 of the recipe) so you can enjoy Grandma’s Thanksgiving stuffing while knowing exactly what you’re getting. Remember, these values are estimates and will vary slightly depending on your specific ingredients – especially things like the bread type and exact butter amount!
- Calories: 320
- Total Fat: 18g (10g saturated, 6g unsaturated)
- Cholesterol: 80mg
- Sodium: 450mg
- Total Carbohydrates: 32g
- Dietary Fiber: 2g
- Sugars: 3g
- Protein: 6g
Now, Grandma would’ve waved her hand and said “Nutrition schmoo-trition!” while reaching for another helping, but I like having these numbers handy – especially when I inevitably go back for seconds (and thirds). The fiber comes from all those good veggies, while the protein comes from the eggs and bread. And that fat content? Well, that’s the butter talking – and trust me, it’s worth every delicious gram!
Values are estimates and vary by ingredients.
For more delicious recipes and inspiration, follow us on Pinterest!
Print
“Grandma’s Thanksgiving Stuffing Recipe: 7 Secrets for the Best One Yet”
- Total Time: 1 hour 5 minutes
- Yield: 8 servings
- Diet: Vegetarian
Description
A classic, hearty stuffing recipe passed down from grandma, perfect for Thanksgiving.
Ingredients
- 1 loaf of stale bread, cubed
- 1 cup unsalted butter
- 2 cups chopped celery
- 2 cups chopped onion
- 2 tbsp fresh sage, chopped
- 1 tbsp fresh thyme, chopped
- 1 tsp salt
- 1/2 tsp black pepper
- 2 cups chicken or vegetable broth
- 2 eggs, beaten
Instructions
- Preheat oven to 350°F (175°C).
- Melt butter in a large skillet over medium heat.
- Add celery and onion, cook until soft (5-7 minutes).
- Stir in sage, thyme, salt, and pepper.
- Combine bread cubes and cooked vegetables in a large bowl.
- Pour in broth and beaten eggs, mix well.
- Transfer to a greased baking dish.
- Bake for 45 minutes or until golden brown.
Notes
- Use day-old bread for best texture.
- Adjust broth amount for desired moistness.
- Can be made ahead and refrigerated overnight.
- Prep Time: 20 minutes
- Cook Time: 45 minutes
- Category: Side Dish
- Method: Baked
- Cuisine: American