Skip to content
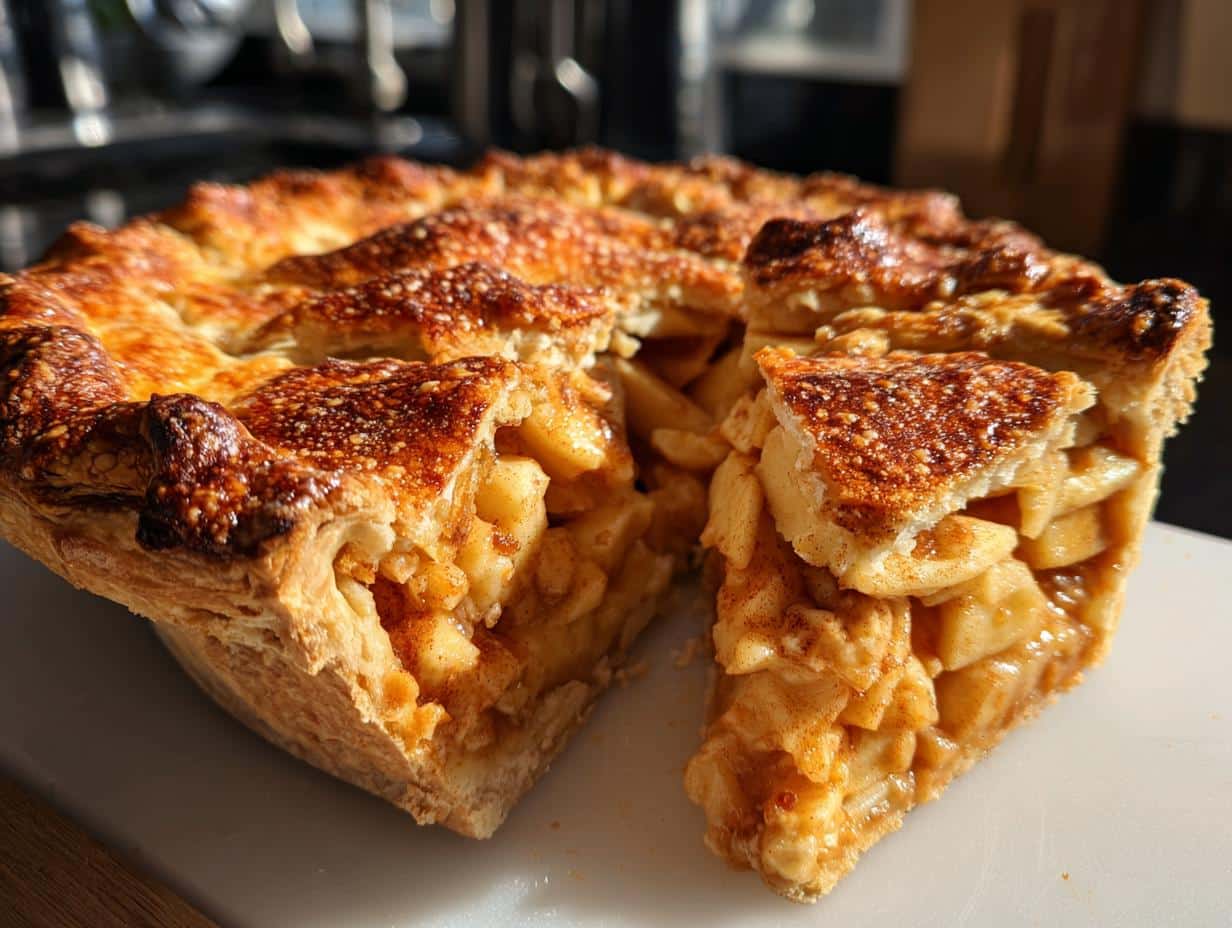
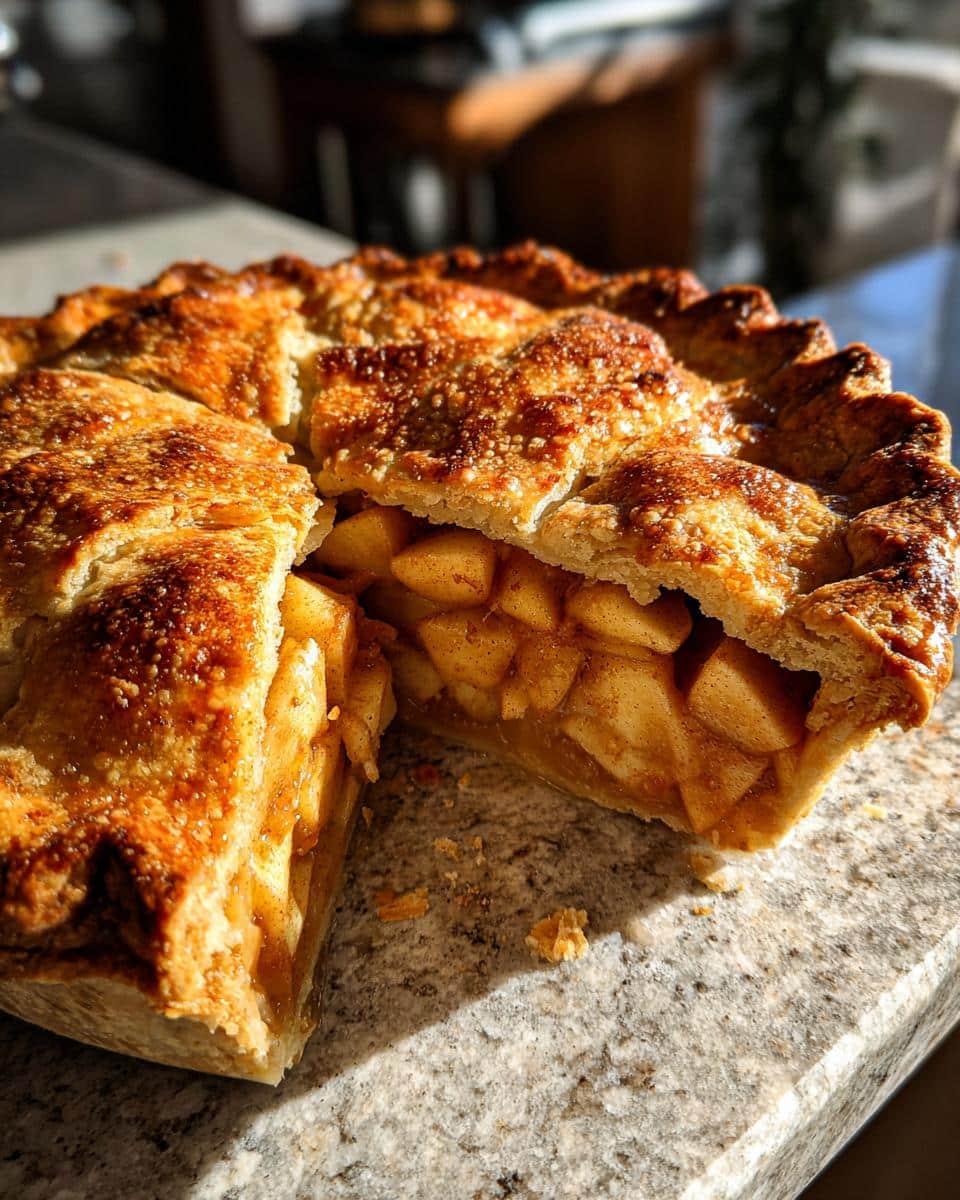
Nothing says home like the smell of a Classic Double-Crust Apple Pie with Cinnamon and Nutmeg baking in the oven. That warm, buttery aroma mixed with just the right balance of spices? Pure comfort food magic. I’ve been making this pie for over 20 years – ever since my grandma let me roll out my first crust at age 10 (and yes, it was a floury disaster). But that’s the beauty of this recipe. Even my early lopsided attempts were delicious because when you combine tender apples, flaky crust, and those cozy spices, it’s hard to go wrong.
Every fall, my kitchen becomes pie central. The kids fight over who gets to mix the cinnamon and nutmeg (I let them both “measure” – aka dump – while I secretly adjust the amounts). That first golden-brown slice, with steam curling up through the vent holes? Worth every minute of peeling apples. This isn’t just dessert – it’s memories on a plate.
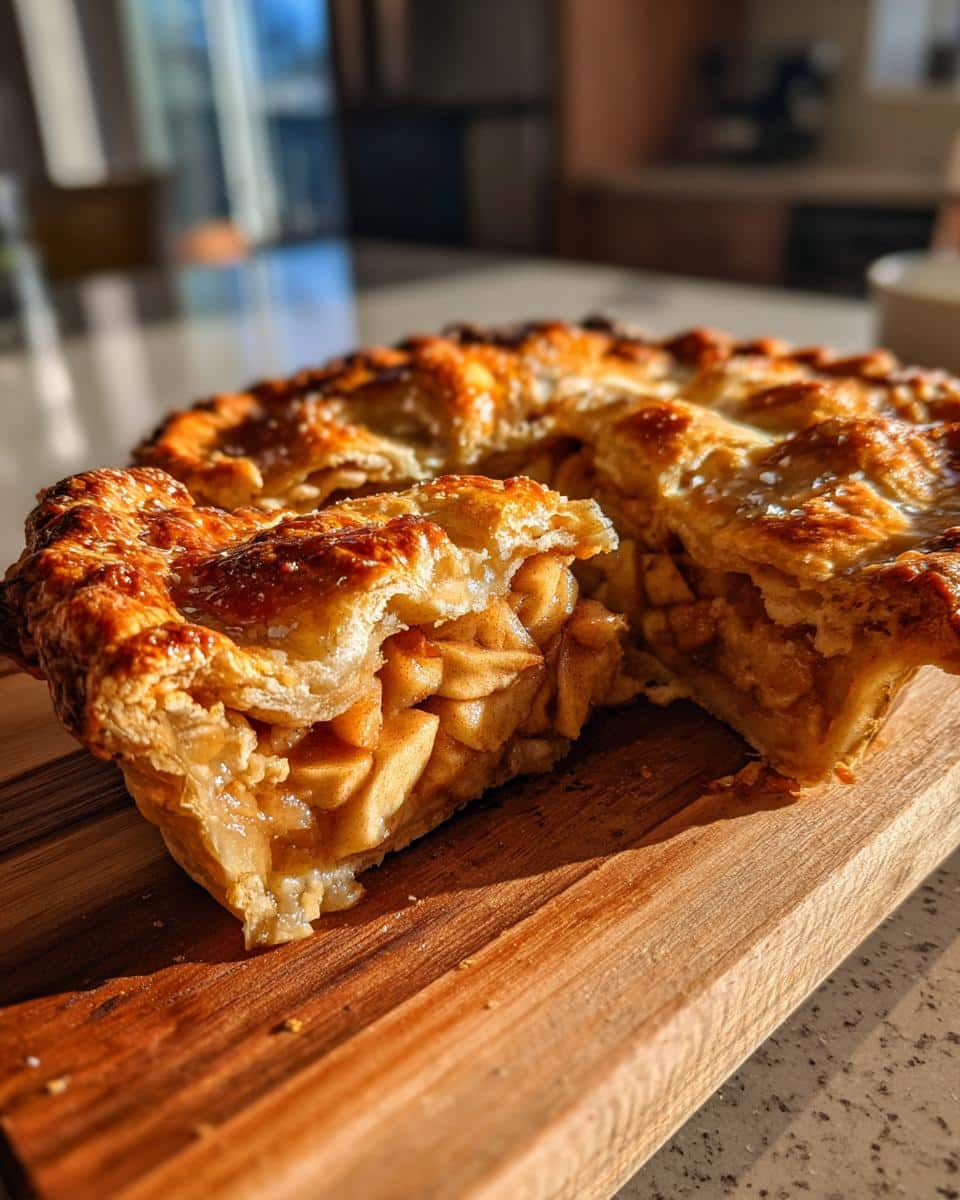
Table of contents:
Why You’ll Love This Classic Double-Crust Apple Pie with Cinnamon and Nutmeg
This isn’t just any apple pie – it’s the kind that makes people close their eyes and sigh after the first bite. Here’s why it’s been my go-to recipe for decades:
- That crust though: We’re talking flaky, buttery layers that shatter when you cut into them. The secret? Keeping everything cold and not overworking the dough (trust me, your patience pays off).
- Spice that’s just right: No overbearing cinnamon here. The nutmeg adds warmth without overpowering the apples – it’s the balance my grandma swore by.
- Family baking magic: From peeling apples to crimping edges, this recipe creates kitchen memories. My kids still fight over who gets to sprinkle the sugar.
- Holiday hero: It’s the pie that disappears first at Thanksgiving, but honestly? I make it year-round because life’s too short to wait for special occasions.
Bonus? Your house will smell like a cozy bakery for hours. You’re welcome.
Ingredients for Classic Double-Crust Apple Pie with Cinnamon and Nutmeg
Gather these simple ingredients – quality matters here, especially for the crust. I divide everything into two groups because that’s how my brain works when I’m elbow-deep in flour:
For the Perfect Pie Crust:
- 2 1/2 cups all-purpose flour (spooned and leveled, please – no packed cups!)
- 1 tsp salt (I use kosher, but table salt works too)
- 1 cup unsalted butter, chilled and diced into 1/2-inch cubes (yes, still cold when you use it – I pop mine in the freezer for 10 minutes before starting)
- 6-8 tbsp ice water (keep the glass in the freezer until the last second)
For That Irresistible Filling:
- 6 cups thinly sliced apples (about 5-6 medium apples – see my notes below about varieties)
- 3/4 cup granulated sugar (this measurement is perfect if your apples are tart – adjust if they’re sweeter)
- 1 tbsp lemon juice, freshly squeezed (none of that bottled stuff – it makes a difference)
- 1 1/2 tsp ground cinnamon (I use Ceylon for its delicate flavor)
- 1/4 tsp ground nutmeg (freshly grated if you’re feeling fancy)
- 1 tbsp unsalted butter, cut into tiny pieces (for dotting on top of the filling)
Ingredient Notes & Substitutions
After burning through countless batches (some literally), here’s what I’ve learned about these ingredients:
Apples: Granny Smith are my ride-or-die – their tartness balances the sugar and they hold their shape beautifully. But when I want sweeter vibes, Honeycrisp are magical (use just 1/2 cup sugar if you go this route). Avoid Red Delicious – they turn to mush.
Butter situation: Don’t even think about using soft butter for the crust. That chill creates steam pockets = flaky layers. In a pinch? Freeze your butter for 15 minutes while you prep other ingredients.
Sugar swap: Brown sugar adds caramel notes that pair amazingly with the spices. Use 1/2 cup packed dark brown + 1/4 cup white if you want that deep flavor (your kitchen will smell like Christmas).
How to Make Classic Double-Crust Apple Pie with Cinnamon and Nutmeg
Okay, let’s get our hands floury! I’ve broken this down into foolproof steps – follow these, and you’ll have pie perfection. Just promise me one thing: don’t skip chilling that dough. I’ve learned the hard way that impatience leads to tough crusts (and tears).
Step 1: Prepare the Pie Dough
First, grab that big mixing bowl and whisk together your flour and salt. Now comes the fun part: cutting in the butter. I use my trusty pastry blender (though forks or even clean fingers work in a pinch). You want pea-sized butter bits throughout – those little pockets are what create flaky magic when they melt in the oven.
Here’s my trick: drizzle in ice water 1 tablespoon at a time, mixing gently with a fork after each addition. Stop when the dough just holds together when pinched – it’ll look shaggy, not smooth. Overmixing? That’s enemy #1 for tender crust.
Divide the dough into two equal balls, flatten into disks (this helps with rolling later), and wrap tightly in plastic. Now the hardest part: chill for at least 1 hour. Seriously, set a timer and walk away. I use this time to prep apples and hide from snack-seeking family members.
Step 2: Assemble the Filling
While the dough chills, let’s tackle those apples. Peel and slice them about 1/4-inch thick – any thinner and they’ll turn to mush, any thicker and they won’t soften enough. Toss them with sugar, lemon juice, cinnamon, and nutmeg in a big bowl.
Now, walk away again! Let this mixture sit for 15 minutes. You’ll see liquid pooling at the bottom – that’s good! Drain most of it off (save a tablespoon or two for flavor) to prevent a soggy bottom crust. My grandma taught me this trick after we once had “apple soup in a pastry bowl.”
Step 3: Bake to Golden Perfection
Roll out your bottom crust to about 12 inches – I flour my surface and rolling pin lightly, turning the dough often to prevent sticking. Transfer it carefully to your pie dish (I fold it gently in quarters to move it).
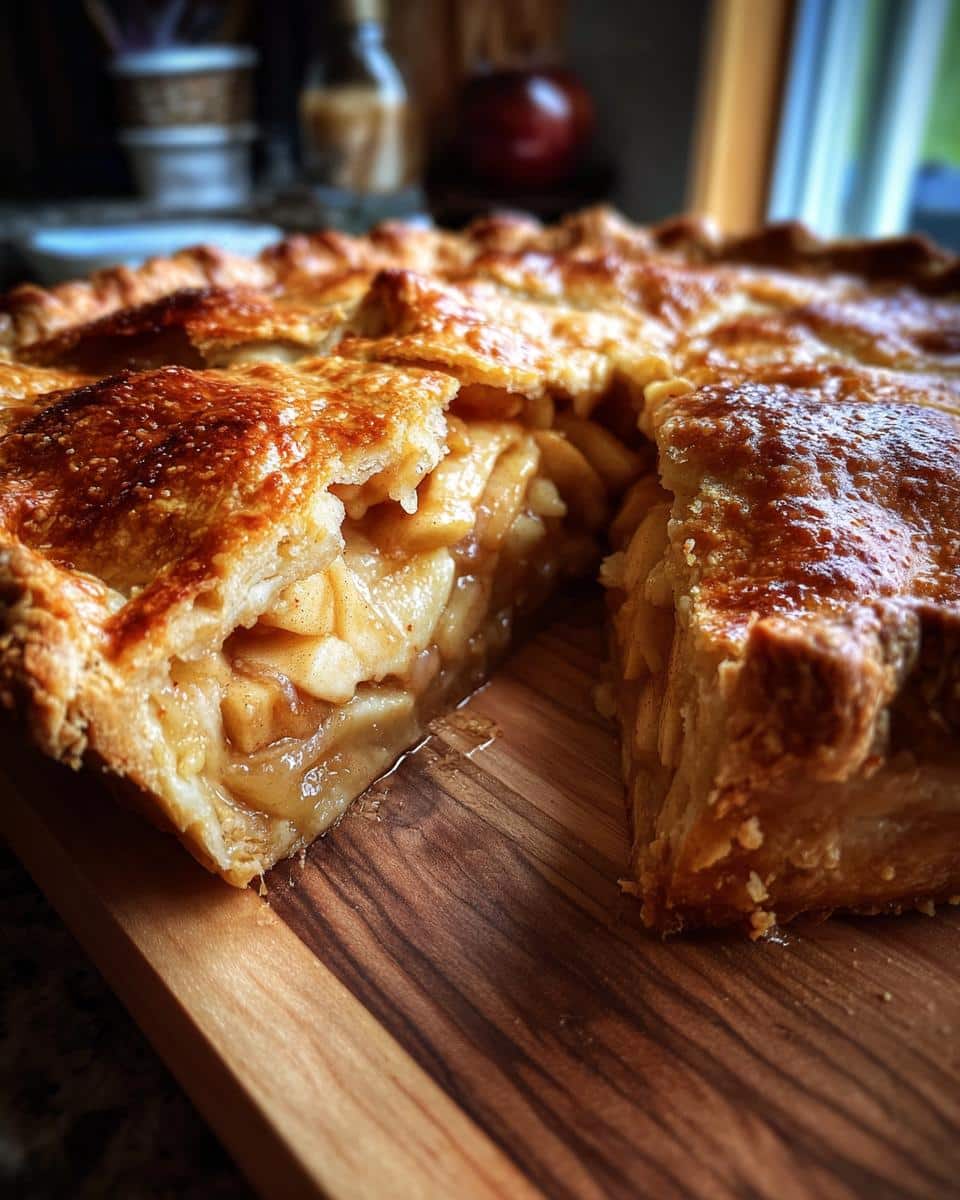
Pile in those gorgeous spiced apples, dot with butter pieces, then roll out the top crust. Lay it over the filling, trim the edges (leave about 1/2 inch overhang), and crimp however you like – my kids love making fork marks. Don’t forget to cut steam vents! I make 5-6 small slits in a star pattern because it’s pretty.
Bake at 425°F for 45-50 minutes, but here’s the pro move: after 15 minutes, tent the edges with foil to prevent over-browning. When golden and bubbling, pull it out and resist cutting for 2 hours (I know, torture). This sets the filling so you get neat slices instead of apple lava.
Tips for the Best Classic Double-Crust Apple Pie with Cinnamon and Nutmeg
After burning more crusts than I’d like to admit, here are my hard-won secrets for pie perfection:
- Chill like it’s your job: Cold dough equals flaky layers. If your kitchen’s warm, pop the rolled crust in the fridge for 10 minutes before filling.
- Apple prep is key: Those 15 minutes of draining? Non-negotiable. Wet filling = soggy bottom (and nobody wants that).
- Oven temp matters: Start hot (425°F) for the first 15 minutes to set the crust, then lower to 375°F if needed.
- Shine on: For a golden glow, brush the top crust with an egg wash (1 egg + 1 tbsp water) before baking.
Bonus tip: Keep extra dough scraps for cute leaf decorations – my kids love making them!
Serving and Storing Your Classic Double-Crust Apple Pie with Cinnamon and Nutmeg
Oh, that glorious moment when you finally get to slice into your masterpiece! Here’s how I serve this beauty for maximum wow factor:
Serve warm (but not piping hot) – About 15 minutes out of the oven is perfect. The filling will have set but still be gloriously tender. Top it with a scoop of vanilla ice cream that slowly melts into the steam vents – that contrast of warm pie and cold cream is pure magic.
Storage smarts: If by some miracle you have leftovers (doesn’t happen often in my house), here’s how to keep them happy:
- Room temp: Cover loosely with foil or a clean towel for up to 2 days. The crust stays crispest this way.
- Fridge: For longer storage (up to 4 days), refrigerate covered. Reheat slices in a 350°F oven for 10 minutes to revive the crust.
- Freezer hero: Wrap cooled pie tightly in plastic wrap, then foil. Freeze for up to 3 months. Thaw overnight in the fridge before reheating.
Pro tip from my pie-loving heart: Bake an extra one to freeze unbaked! Just assemble (don’t bake), wrap well, and freeze. When cravings hit, bake straight from frozen – add 15-20 minutes to the baking time.
Classic Double-Crust Apple Pie with Cinnamon and Nutmeg FAQ
Got questions? I’ve got answers! After years of trial and (many) errors, here are the top things people ask me about this recipe:
Can I use pre-made crust?
Yes, but… (you knew there was a “but” coming, right?). Store-bought crust will work in a pinch, but it won’t give you those shatteringly flaky layers that make this pie special. If you must go pre-made, look for the rolled kind in the refrigerated section – it’s slightly better than the frozen ones. But trust me, homemade is worth the extra 10 minutes!
How thin should I slice apples?
About 1/4-inch thick is the sweet spot – that’s roughly the thickness of two stacked quarters. Too thin and they’ll turn to mush; too thick and they won’t soften properly. My grandma used to say “slice them so you can still see daylight through them,” which terrified me as a kid until I realized she meant they should be translucent when held up to light!
Can I omit nutmeg?
You can, but the flavor won’t be quite as warm and complex. The nutmeg works with the cinnamon to create that classic “apple pie spice” flavor. If you’re really not a fan, try using just 1/8 teaspoon at first. But don’t skip it entirely unless you have to – it’s what makes people say “Mmm, what is that delicious flavor?” without being able to pinpoint it!
Nutritional Information
Okay, let’s be real – no one eats apple pie for the nutritional benefits (it’s basically happiness in crust form). But since we’re being grown-ups about it, here’s the breakdown per slice for this Classic Double-Crust Apple Pie with Cinnamon and Nutmeg. Heads up – these values are estimates and will vary depending on your exact ingredients and how generous those “slices” are!
- Calories: 320 (totally worth it)
- Fat: 14g (9g saturated – blame the glorious butter)
- Carbohydrates: 45g
- Sugar: 22g (mostly from those sweet apples and a little sugar magic)
- Protein: 3g (who knew pie could be protein-positive?)
- Fiber: 3g (thank you, apple skins!)
Pro tip from someone who’s eaten way too many test slices: Pair your piece with a scoop of protein-packed vanilla ice cream and call it a balanced meal. Or don’t – life’s short, eat the pie.
For more delicious recipes and baking inspiration, follow us on Pinterest!
Print
Grandma’s Magic 20-Year Classic Double-Crust Apple Pie Recipe
- Total Time: 2 hours 20 minutes
- Yield: 8 servings
- Diet: Vegetarian
Description
A timeless double-crust apple pie with warm cinnamon and nutmeg flavors.
Ingredients
- 2 1/2 cups all-purpose flour
- 1 tsp salt
- 1 cup unsalted butter, chilled and diced
- 6–8 tbsp ice water
- 6 cups thinly sliced apples (Granny Smith or Honeycrisp)
- 3/4 cup granulated sugar
- 1 tbsp lemon juice
- 1 1/2 tsp ground cinnamon
- 1/4 tsp ground nutmeg
- 1 tbsp unsalted butter (for topping)
Instructions
- Mix flour and salt in a bowl. Cut in chilled butter until crumbly.
- Add ice water 1 tbsp at a time until dough forms. Divide into two balls, flatten into disks, and chill for 1 hour.
- Preheat oven to 425°F (220°C). Roll out one dough disk into a 12-inch circle and place in a 9-inch pie dish.
- In a bowl, toss apples with sugar, lemon juice, cinnamon, and nutmeg. Pour into the crust.
- Dot with butter. Roll out the second dough disk, place over apples, and crimp edges.
- Cut slits in the top crust for venting. Bake for 45-50 minutes until golden.
- Cool for 2 hours before serving.
Notes
- Use cold butter for flaky crust.
- Prevent soggy crust by tossing apples with sugar and letting them sit for 15 minutes before baking.
- Cover edges with foil if browning too quickly.
- Prep Time: 1 hour 30 minutes
- Cook Time: 50 minutes
- Category: Dessert
- Method: Baking
- Cuisine: American