Skip to content
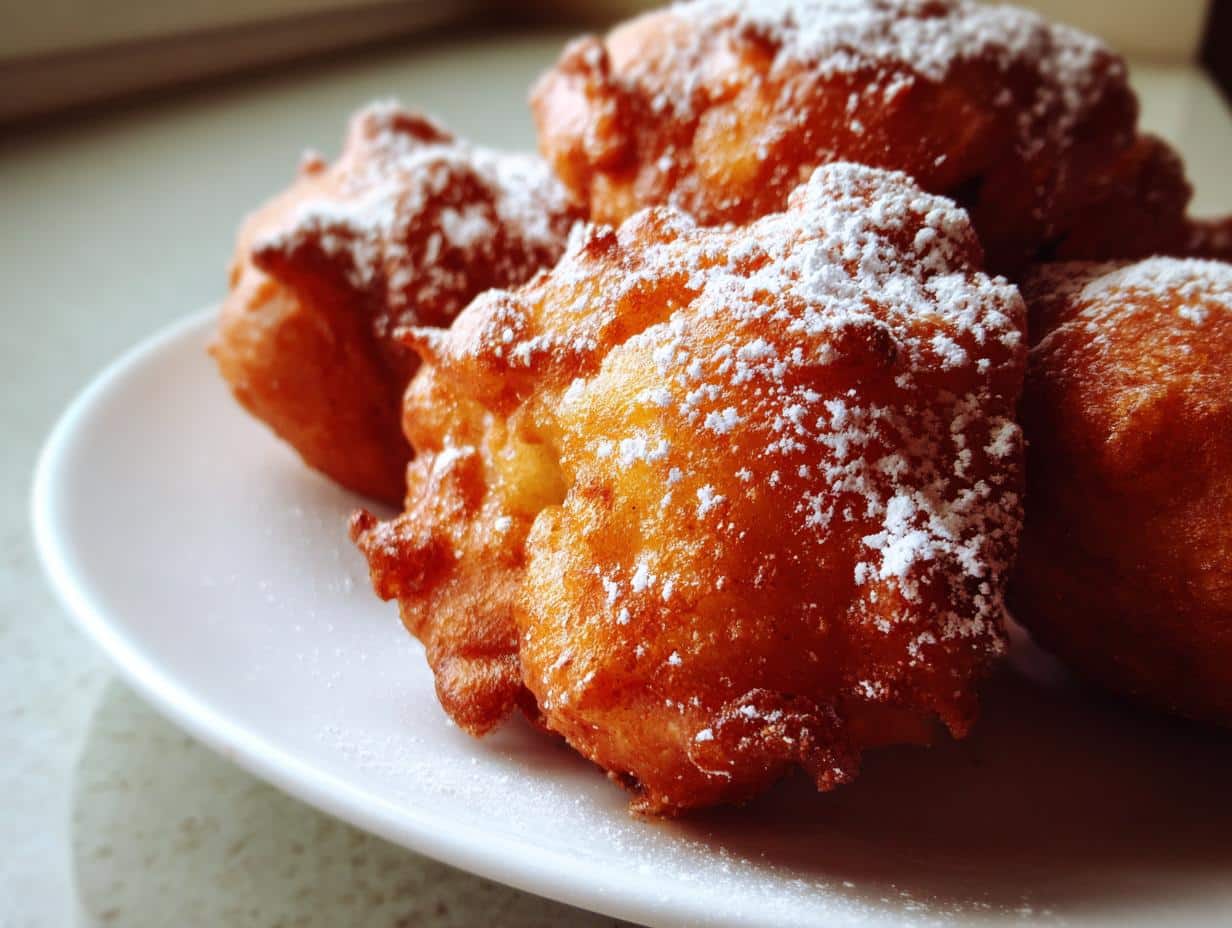
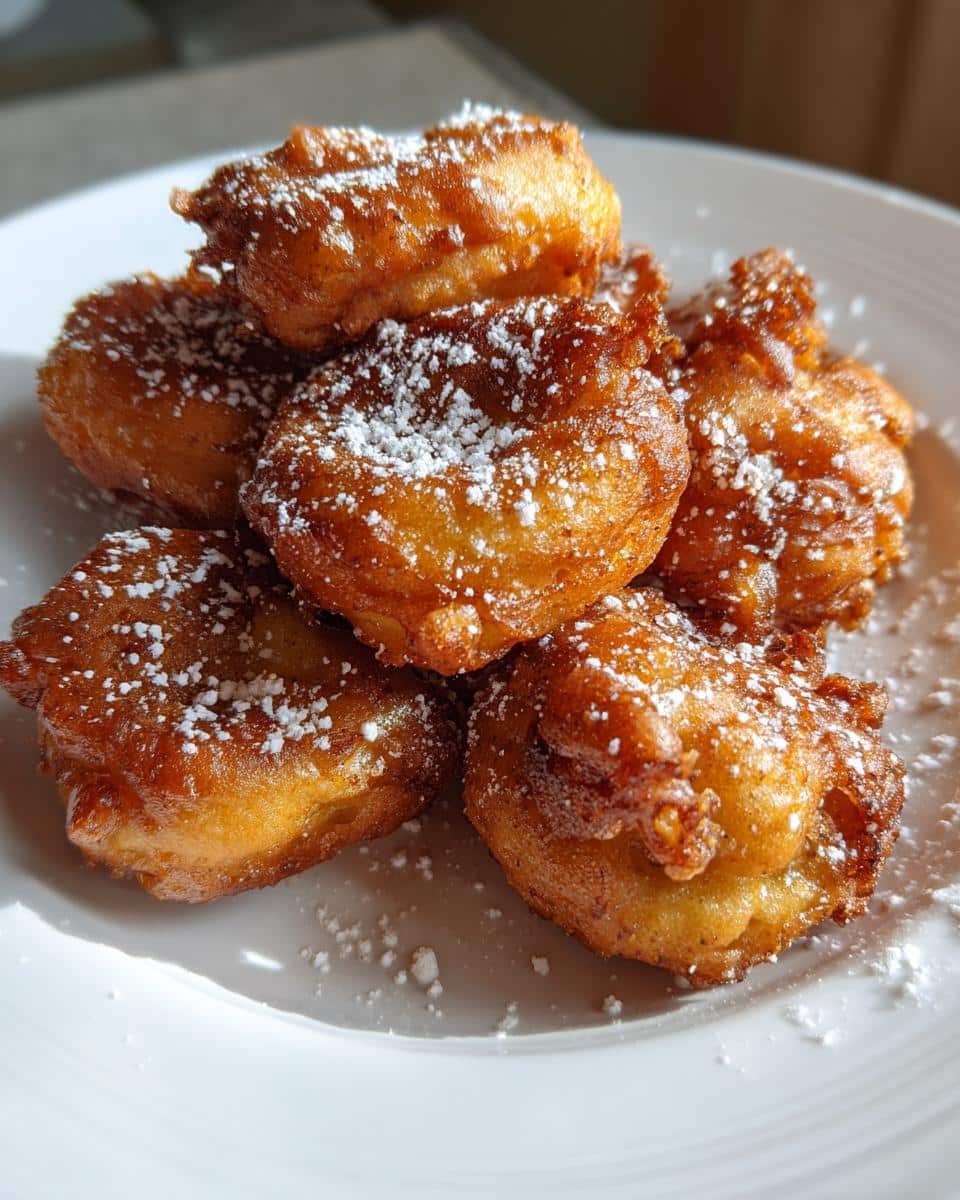
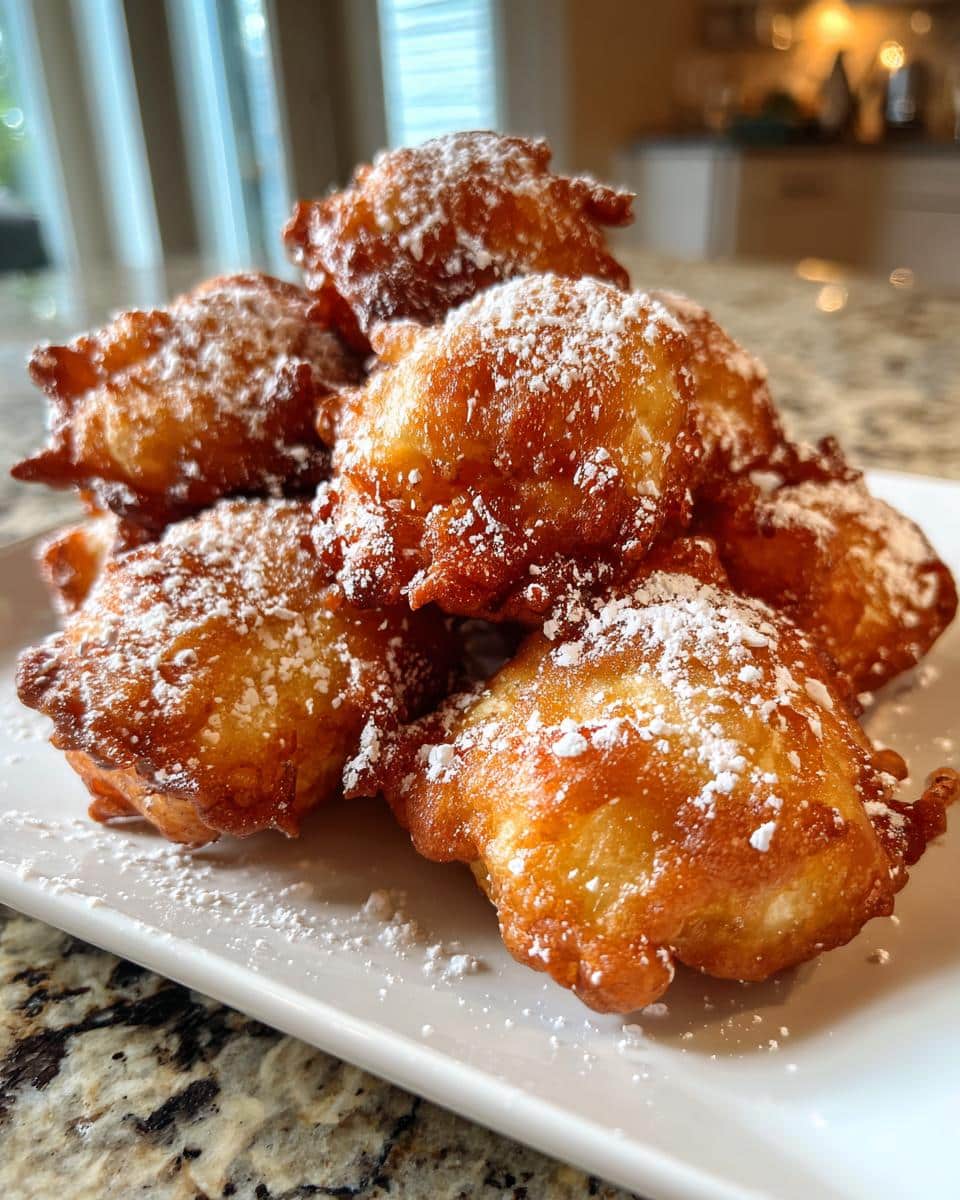
Oh my goodness, have I got a treat for you! These warm baked apple fritters are my absolute favorite way to enjoy apples without the guilt of deep frying. I remember the first time I made these – my kitchen smelled like a cozy autumn day, and my kids came running when the cinnamon scent hit the air. The best part? You get all that delicious, doughy goodness of traditional fritters, but baked instead of fried. My grandmother used to make fried apple fritters for special occasions, but this oven-baked version has become our everyday favorite. They’re perfect for breakfast with coffee or as a not-too-sweet dessert. Trust me, once you try these warm from the oven with that crispy golden exterior and soft, apple-packed center, you’ll never go back to the greasy ones again!
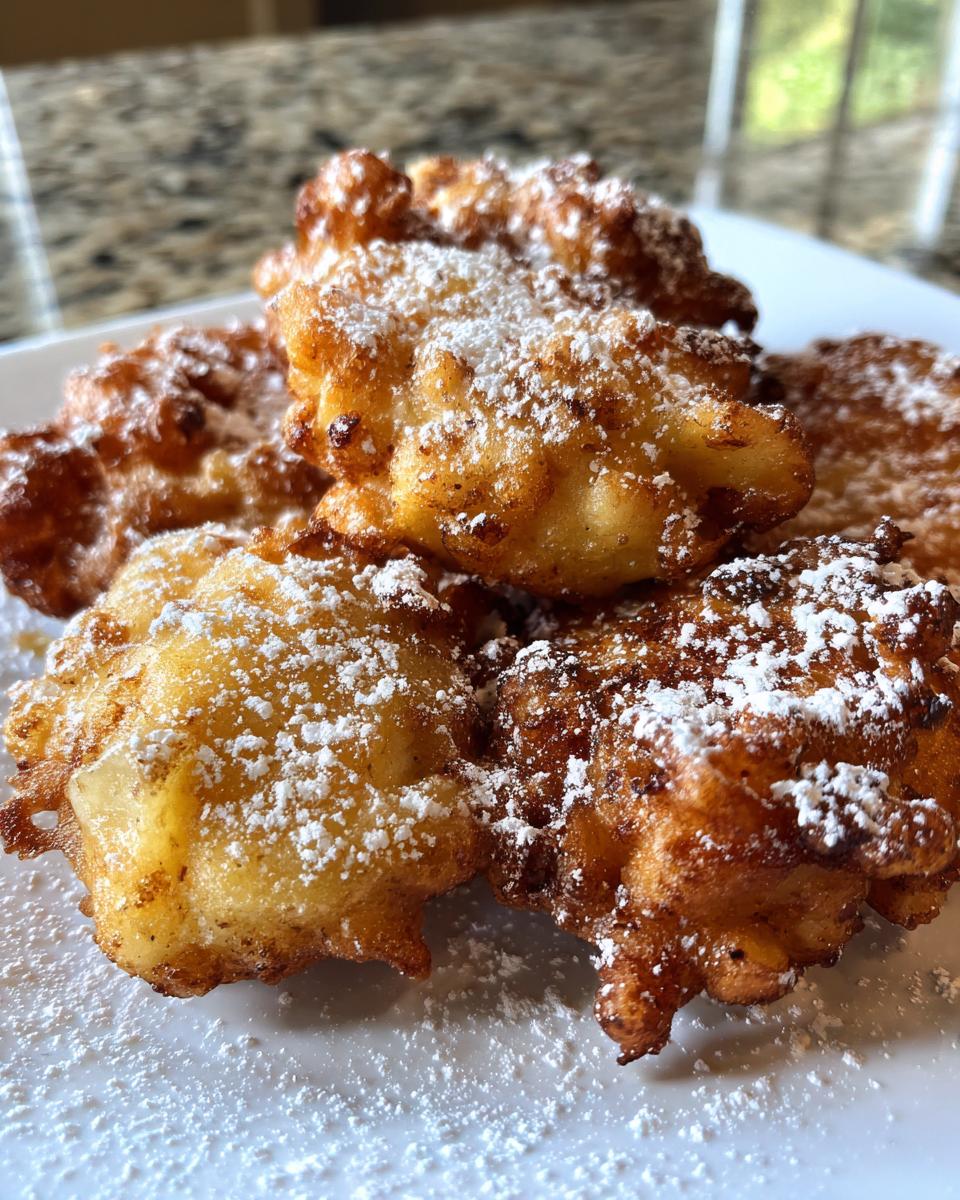
Table of contents:
Why You’ll Love These Warm Baked Apple Fritters
Oh, where do I even start? These little bundles of joy check all the boxes for the perfect homemade treat:
- Healthier without sacrificing flavor – All that crispy goodness without the oil bath? Yes please!
- Ready in 30 minutes flat – Faster than running to the bakery (and way more satisfying)
- Breakfast or dessert? You decide! Perfect with morning coffee or as an after-dinner treat
- Kid-approved magic – My picky eaters gobble these up before they even cool down
- That heavenly aroma – Your kitchen will smell like a cozy autumn day, I promise
The best part? You probably have everything you need already. Now let’s get baking!
Ingredients for Warm Baked Apple Fritters
Grab these simple ingredients – I bet you have most in your pantry already! The magic happens with:
- 2 cups all-purpose flour – spooned and leveled (no packing!)
- 1/4 cup granulated sugar – or brown sugar for extra warmth
- 1 tbsp baking powder – make sure it’s fresh!
- 1/2 tsp salt – balances all that sweetness perfectly
- 1 tsp cinnamon – the soul of this recipe, don’t skimp!
- 1/2 cup milk – any kind works, I often use almond milk
- 2 eggs – straight from the fridge is fine
- 2 tbsp melted butter – unsalted is my preference
- 1 tsp vanilla extract – pure vanilla makes all the difference
- 2 cups diced apples – Granny Smith hold their shape best
See? Nothing fancy – just good, honest ingredients that turn into something magical!
How to Make Warm Baked Apple Fritters
Okay, let’s dive into the fun part – making these heavenly fritters! I’ll walk you through each step so you get perfect results on your first try. The secret is in the mixing – we want tender, airy fritters, not hockey pucks!
Preparing the Batter
First, grab two bowls – one for dry ingredients, one for wet. Whisk together all the dry stuff (flour, sugar, baking powder, salt, cinnamon) until it’s evenly mixed. In the other bowl, beat the eggs lightly, then whisk in milk, melted butter and vanilla. Now here’s the trick: pour the wet into the dry ingredients and stir just until combined – lumps are okay! Overmixing makes tough fritters. Gently fold in those apple pieces until they’re evenly distributed. The batter should be thick enough to hold its shape on a spoon but still drop easily.
Baking to Perfection
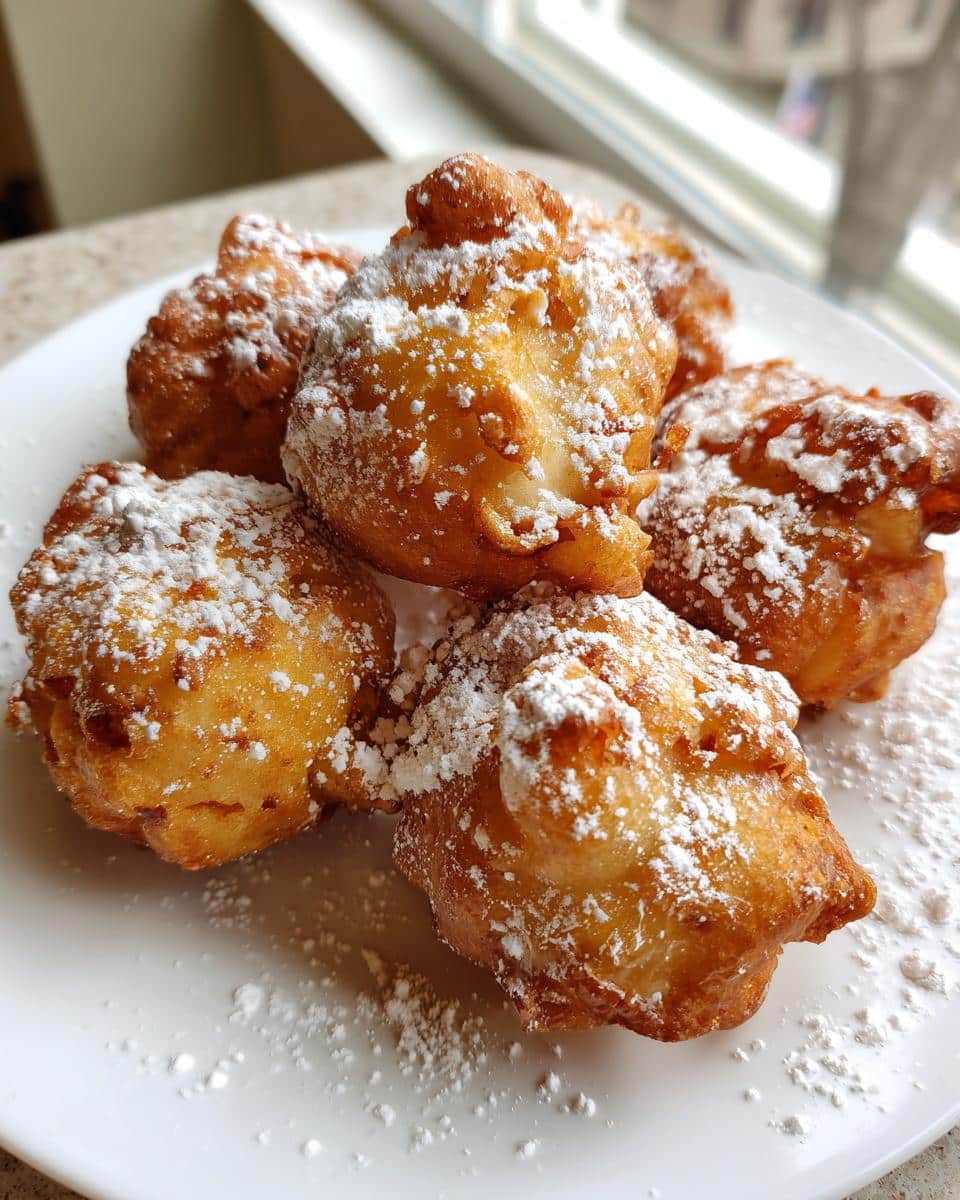
While you mix, preheat your oven to 375°F (190°C) – this is crucial! Line a baking sheet with parchment or grease it well. I use an ice cream scoop to drop generous mounds of batter, spacing them about 2 inches apart. They’ll spread a bit but stay nice and puffy. Bake for 15-20 minutes until they’re beautifully golden brown and a toothpick comes out clean. Oh, that first whiff when you open the oven door – pure happiness!
Tips for the Best Warm Baked Apple Fritters
After making these dozens of times (okay, maybe hundreds – we’re obsessed!), I’ve learned a few tricks:
- Keep your butter cold – Melt it just before using so it doesn’t lose its lifting power
- Taste your apples first – If they’re super sweet, reduce the sugar slightly
- Grease like you mean it – Nothing worse than fritters sticking to the pan!
- Don’t overdo the apples – More than 2 cups makes the batter too wet
- Let them rest 5 minutes – They’ll firm up perfectly before serving
Oh, and wear an apron – the apple juice makes this batter extra splattery! You can find more recipes here.
Ingredient Substitutions & Notes
Listen, I know we all sometimes need to improvise in the kitchen! Here are my tried-and-true swaps when I’m out of something:
- Milk: Any milk works – almond, oat, even orange juice in a pinch (yes really!)
- Sugar: Coconut sugar or maple syrup add lovely caramel notes
- Flour: Whole wheat flour works but makes denser fritters – I do half-and-half
- Add-ins: Toss in walnuts or pecans for crunch – about 1/2 cup max
But hear this – apple choice is non-negotiable! Granny Smith or Honeycrisp hold their shape best. Soft apples turn to mush, and nobody wants apple sauce fritters! For more apple inspiration, check out these apple fritter waffle donuts.
Serving & Storing Warm Baked Apple Fritters
Oh, the possibilities! My favorite way to serve these is still warm from the oven – just dusted with powdered sugar that melts into the nooks and crannies. For special mornings, we drizzle caramel sauce or a simple cinnamon glaze. They’re absolute heaven with a steaming cup of coffee! If (big IF) you have leftovers, store them in an airtight container at room temperature for up to 2 days. Pop them in the toaster oven for 5 minutes to recapture that fresh-from-the-oven magic.
Warm Baked Apple Fritters Nutrition Info
Here’s the scoop on what you’re enjoying (guilt-free!): Each fritter packs about 120 calories with 3g of that good butter fat and 1g of fiber from those fresh apples. Remember, nutritional values are estimates and vary by ingredients – but isn’t homemade always better than store-bought anyway?
FAQs About Warm Baked Apple Fritters
I get asked about these fritters all the time – here are the answers to your burning questions!
Can I freeze these apple fritters?
Absolutely! These baked apple fritters freeze like champs. Just cool them completely, then store in freezer bags with parchment between layers. They’ll keep for about 3 months. To serve, pop them straight into a 350°F oven for 10 minutes – they taste almost freshly baked!
Can I bake these in muffin tins instead?
Oh honey, I’ve tried every pan imaginable! Muffin tins work beautifully – just grease them well and fill cups about 2/3 full. You’ll get adorable individual portions that bake in about the same time. They won’t be quite as rustic-looking but taste just as delicious.
My batter seems too thick – should I add more liquid?
Resist the urge! This thick batter is what gives fritters their wonderful texture. If it’s truly unworkable (like cement!), add milk one tablespoon at a time until spoonable. But trust me – thick batter means light, airy fritters!
Can I make these gluten-free?
You bet! I’ve had great success with a 1:1 gluten-free flour blend. The texture changes slightly – they’re more delicate – but still utterly delicious. Just be extra gentle when folding in the apples. For more gluten-free options, explore our site.
What’s the best way to reheat leftovers?
My secret? The toaster oven! 5 minutes at 350°F brings back that perfect crispness. Microwaving makes them rubbery – don’t do it! For ultimate indulgence, split them and toast with butter… heaven!
For more delicious recipes and inspiration, follow us on Pinterest!
Print
55 Must-Try Warm Baked Apple Fritters You’ll Crave Daily
- Total Time: 30 minutes
- Yield: 12 fritters
- Diet: Vegetarian
Description
Enjoy these warm baked apple fritters, a healthier oven-baked version of the classic treat. Perfect for breakfast or dessert.
Ingredients
- 2 cups all-purpose flour
- 1/4 cup granulated sugar
- 1 tbsp baking powder
- 1/2 tsp salt
- 1 tsp cinnamon
- 1/2 cup milk
- 2 eggs
- 2 tbsp melted butter
- 1 tsp vanilla extract
- 2 cups diced apples
Instructions
- Preheat oven to 375°F (190°C).
- Mix flour, sugar, baking powder, salt, and cinnamon in a bowl.
- In another bowl, whisk milk, eggs, melted butter, and vanilla.
- Combine wet and dry ingredients, then fold in diced apples.
- Scoop batter onto a greased baking sheet.
- Bake for 15-20 minutes until golden brown.
- Optional: Dust with powdered sugar before serving.
Notes
- Use firm apples like Granny Smith for best texture.
- Store leftovers in an airtight container for up to 2 days.
- Prep Time: 10 minutes
- Cook Time: 20 minutes
- Category: Dessert
- Method: Baking
- Cuisine: American