Skip to content
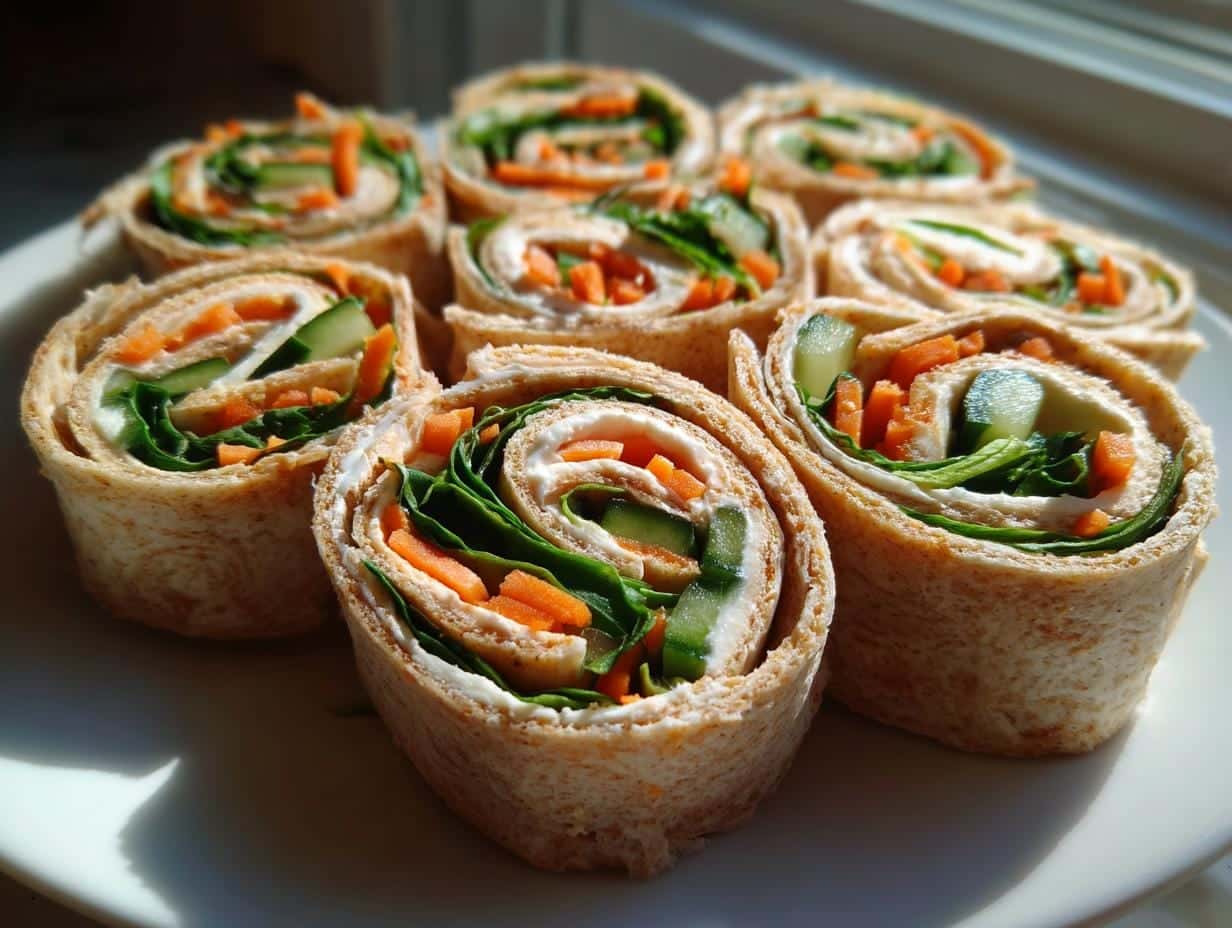
Let me tell you about the day pinwheel sandwiches saved my sanity. My toddler was in full “no-eat” mode—you know the phase where everything gets thrown on the floor? I was desperate for something fun, nutritious, and actually toddler-approved. That’s when these colorful toddler-friendly pinwheel sandwiches became our lunchtime superheroes.
What makes them magic? First, they’re ridiculously easy—no cooking required (hallelujah!). Second, they turn ordinary veggies into playful swirls that little fingers can’t resist. I still remember my daughter’s wide-eyed “wow!” when she saw her first rainbow pinwheel. Now they’re our go-to for playdates, picnics, and those days when even chicken nuggets get rejected. Pro tip: Make extras—you’ll want to steal a few for yourself!
Why You’ll Love These Toddler-Friendly Pinwheel Sandwiches
Listen, I know the struggle of feeding tiny humans who change their food preferences faster than I change my socks. That’s why these pinwheels are my secret weapon—here’s why they’ll be yours too:
- No-cook magic: Zero oven time means you can whip these up during naptime (or that chaotic 5pm witching hour).
- Hidden veggie ninja: The swirls disguise carrots and spinach like edible rainbows—my kid eats greens without realizing it!
- Playful portions: Those perfect little rounds turn lunch into finger food fun (goodbye, utensil battles).
- Mom-win flexibility: Use whatever’s in your fridge—swap turkey for ham, hummus for guac, or add cream cheese stars for extra giggles.
Trust me, these are the only “craft project” you’ll ever do that actually gets eaten!
Ingredients for Toddler-Friendly Pinwheel Sandwiches
Here’s the simple lineup for our lunchtime lifesavers—you probably have most in your fridge already! The best part? Everything’s customizable based on what your tiny food critic likes (or decides they hate this week).
- 4 large whole wheat tortillas (the sturdy ones hold up best when rolling)
- 1/2 cup cream cheese, softened (leave it on the counter for 20 minutes—no lumps!)
- 1/4 cup hummus (my secret glue that keeps everything together)
- 1/2 cup packed shredded carrots (grate them fresh for extra moisture)
- 1/2 cup paper-thin cucumber slices (mandoline makes this a 10-second job)
- 1/2 cup baby spinach leaves (torn into bite-sized pieces)
- 1/4 cup diced turkey or chicken (optional—we skip this on meatless days)
See? Nothing fancy—just real food that actually gets eaten! For more delicious ideas, check out our recipes.
How to Make Toddler-Friendly Pinwheel Sandwiches
Okay, let’s get rolling—literally! These pinwheels come together in about 15 minutes flat, and I’ll walk you through my foolproof method. The key is layering everything just right so your swirls stay pretty (and intact) when sliced. Here’s how we do it:
Step 1: Prep the Tortillas
First, lay those tortillas flat on a clean counter—no wrinkles! Spread the softened cream cheese in a thin, even layer, leaving about 1/2 inch bare at the top edge (this helps seal the roll later). Then comes the hummus—think of it as edible glue! I use the back of a spoon to spread it right over the cream cheese. Pro tip: If your tortillas seem dry, a quick 10-second zap in the microwave makes them more flexible.
Step 2: Add Fillings
Now for the fun part—rainbow assembly! Scatter your shredded carrots first (they stick best to the hummus), then layer on cucumbers, spinach, and turkey if using. The trick is to distribute everything evenly—too much in one spot makes rolling tricky. I pretend I’m sprinkling confetti, aiming for about 1-2 tablespoons of each veggie per tortilla. Leave that same 1/2-inch border at the top clean!
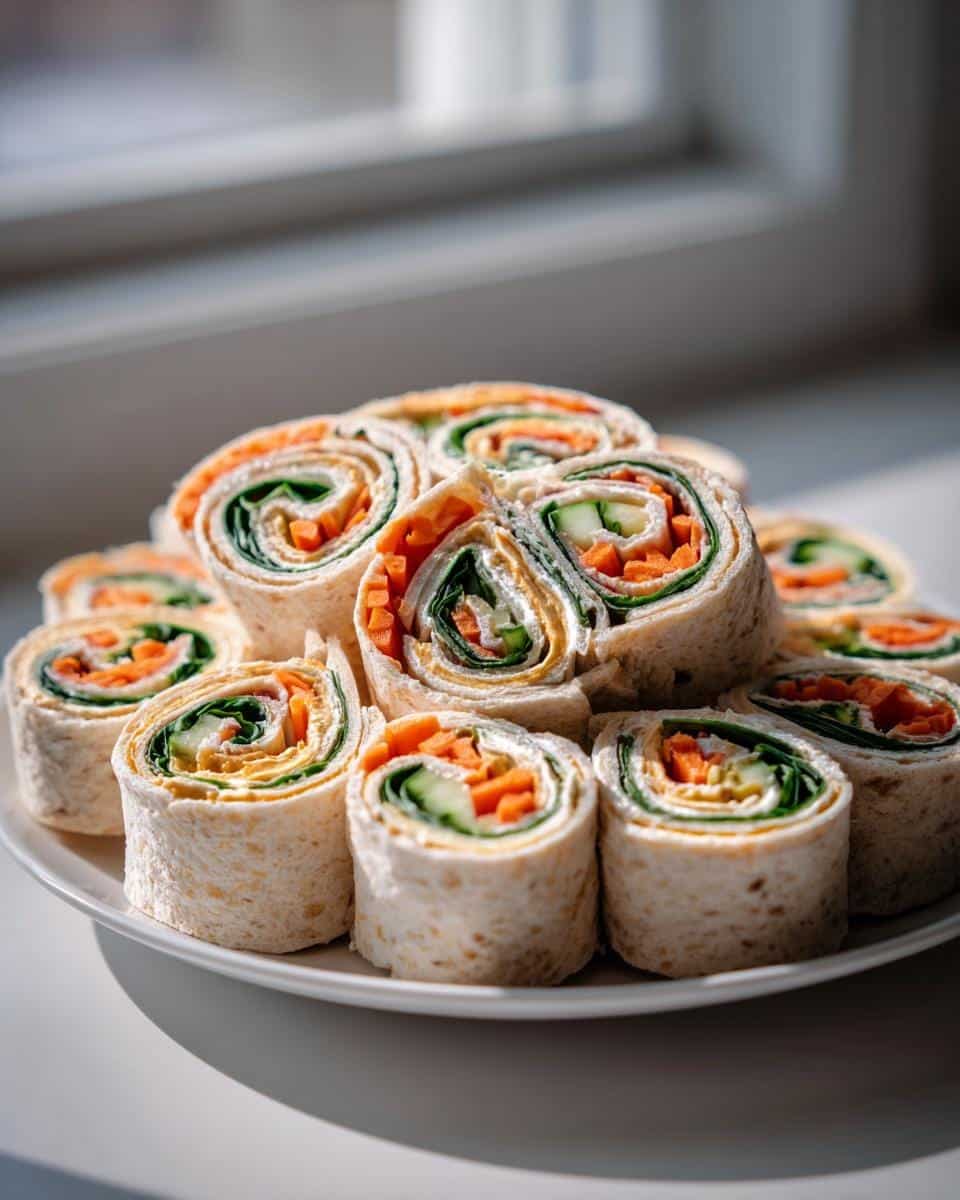
Step 3: Roll and Slice
Here’s where the magic happens: start rolling tightly from the bottom, tucking ingredients in as you go. Gentle pressure is key—too loose and your pinwheels unravel, too tight and fillings squish out. Once rolled, wrap each in plastic and chill for 15 minutes (this sets the shape). Then trim off the messy ends (chef’s snack!) and slice into 1-inch rounds with a sharp knife—wet the blade between cuts for super clean edges. Suddenly, lunch looks like a party!
Tips for Perfect Toddler-Friendly Pinwheel Sandwiches
After making approximately a zillion of these pinwheels (okay, maybe just hundreds), I’ve picked up some game-changing tricks:
- Chill before slicing: Pop those rolled tortillas in the fridge for 15 minutes—it firms everything up so your pinwheels hold their shape beautifully.
- Wet knife wizardry: Dunk your knife in warm water between cuts for ultra-clean edges (no squished swirls!).
- Layer strategically: Always put the stickiest ingredients (hummus, cream cheese) directly on the tortilla—they act like glue for the veggies.
Bonus tip: Let toddlers “help” assemble—they’re more likely to eat what they’ve created! You can find more helpful tips on our Pinterest page.
Ingredient Substitutions & Variations
The beauty of these pinwheels? You can mix and match based on what your toddler loves (or refuses to eat this week). Here are my favorite swaps that always work:
- Gluten-free? Use corn or almond flour tortillas—just warm them slightly so they don’t crack. For more gluten-free options, explore our site.
- Dairy-free? Mash ripe avocado or sunflower seed butter makes a perfect cream cheese alternative.
- Protein boosts: Try mashed beans, scrambled eggs, or even thin slices of tofu for vegetarian options.
- Veggie twists: Shredded zucchini, roasted peppers, or mashed sweet potato work beautifully.
See? Endless combos to keep lunchtime exciting (and avoid food ruts)!
Serving & Storage Tips for Toddler-Friendly Pinwheel Sandwiches
Here’s how to keep these pinwheels at their best: serve 2-3 pieces per toddler (they’re surprisingly filling!). If prepping ahead, store rolled-but-unsliced tortillas wrapped in damp paper towels inside an airtight container—they’ll stay fresh for 2 days. Sliced pinwheels taste best within 4 hours but keep refrigerated overnight in a pinch!
Nutritional Information
Each serving (2 pinwheels) packs about 120 calories with 4g protein—a balanced toddler snack! Remember, these are estimates that’ll vary slightly based on your specific ingredients and how generously you stuff those tortillas!
Frequently Asked Questions
Can I make toddler-friendly pinwheel sandwiches ahead?
Absolutely! Roll them up the night before and slice fresh in the morning—the fillings stay crisp that way. Just wrap uncut rolls tightly in plastic wrap with a damp paper towel to prevent drying.
How do I keep tortillas from getting soggy?
The cream cheese-hummus barrier is your best defense! Always spread it edge-to-edge to seal the tortilla. For extra insurance, pat veggies dry and avoid watery ingredients like tomatoes.
What’s the best way to cut pinwheels for little hands?
I slice them into 1-inch rounds, then sometimes quarter those for younger toddlers. The spiral shape makes them easy to grip—perfect for developing those pincer skills!
Can I freeze these?
The texture changes, but you can freeze rolled tortillas for 2 weeks. Thaw in the fridge overnight before slicing. Cream cheese versions hold up better than avocado-based ones.


2-Ingredient Toddler-Friendly Pinwheel Sandwiches That Never Fail
- Total Time: 15 mins
- Yield: 16 pinwheels
- Diet: Vegetarian
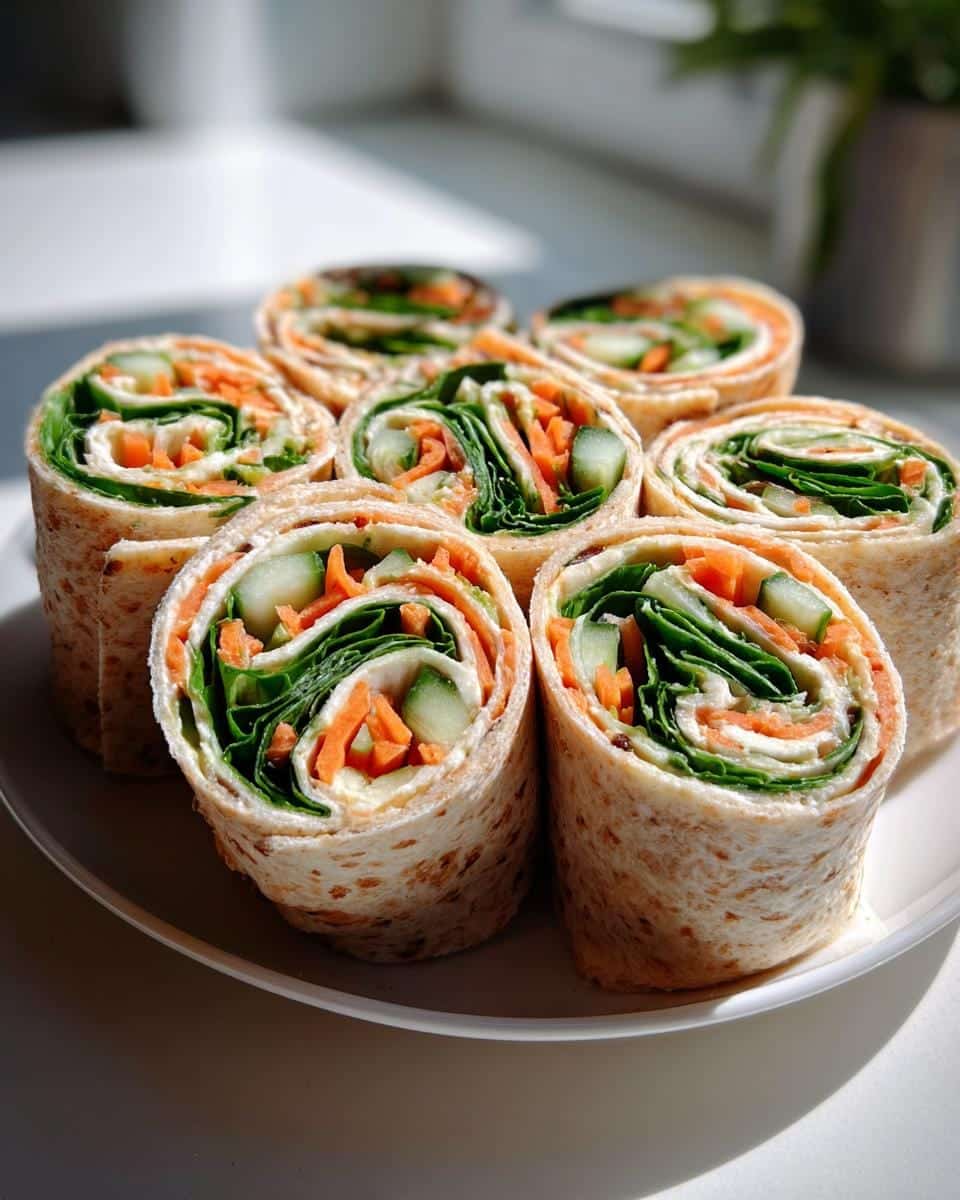
Description
Easy-to-make pinwheel sandwiches perfect for toddlers. These sandwiches are fun, colorful, and packed with nutritious ingredients.
Ingredients
- 4 large whole wheat tortillas
- 1/2 cup cream cheese, softened
- 1/4 cup hummus
- 1/2 cup shredded carrots
- 1/2 cup thinly sliced cucumbers
- 1/2 cup baby spinach leaves
- 1/4 cup diced turkey or chicken (optional)
Instructions
- Lay the tortillas flat on a clean surface.
- Spread a thin layer of cream cheese evenly over each tortilla.
- Add a layer of hummus on top of the cream cheese.
- Evenly distribute the shredded carrots, cucumbers, spinach, and turkey (if using).
- Roll each tortilla tightly.
- Trim the ends and slice into 1-inch pieces.
- Serve immediately or refrigerate for up to 2 hours.
Notes
- Use gluten-free tortillas if needed.
- Substitute cream cheese with mashed avocado for a dairy-free option.
- Cut into smaller pieces for younger toddlers.
- Prep Time: 15 mins
- Cook Time: 0 mins
- Category: Lunch
- Method: No-Cook
- Cuisine: American