Skip to content
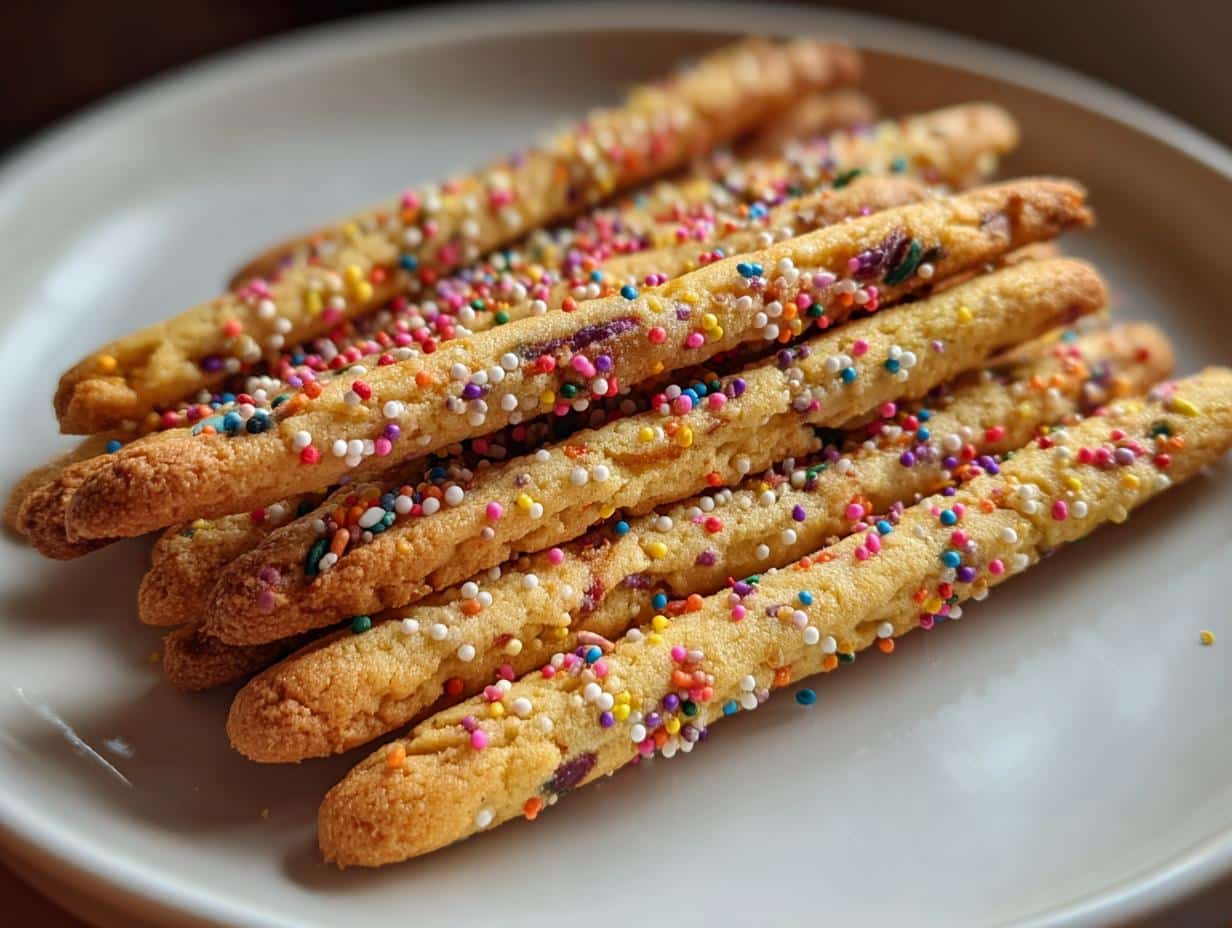
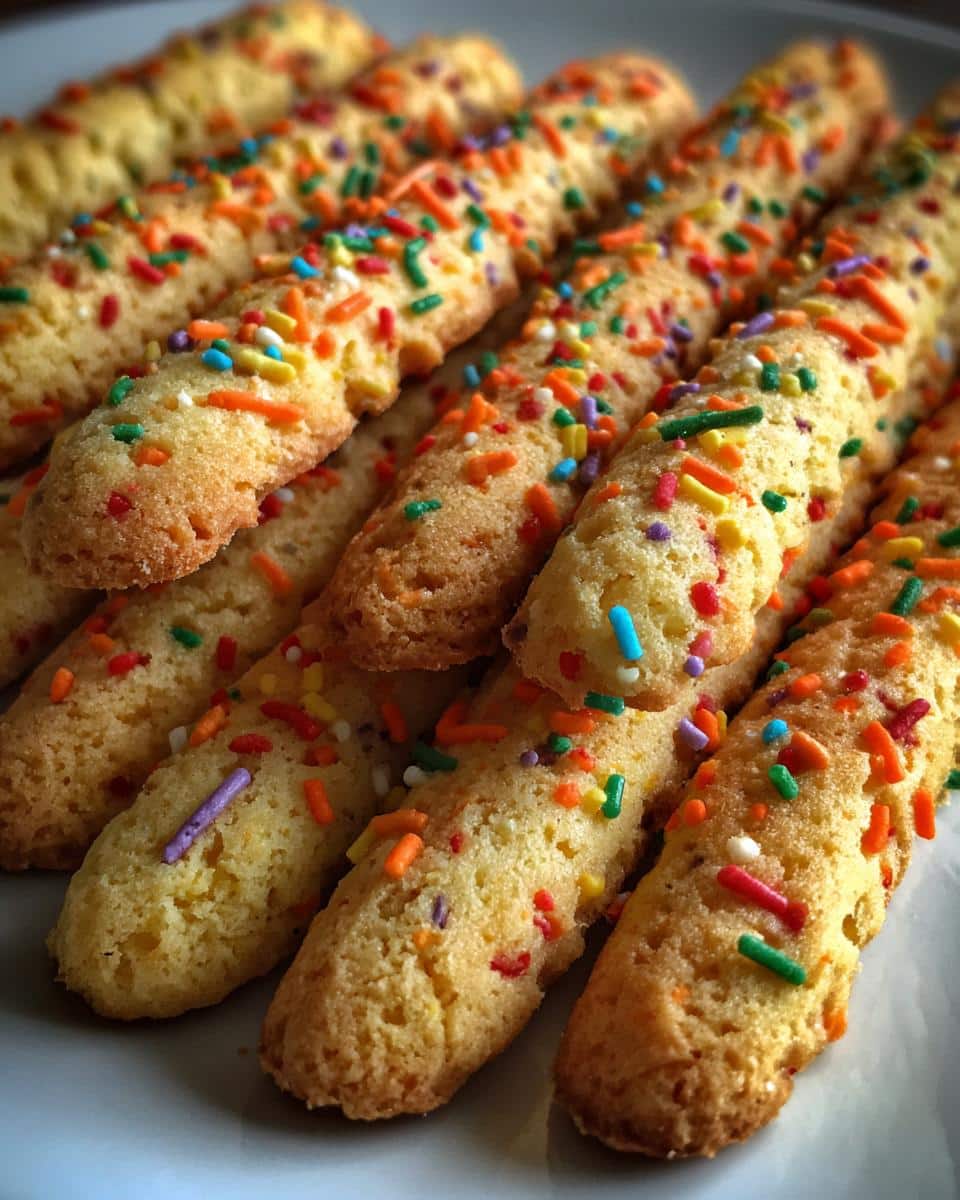
Halloween baking just got way more fun with these Spooky Sprinkle Rods! I first made these colorful treats for my niece’s costume party last year, and let me tell you—they disappeared faster than ghosts at sunrise. The kids went wild for the crunchy texture and festive sprinkles, while the adults secretly kept sneaking them too (I caught my brother-in-law with three in his pocket!).
What I love most is how simple they are—just basic cookie dough transformed into something magical with a handful of Halloween sprinkles. No fancy skills needed, just roll, bake, and watch everyone’s faces light up when they see these playful rods. They’re the perfect mix of spooky and sweet!
Why You’ll Love These Spooky Sprinkle Rods
Trust me, these aren’t your average cookies—they’re little sticks of Halloween magic! Here’s why they’ve become my go-to treat every October:
- Instant Halloween spirit: Those colorful sprinkles scream “celebration” before you even take a bite
- Kid-approved fun: My niece’s friends always fight over who gets the most sprinkle-covered rod
- Foolproof baking: If you can mix dough and roll a snake (hello, kindergarten skills!), you’ve got this
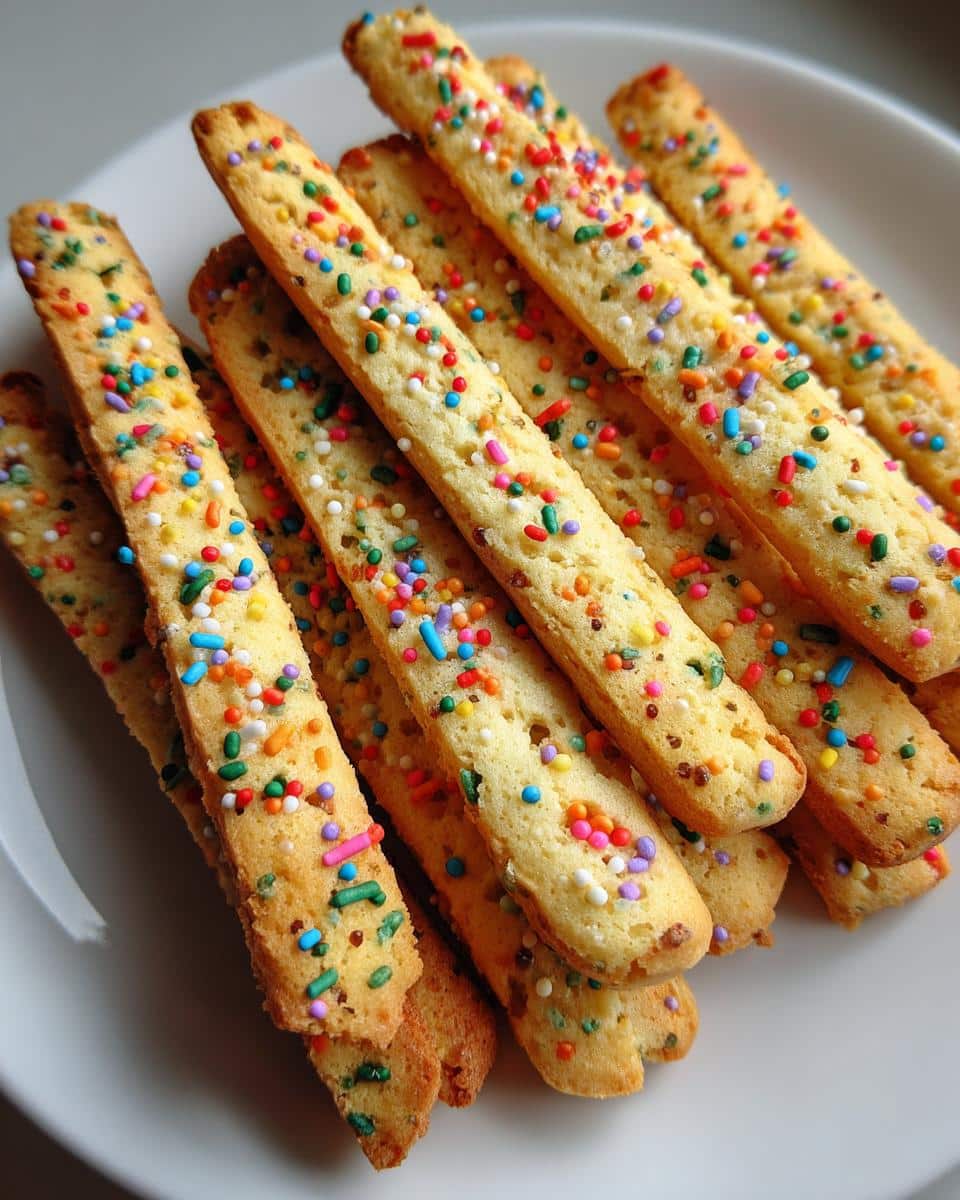
- Party perfect: They look fantastic piled high on a creepy cupcake stand
- Secret weapon: The crunch is so satisfying, you’ll eat half the batch before they cool
Ingredients for Spooky Sprinkle Rods
Here’s the magical lineup that transforms into those irresistible crunchy rods – and yes, every single ingredient matters! I learned the hard way when I once tried substituting margarine for butter (never again).
- 1 cup all-purpose flour – Spoon it into your measuring cup and level it off for perfect accuracy
- 1/2 cup granulated sugar – Plain white sugar lets those sprinkles shine
- 1/4 teaspoon salt – Just enough to balance the sweetness
- 1/2 cup unsalted butter, softened – Leave it out for 30 minutes until it yields to gentle pressure
- 1 large egg – Room temperature blends smoother into the dough
- 1 teaspoon vanilla extract – Pure vanilla makes all the difference
- 1/2 cup spooky-themed sprinkles – Look for orange, black, and purple mixes with bats, ghosts, or pumpkins
Pro tip from my sprinkle disasters: Measure your sprinkles after mixing the dough. Sometimes I get overexcited and dump in way too many (not that there’s really such a thing as too many sprinkles!).
Equipment You’ll Need
Don’t worry – you won’t need any fancy gadgets for these Spooky Sprinkle Rods! Just raid your kitchen for these trusty tools:
- Mixing bowl – My favorite is the chipped blue one I inherited from my mom (the chips add character!)
- Wooden spoon or spatula – Perfect for mixing without overworking the dough
- Baking sheet – Any standard size works – no need to grease if you use…
- Parchment paper – Lifesaver for easy cleanup and no sticking disasters
- Measuring cups and spoons – Eyeballing it leads to sprinkle rod tragedies
That’s it! Well, besides an oven and your hands for rolling. I’ve made these in college dorms with just these basics – they’re that forgiving. Though I will admit, the time I tried using a drinking glass to roll the dough? Let’s just say we got some… creatively shaped rods that year!
How to Make Spooky Sprinkle Rods
Okay, let’s turn that dough into magic! I’ve made these dozens of times, and I promise – it’s easier than carving a pumpkin. Just follow these steps and you’ll have the most adorable Halloween treats in no time.
Mixing the Dough
First things first – preheat that oven to 350°F (175°C). No cheating here – a properly heated oven is key to getting that perfect crunch. While it’s warming up:
- Whisk the dry team: In your trusty mixing bowl, combine the flour, sugar, and salt. Give it a good whisk – I like to imagine I’m stirring a witch’s potion as I do this!
- Welcome the wet ingredients: Add the softened butter (test it with your finger – it should dent easily but not be greasy), egg, and vanilla. Now comes the fun part – mix everything together until it forms a soft dough. My arm gets a workout here, but it’s worth it!
- Sprinkle time! Gently fold in those festive sprinkles. Don’t overmix or the colors might bleed. The dough should look like a happy Halloween party at this point.

Shaping and Baking
Here’s where the magic happens – transforming that dough into perfect little rods:
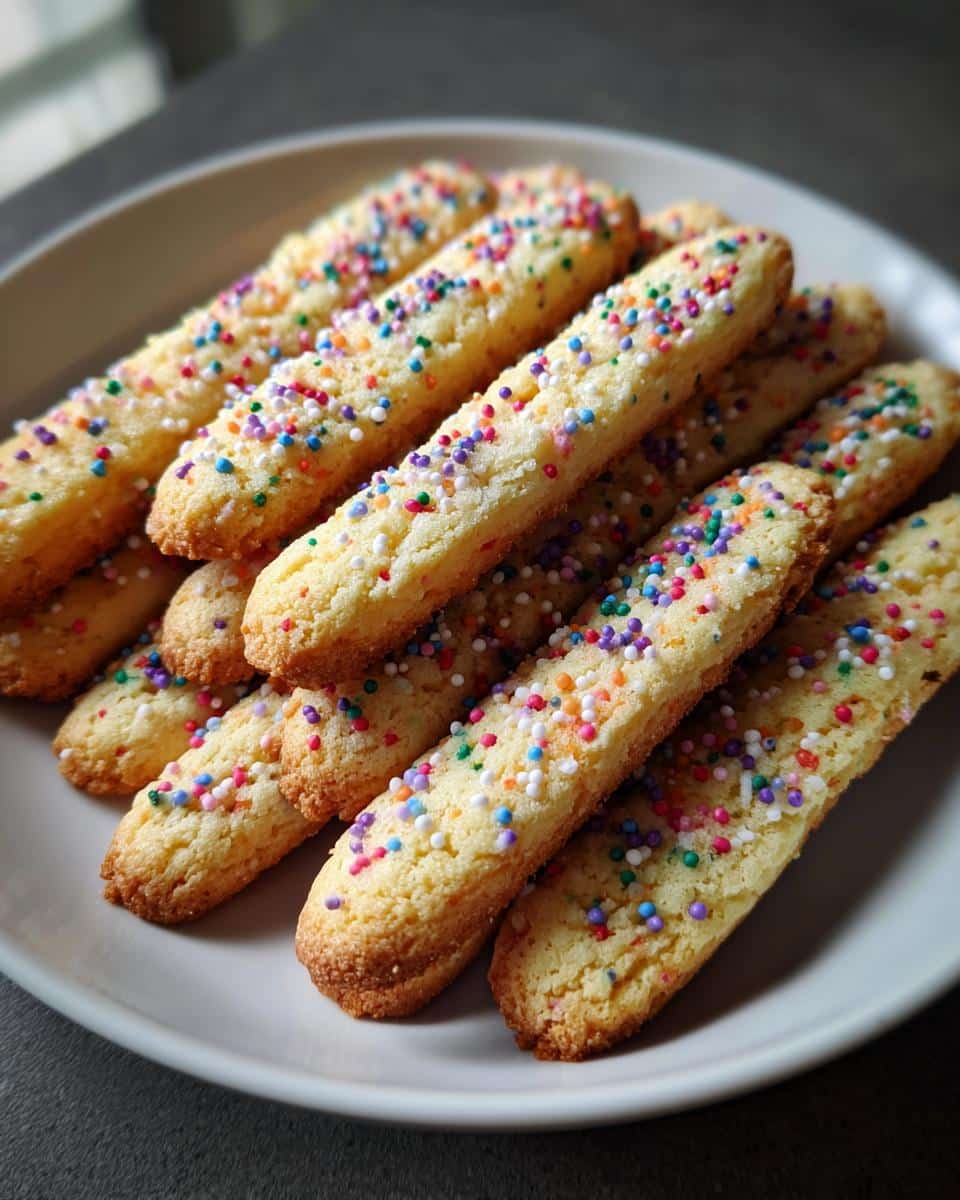
- Roll with it: Pinch off small pieces (about 1 tablespoon each) and roll them between your palms into thin rods, about 4 inches long. Think “Play-Doh snake” thickness – they’ll puff up slightly in the oven.
- Space cadets: Arrange them on your parchment-lined baking sheet about 1 inch apart. They need their personal space so they can crisp up properly!
- Bake to perfection: Pop them in the oven for 12-15 minutes. Watch closely near the end – you want those edges just lightly golden. They’ll firm up as they cool, so don’t overbake!
- The hardest part: Let them cool completely on the baking sheet. I know, I know – the smell is irresistible, but trust me, that cooling time makes them extra crunchy.
See? Told you it was easy! Now try not to eat them all before your Halloween party. (No judgment if you “sample” a few – quality control is important!)
Tips for Perfect Spooky Sprinkle Rods
After countless batches (and a few hilarious failures), I’ve learned all the tricks to make these Spooky Sprinkle Rods absolutely foolproof. Here are my hard-earned secrets:
- Chill out: If your dough feels sticky, pop it in the fridge for 15 minutes. This makes rolling those perfect rods SO much easier – no more dough stuck to your fingers!
- Sprinkle shower: After rolling the rods, roll them lightly in extra sprinkles before baking. Double the sprinkles = double the fun (and Instagram appeal).
- Size matters: Keep your rods uniform so they bake evenly. I use a tablespoon measure to portion the dough – my niece calls it making “cookie caterpillars.”
- Golden rule: The edges should just barely start turning golden when you pull them out. They’ll continue firming up as they cool into that perfect crunch.
- Sprinkle insurance: Always buy extra sprinkles! I learned this the hard way mid-baking when I realized my “half cup” was more like three tablespoons.
My favorite trick? Make a double batch and freeze half the dough wrapped in plastic. Then you’ve got instant Halloween magic whenever surprise guests arrive (or when you need a midnight snack)!
Variations for Spooky Sprinkle Rods
Here’s the best part about these rods – they’re like a blank canvas for any occasion! Once you’ve mastered the basic recipe, try these fun twists that have become favorites in my kitchen:
Holiday Makeovers
Swap those Halloween sprinkles for other festive mixes and suddenly you’ve got a whole new treat:
- Christmas Cheer: Red and green sprinkles with tiny candy cane bits turn these into “Jingle Sticks” (my nephew’s name, not mine!)
- Valentine’s Day: Pink and white hearts make adorable “Cupid’s Arrows” – perfect for classroom parties
- Fourth of July: Red, white, and blue stars create “Fireworks Rods” that disappear faster than actual fireworks
Flavor Twists
The basic dough is so versatile – just add one of these mix-ins to change up the flavor:
- Chocolate Monster: Replace 1/4 cup flour with cocoa powder for a fudgy version (add orange sprinkles for pumpkin vibes!)
- Alien Green: A few drops of mint extract + green food coloring = out-of-this-world flavor
- Pumpkin Spice: Add 1/2 teaspoon pumpkin pie spice to the dough for that classic fall taste
My craziest experiment? Crushed potato chips in the dough for a sweet-salty combo that surprisingly worked! The key is keeping that dough-to-mix-in ratio balanced – too many add-ins and they won’t hold their rod shape. Now go wild and create your own signature version!
Storage and Serving Suggestions
Okay, here’s the deal – these Spooky Sprinkle Rods rarely last long enough to need storage (I’ve seen my niece’s friends inhale a whole batch in minutes). But just in case you have superhero-level willpower, here’s how to keep them fresh and serve them up in style!
Keeping Them Crunchy
The secret to maintaining that perfect crunch is an airtight container at room temperature. I swear by my grandma’s old cookie tin – it keeps them fresh for up to 5 days (theoretically – mine never last that long). Pro tip: Layer them with parchment paper so they don’t stick together. And whatever you do, don’t refrigerate them! That’s a surefire way to turn your crunchy rods into sad, soggy sticks.
Halloween Party Perfection
Presentation is everything with these treats! Here are my favorite ways to serve them:
- Spooky Stick Stand: Arrange them standing up in a tall glass filled with black candy beads – looks like a witch’s potion experiment gone right!
- Graveyard Scene: Stick them vertically into a foam block covered with Oreo “dirt” – instant edible tombstones
- Monster Mouths: Pair with small bowls of melted chocolate for dipping – the rods become monster fangs!
The Perfect Pairings
While these rods are delicious solo, they’re even better with:
- Cold milk: Classic combo – the creamy milk balances the crunch perfectly
- Pumpkin spice latte: For adults who want to feel fancy while eating kid treats
- Witch’s brew: Any green punch or soda makes a fun Halloween-themed pairing
Last Halloween, I set up a “Dunking Station” with rods sticking out of a foam pumpkin and cups of warm apple cider for dipping. The kids went wild dunking them like witches stirring cauldrons! Just be ready to make another batch – these disappear fast once people start nibbling.
Nutritional Information
Let’s be real – we’re not eating Spooky Sprinkle Rods for their health benefits! But since everyone asks, here’s the scoop on what’s in these colorful treats. Remember, these numbers can change based on your exact ingredients (especially if you go wild with extra sprinkles like I usually do!).
- Calories: About 90 per rod – perfect for sneaking just one… or five
- Fat: 4g (2.5g saturated) – thank you, delicious butter!
- Carbs: 12g – mostly from that sugar rush we all crave
- Protein: Just 1g – let’s call it “energy sprinkles”
- Sugar: 6g – the happy-making kind
- Sodium: 30mg – barely a ghost of salt
Important note: These estimates are based on making 20 rods from the recipe. If you make yours bigger (no judgment!), adjust accordingly. And hey – those sprinkles totally count as a vegetable serving in my book! Okay, maybe not… but Halloween calories don’t count, right?
Frequently Asked Questions
Over the years, I’ve gotten so many questions about these Spooky Sprinkle Rods – especially from panicked parents at 10pm the night before a Halloween party! Here are the answers to everything you might wonder (plus a few things you didn’t know you needed to ask):
Can I freeze these rods?
Absolutely! They freeze like champs in an airtight container for up to 2 months. My secret? Layer them with parchment paper so they don’t stick together. Thaw at room temperature for about 30 minutes before serving. The dough freezes well too – just wrap it tightly in plastic and freeze for up to 3 months. Thaw in the fridge overnight when you’re ready to bake.
Will gluten-free flour work?
Yes, but with a caveat. I’ve had success with 1:1 gluten-free flour blends (like Bob’s Red Mill), but the texture might be slightly more delicate. Add an extra tablespoon of flour if the dough seems too sticky. My celiac friend swears by adding 1/4 teaspoon xanthan gum for better structure – the rods hold their shape beautifully!
Help! My sprinkles bled color into the dough!
Oh no – we’ve all been there! Cheap sprinkles tend to bleed more. Next time, look for “nonpareils” or “confetti” sprinkles – they hold color better. For now? Call them “ghostly swirl rods” and pretend it was intentional! Another trick: fold sprinkles in at the very end and mix just until combined.
Can I make these ahead of time?
You’re speaking my language! The baked rods stay crunchy in an airtight container for up to 5 days (if they last that long). For ultimate freshness, I often bake them 1-2 days before an event. The dough itself keeps well in the fridge for 3 days – just let it sit at room temp for 15 minutes before rolling.
Why are my rods spreading too much?
Three likely culprits: 1) Butter was too soft (should indent slightly when pressed), 2) Oven wasn’t fully preheated, or 3) Dough needed a quick chill. My emergency fix? Pop the baking sheet in the freezer for 5 minutes before baking. Works like a charm every time!

Spooky Sprinkle Rods: 5 Tricks for Magical Halloween Treats
- Total Time: 30 mins
- Yield: 20 rods
- Diet: Vegetarian
Description
A fun and spooky treat perfect for Halloween, featuring colorful sprinkles and a crunchy texture.
Ingredients
- 1 cup all-purpose flour
- 1/2 cup granulated sugar
- 1/4 teaspoon salt
- 1/2 cup unsalted butter, softened
- 1 large egg
- 1 teaspoon vanilla extract
- 1/2 cup spooky-themed sprinkles
Instructions
- Preheat oven to 350°F (175°C). Line a baking sheet with parchment paper.
- In a bowl, mix flour, sugar, and salt.
- Add softened butter, egg, and vanilla extract. Mix until dough forms.
- Fold in the spooky sprinkles.
- Roll dough into thin rods or sticks, about 4 inches long.
- Place on the baking sheet, leaving space between each.
- Bake for 12-15 minutes or until edges are golden.
- Cool completely before serving.
Notes
- Store in an airtight container for up to 5 days.
- For extra crunch, bake for an additional 2 minutes.
- Prep Time: 15 mins
- Cook Time: 15 mins
- Category: Dessert
- Method: Baking
- Cuisine: American