Skip to content
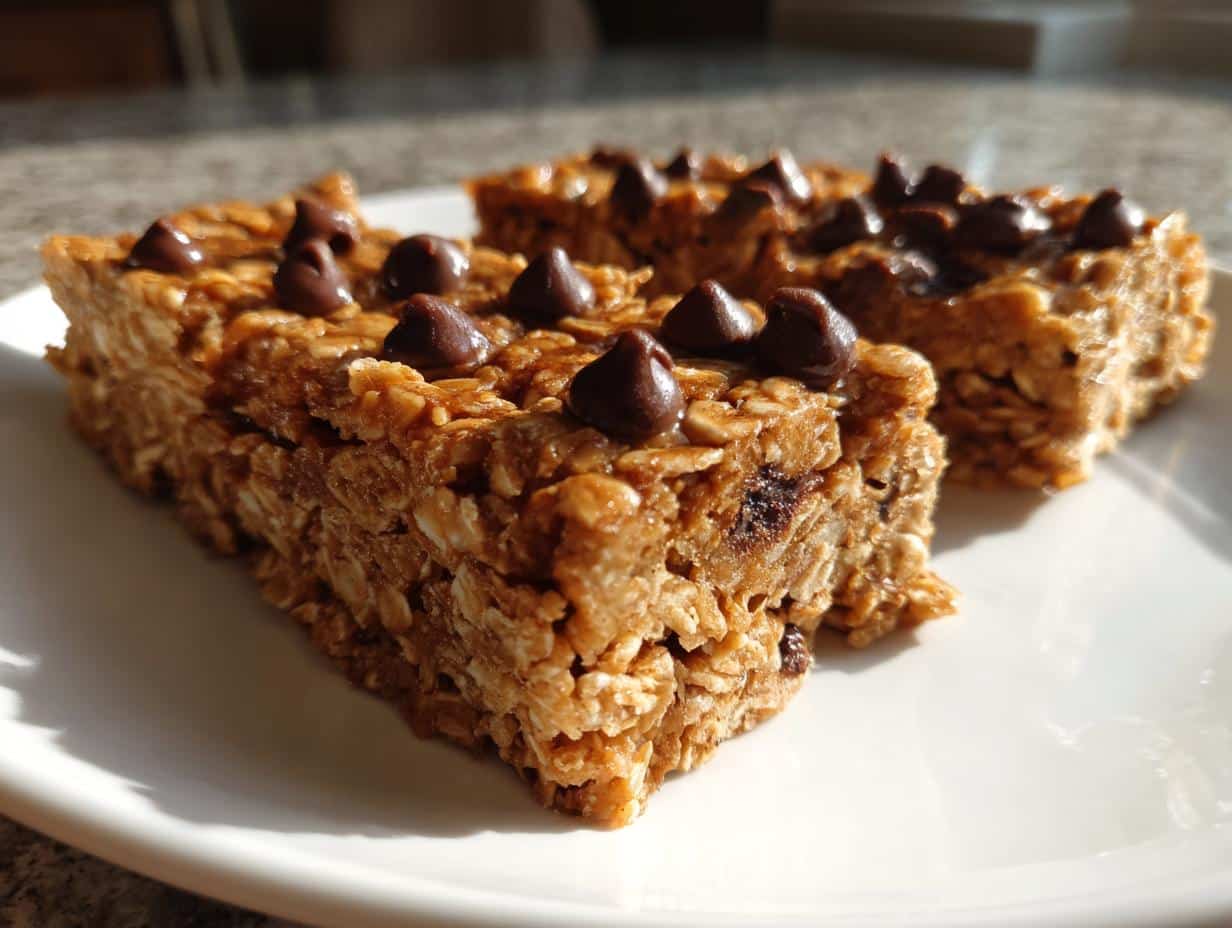
You know those days when you’re running from one thing to the next and suddenly realize you haven’t eaten since breakfast? That’s when these no-bake oat bars became my lifeline. I first threw them together in a panic when my kids needed snacks for soccer practice and I had exactly 10 minutes before we had to dash out the door. Turns out, that messy kitchen experiment turned into our family’s favorite grab-and-go treat. No oven, no fuss – just wholesome ingredients you probably already have in your pantry. The best part? They’re so simple that even my 8-year-old can make them (though she always “forgets” to clean up the sticky honey spoon afterward).
Why You’ll Love These No-Bake Oat Bars
Let me tell you why these oat bars have become my kitchen MVP. First off, they’re ridiculously easy – we’re talking mix, press, chill, done. No oven means no heatwave in your kitchen (perfect for summer!). They’re packed with real ingredients you can feel good about, unlike those mystery snacks from the store. The best part? You can tweak them endlessly – throw in some coconut, swap the peanut butter, or go wild with toppings. My neighbor Sarah calls them “emergency snacks” because they save her every time her kids have last-minute playdates. Trust me, once you try them, you’ll wonder how you ever lived without them!
Ingredients for No-Bake Oat Bars
Here’s what you’ll need to make these lifesaver snacks – I bet you’ve got most of this in your pantry right now! The magic happens with 2 cups rolled oats (not instant – trust me on this), 1/2 cup creamy peanut butter (the natural kind works great), and 1/3 cup honey (warm it slightly if it’s too thick). For that little extra something, grab 1/4 cup chocolate chips (mini ones distribute better), 1 tsp vanilla extract, and just a pinch of salt to make all the flavors pop. That’s it – six simple ingredients for snack perfection!
How to Make No-Bake Oat Bars
Okay, let’s get to the fun part – making these ridiculously easy oat bars! I promise it’s so simple you could do it half-asleep (I may or may not have tested this theory). Just follow these steps and you’ll have perfect snack bars every time.
Step 1: Prepare the Baking Dish
First things first – grab an 8×8 inch baking dish and line it with parchment paper. Leave some overhang on the sides – this is your golden ticket to lifting the whole slab out later without any crumbling disasters. A quick spritz of cooking spray under the parchment helps it stay put while you work.
Step 2: Mix the Ingredients
Now for the messy fun! Dump all your dry ingredients (oats, salt) into a big bowl. In another bowl, whisk together the peanut butter, honey, and vanilla until smooth. Pro tip: microwave the honey for 10 seconds if it’s too thick to mix easily. Pour the wet mixture over the oats and stir like crazy until every oat is coated and happy. The dough should hold together when pinched – if it’s too dry, add a splash more honey.
Step 3: Press and Chill
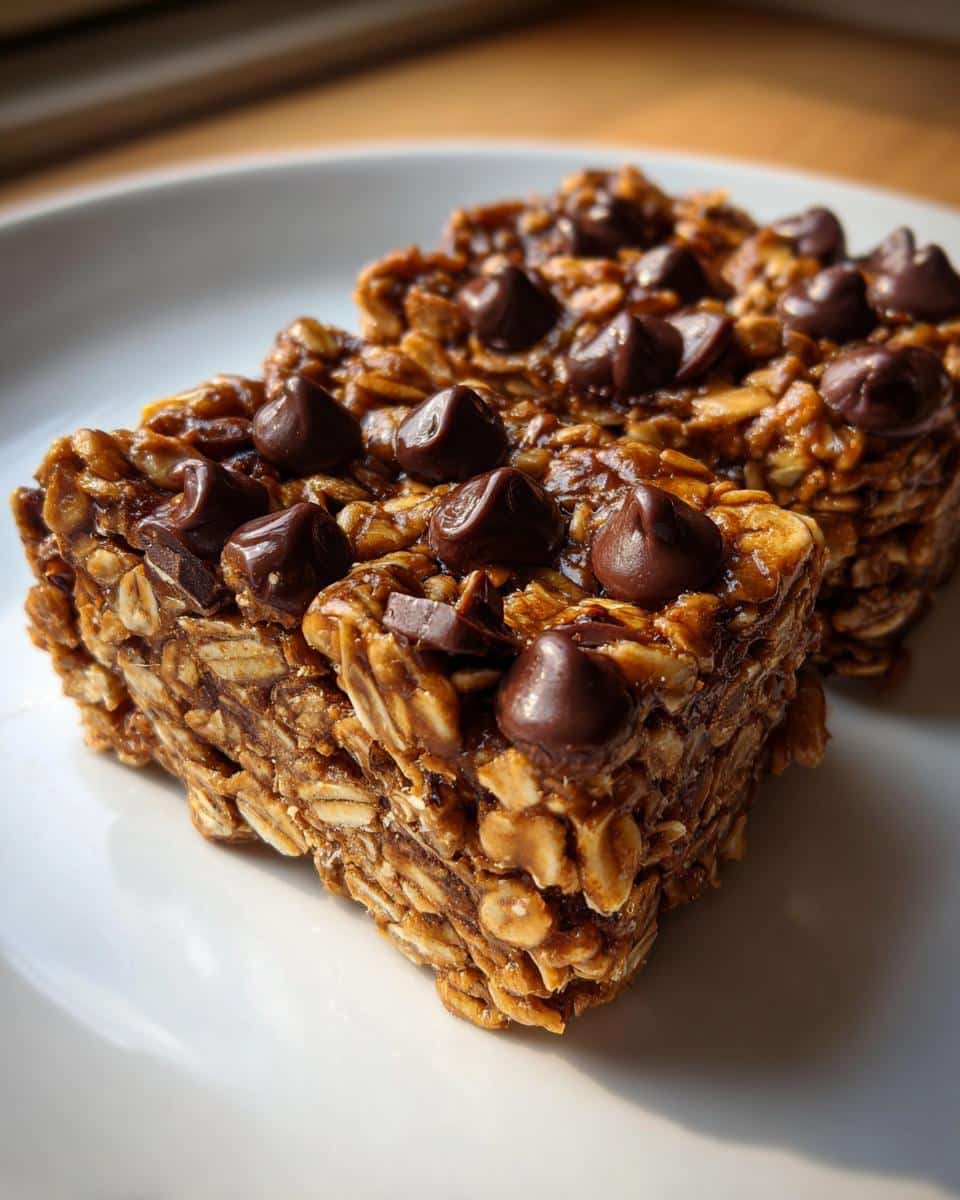
Here’s where muscle comes in – dump your mixture into the prepared pan and PRESS FIRMLY with your hands or a flat measuring cup. I mean really pack it down – this prevents crumbly bars later. Sprinkle chocolate chips across the top and gently press them in. Now the hardest part – walk away! Let it chill in the fridge for at least 2 hours (I know, torture) until set. Then use the parchment handles to lift it out and slice into bars with a sharp knife.
Tips for Perfect No-Bake Oat Bars
Listen up, because these little tricks make all the difference! First, warm your honey slightly – just 10 seconds in the microwave makes it pour like a dream and mixes way easier with the peanut butter. When pressing into the pan, really go to town – I’ve found using the bottom of a glass helps get those edges extra compact. Storage? Easy! Layer parchment between bars in an airtight container – they’ll keep fresh for a week (if they last that long). And if your kitchen’s warm, pop them in the fridge so they don’t get too soft. Trust me, these small touches take your bars from good to “where have you been all my life?” delicious!
Variations for No-Bake Oat Bars
Here’s the fun part – these bars are totally customizable! Swap out the peanut butter for almond butter or sunflower seed butter for a nut-free version. Want some crunch? Toss in chopped nuts or seeds. Craving something fruity? Add dried cranberries or chopped dates. Feeling fancy? Drizzle melted chocolate on top. Seriously, the possibilities are endless – make them your own!
Serving and Storing No-Bake Oat Bars
Here’s my foolproof system for keeping these bars perfect! I cut them into 8 generous rectangles – the ideal grab-and-go size. For storage, layer them between parchment in an airtight container at room temp for 3 days, or up to a week in the fridge (they never last that long in my house). Freezing? Absolutely! Just wrap individually and they’ll keep for 2 months – thaw 10 minutes before eating for that just-made texture.
Nutritional Information for No-Bake Oat Bars
Just so you know, these numbers can change depending on your exact ingredients, but here’s what you’re looking at per bar: about 180 calories with 5g protein and 3g fiber to keep you full. They’ve got natural sugars from the honey, but way less junk than store-bought snacks. My nutritionist friend gives them two thumbs up as an energy-boosting treat – just don’t tell her about my extra chocolate chip habit!
FAQs About No-Bake Oat Bars
Can I freeze these oat bars? Absolutely! Wrap them individually in plastic wrap or parchment, then pop them in a freezer bag. They’ll keep beautifully for up to 2 months. Just thaw for 10 minutes before munching.
Are these bars gluten-free? They can be! Just make sure your oats are certified gluten-free. Some brands process oats in facilities with wheat, so always check the label if it’s a concern.
Can I use quick oats instead of rolled oats? You can, but the texture will be softer. Rolled oats give that perfect chewy bite, so I’d stick with them if you can.
My bars are too crumbly – what went wrong? Oops! You probably didn’t press the mixture firmly enough. Next time, really pack it down – think “compacting sandcastle sand” level of pressure.
Share Your No-Bake Oat Bars
Did you make these oat bars? I’d love to hear how they turned out! Snap a pic of your creation and tag me – seeing your kitchen adventures makes my day. Happy snacking!