Skip to content
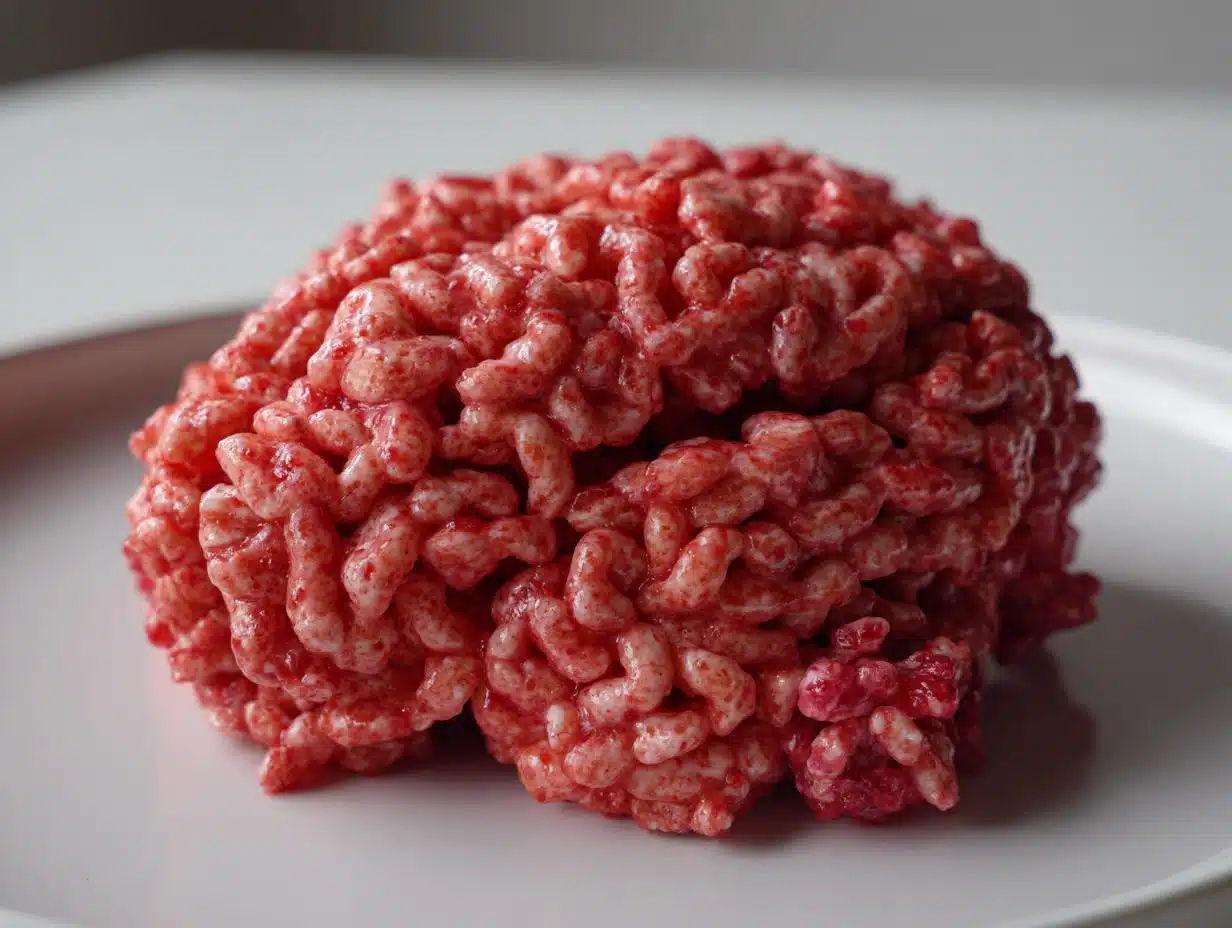
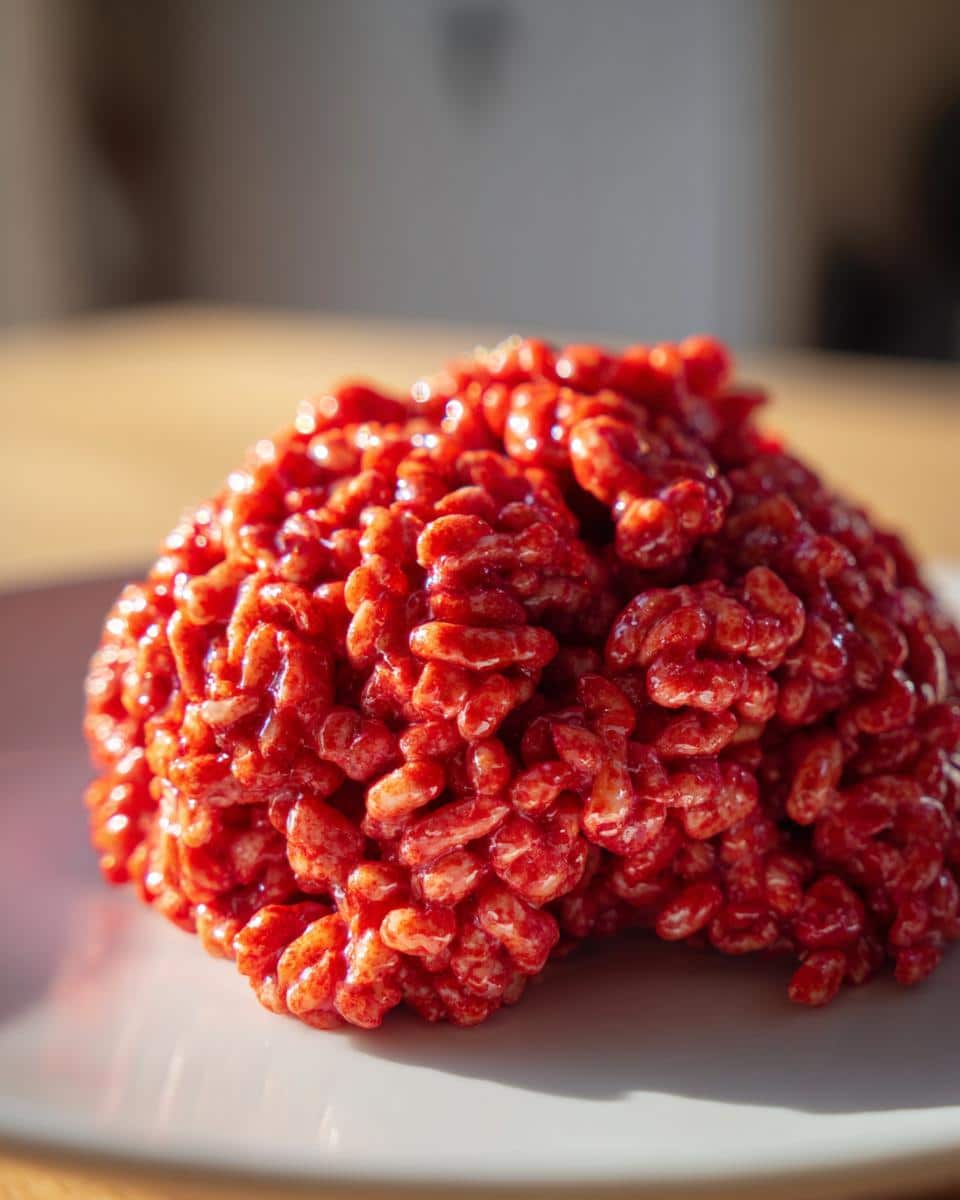
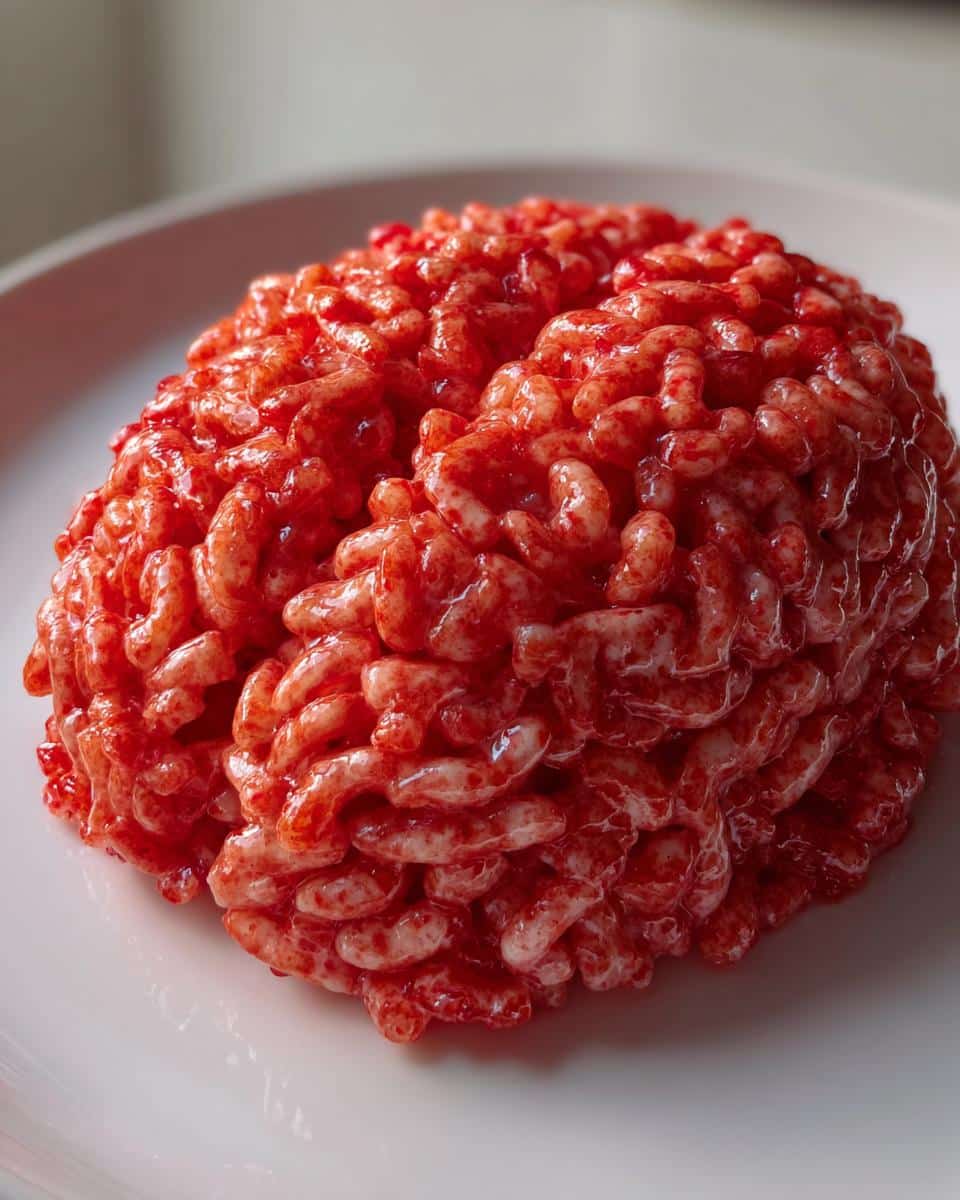
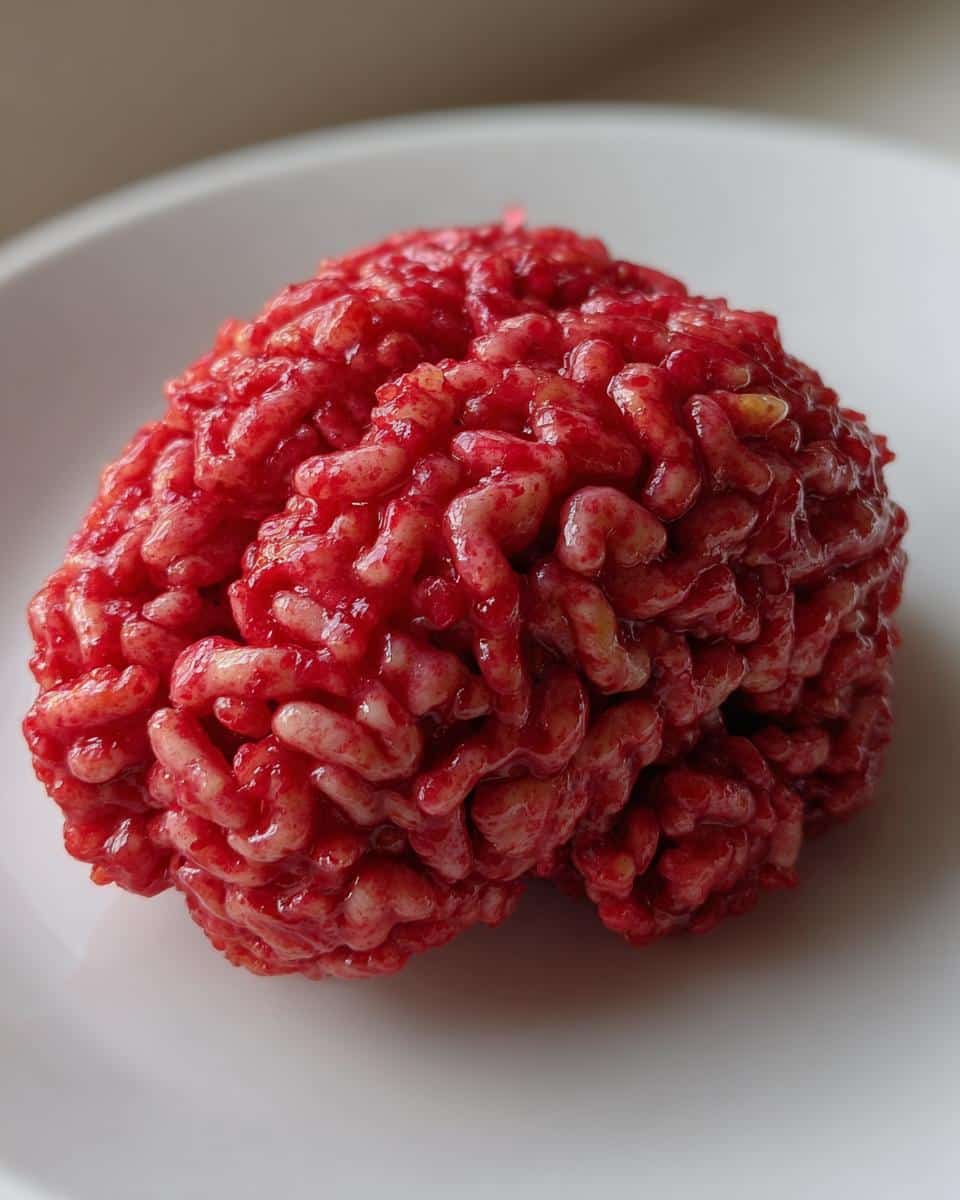
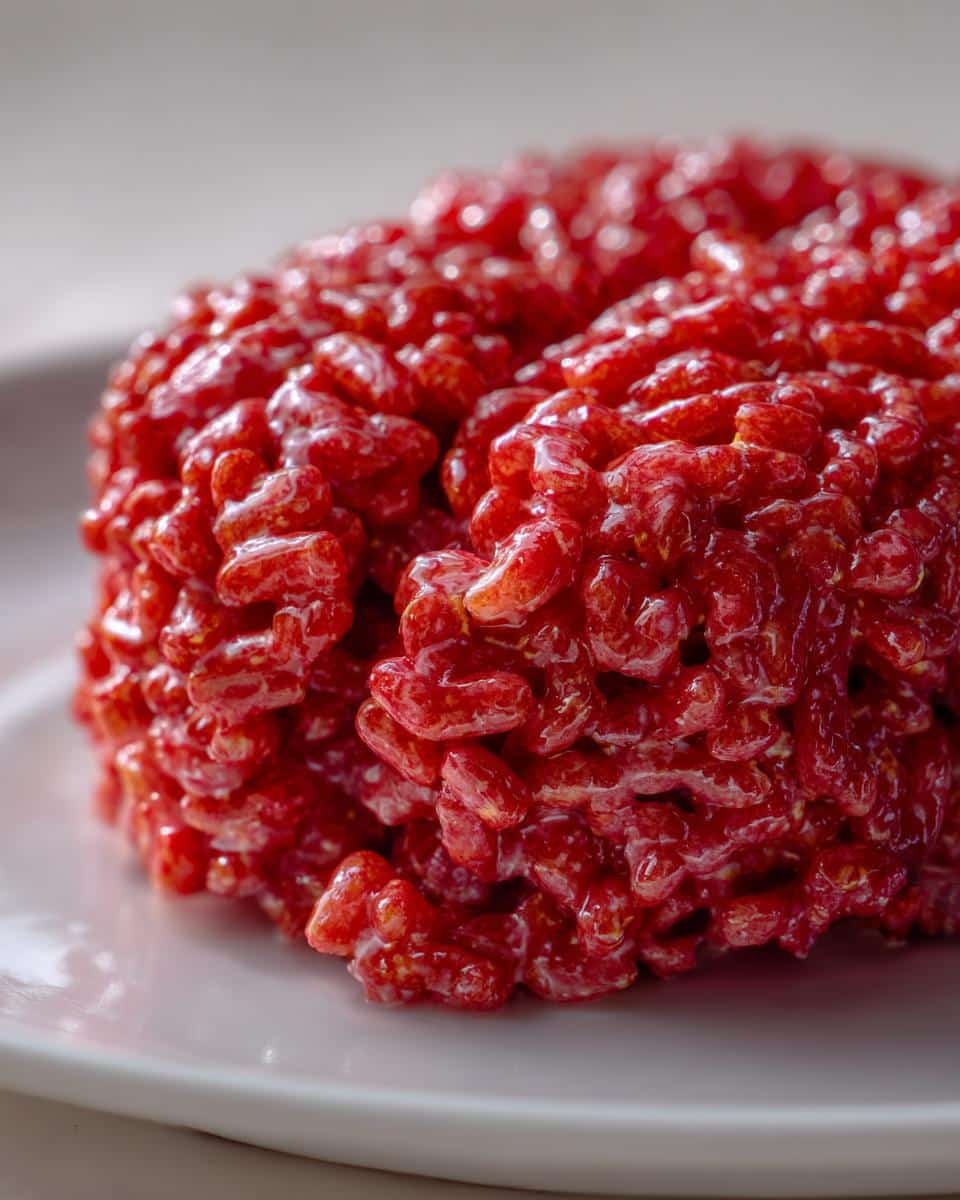
Oh my gosh, you HAVE to try these Marshmallow Rice Krispies Halloween Brains! They’re my absolute favorite spooky treat to make every October – ever since my niece squealed with delight (and just a little horror) when she saw them at our family Halloween party last year. The best part? They look totally gruesome but take barely 20 minutes from start to finish. Just imagine those classic crispy rice treats you love, but shaped into creepy brain mounds with a bloody red hue that’ll steal the show at any Halloween bash. Trust me, kids go wild for them, and adults secretly sneak seconds when they think no one’s looking!
Table of contents:
Why You’ll Love These Marshmallow Rice Krispies Halloween Brains
Listen, I’ve made A LOT of Halloween treats over the years, but these brainy little guys? They’re the ultimate crowd-pleaser. Here’s why:
- No oven required – Just one pot, 10 minutes of stirring, and you’re done. Perfect for when you’re drowning in costume prep!
- Total kid magnet – The gross-out factor makes them instant party stars (my nephew’s friends still ask for them every year).
- Secretly easy – That creepy texture? Just smoosh the mixture with damp fingers – no fancy piping skills needed.
- Customizable – Go bright red for maximum gore or pink for zombie brains. Your call!
Seriously, if you want Halloween treats that disappear faster than ghosts at sunrise, this is your recipe.
Ingredients for Marshmallow Rice Krispies Halloween Brains
Here’s the beautiful thing – you probably have most of this stuff in your pantry right now! The magic happens with just five simple ingredients:
- 6 cups Rice Krispies cereal – That classic crispy texture is non-negotiable!
- 4 tbsp butter (unsalted, melted) – I always use real butter – it gives that rich flavor you just can’t get from margarine.
- 10 oz marshmallows – The regular-sized ones melt smoother than minis in my experience.
- Red food coloring (gel recommended) – Gel gives that deep, gory red without making the mixture sticky.
- ½ tsp vanilla extract (optional) – My secret weapon! Just a splash makes all the flavors pop.
See? Nothing fancy – just pantry staples transformed into something gloriously creepy!
Equipment You’ll Need
Don’t stress – you likely have everything already! Here’s what you’ll grab:
- Large saucepan – Big enough to hold all that gooey marshmallow goodness
- Spatula – A sturdy silicone one won’t leave sticky casualties behind
- Parchment paper – Lifesaver for easy brain removal (no scraping!)
- Mixing bowl – Just in case your saucepan feels cramped
That’s it! No fancy gadgets – just simple tools for maximum Halloween magic.
How to Make Marshmallow Rice Krispies Halloween Brains
Okay, let’s make some creepy edible brains! This is the fun part where that magical marshmallow alchemy happens. Follow these simple steps, and you’ll have ghoulishly good treats in no time.
Step 1: Melt the Butter and Marshmallows
First, melt your butter in that large saucepan over low heat – I can’t stress “low” enough here! You don’t want to rush this part and risk burnt marshmallows (trust me, that smell lingers). Once the butter’s melted, add all your marshmallows and keep stirring until they’re completely smooth and glossy. This should take about 3-4 minutes – patience pays off!
Step 2: Add Color and Flavor
Now for the transformation! Take the pan off the heat and immediately stir in your vanilla extract (if using) and red food coloring. I always start with about 10 drops of gel coloring, then add more until I get that perfect gory shade. The mixture will look like something from a mad scientist’s lab – exactly what we want!
Step 3: Combine with Cereal
Quickly dump in all your Rice Krispies and start folding them into the marshmallow goo. Work fast but gently – you want every single crispy piece coated in that red deliciousness, but don’t crush them to bits! The mixture should look evenly colored with no dry spots.
Step 4: Shape the Brains
Here comes the messy fun! Let the mixture cool just until you can handle it (about 2 minutes), then lightly wet your hands and grab small handfuls. Plop them onto parchment paper and use your fingers to mold them into brain-shaped mounds with grooves and ridges. Don’t overthink it – organic, lumpy shapes look most realistic! Work quickly before the mixture sets.
Tips for Perfect Marshmallow Rice Krispies Halloween Brains
After making dozens of batches (some more successful than others!), I’ve picked up some foolproof tricks:
- Gel food coloring is your best friend – Liquid makes the mixture sticky, but gel gives vibrant color without the mess.
- Work fast like a mad scientist – The mixture starts setting quickly, so have your parchment paper ready before mixing.
- Keep a bowl of water nearby – Dipping your hands in water prevents sticking when shaping those brainy mounds.
- Embrace imperfections – The lumpier and more uneven your shapes, the more realistically gross they look!
Bonus tip: If the mixture cools too much while shaping, pop it in the microwave for 10 seconds to soften it up again.
Storage and Serving Suggestions
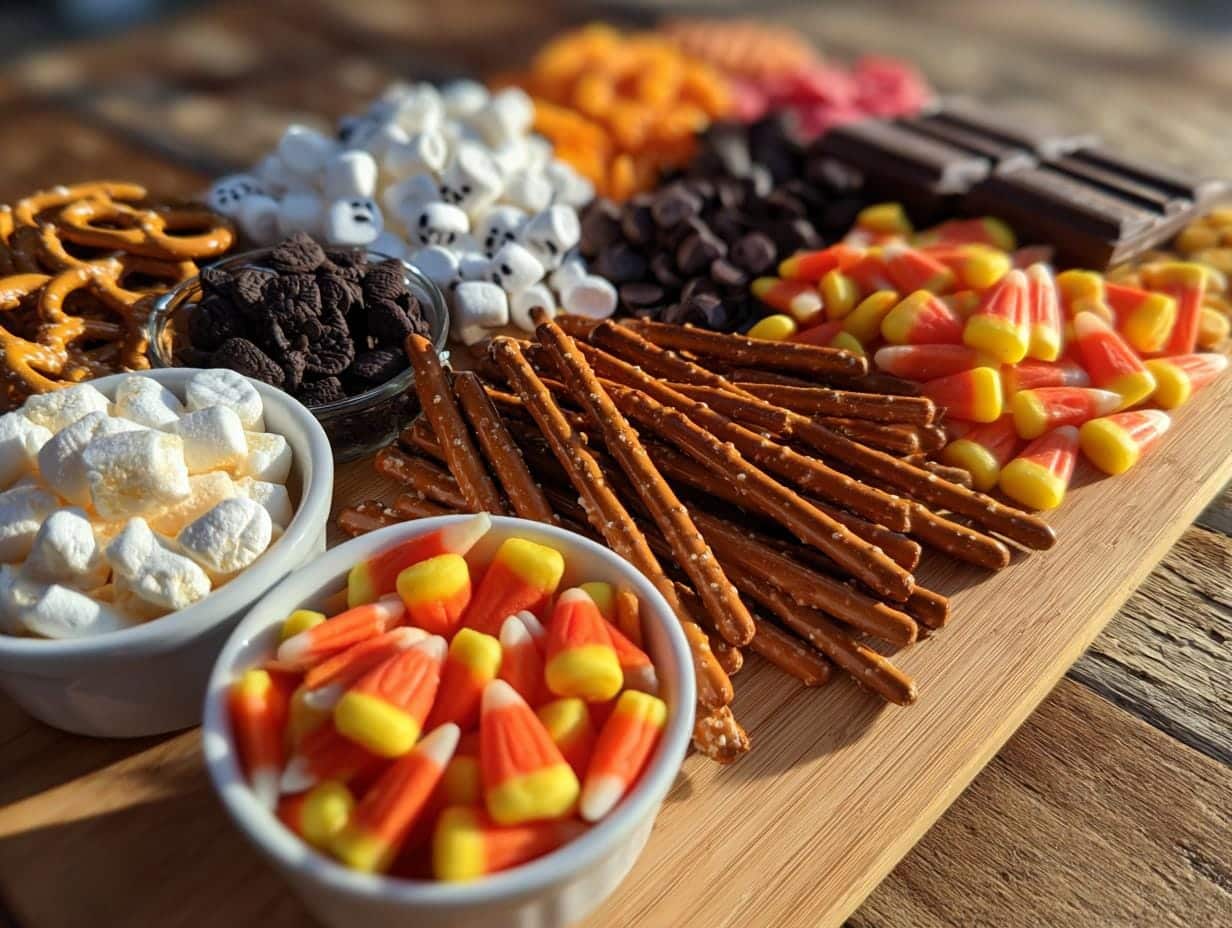
These creepy little brains actually keep surprisingly well! Just pop them in an airtight container at room temperature – they’ll stay fresh and delicious for up to 3 days (if they last that long!). For maximum Halloween impact, arrange them on a platter with other spooky treats like “witches’ fingers” cookies or chocolate-covered pretzel “bones.” The grosser the presentation, the better!
Nutritional Information
Just a heads up – these numbers are rough estimates since brands vary! Each brain-shaped treat contains about 180 calories. Remember, Halloween calories don’t count… right?
Frequently Asked Questions
Can I use mini marshmallows instead?
Absolutely! Mini marshmallows work fine – just keep an eye on them since they melt faster. You might need to reduce the heat slightly to prevent scorching.
How can I make vegan Marshmallow Rice Krispies brains?
Easy swap! Use vegan marshmallows (like Dandies) and plant-based butter. The texture comes out just as gooey and delicious.
Why does my mixture keep sticking to my hands?
Been there! The trick is keeping your hands slightly damp while shaping. A quick dip in water between each brain works wonders.
Can I make these ahead of time?
You bet! They actually hold their shape better after sitting overnight. Just store them in an airtight container so they don’t dry out.
What if I don’t have gel food coloring?
Liquid works in a pinch – start with just a few drops since it’s more potent. The color might be slightly less vibrant though.
Try this recipe and share your spooky creations in the comments! You can also find more Halloween recipe ideas on Pinterest.
Print
20-Minute Marshmallow Rice Krispies Halloween Brains That Wow
- Total Time: 20 mins
- Yield: 8 servings
- Diet: Vegetarian
Description
A fun and spooky Halloween treat made with marshmallows and Rice Krispies, shaped to look like brains.
Ingredients
- 6 cups Rice Krispies cereal
- 4 tbsp butter
- 10 oz marshmallows
- Red food coloring
- 1/2 tsp vanilla extract (optional)
Instructions
- Melt butter in a large saucepan over low heat.
- Add marshmallows and stir until fully melted.
- Remove from heat and mix in vanilla extract and red food coloring.
- Stir in Rice Krispies until fully coated.
- Let cool slightly, then shape into brain-like mounds on parchment paper.
- Allow to set completely before serving.
Notes
- Use gel food coloring for a deeper red color.
- Wet your hands slightly to prevent sticking when shaping.
- Store in an airtight container for up to 3 days.
- Prep Time: 10 mins
- Cook Time: 10 mins
- Category: Dessert
- Method: No-Bake
- Cuisine: American