Skip to content
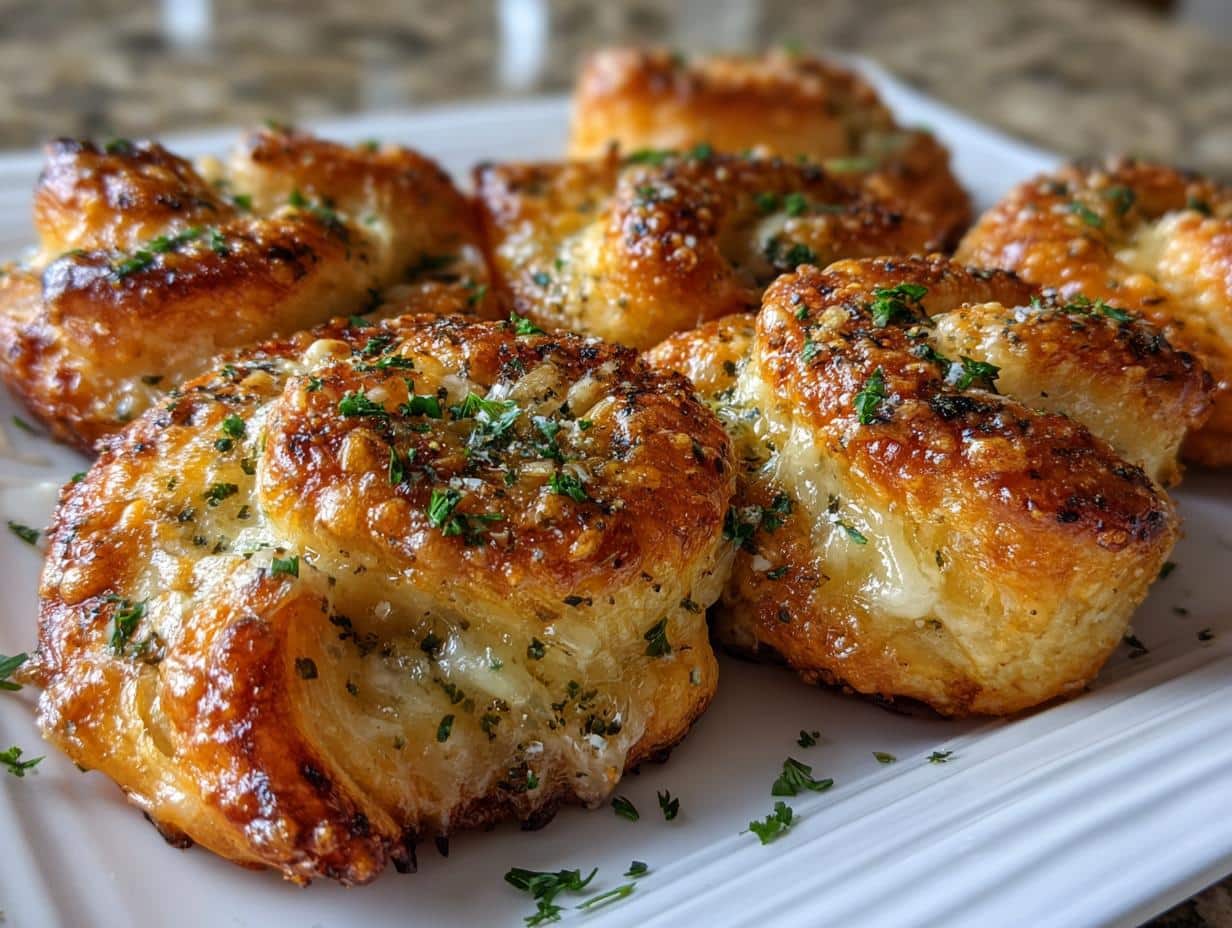
Picture this: It’s game day, my kitchen smells like heaven, and I’m frantically assembling what will become the MVP of our snack spread – these insanely delicious garlic butter cheeseburger rollups. I swear, the moment that garlicky butter hits the hot oven, my entire family materializes in the kitchen like magic. These little flavor bombs combine everything we love about cheeseburgers – juicy beef, that glorious cheese pull, and a crispy golden crust – but in adorable, shareable bite form.
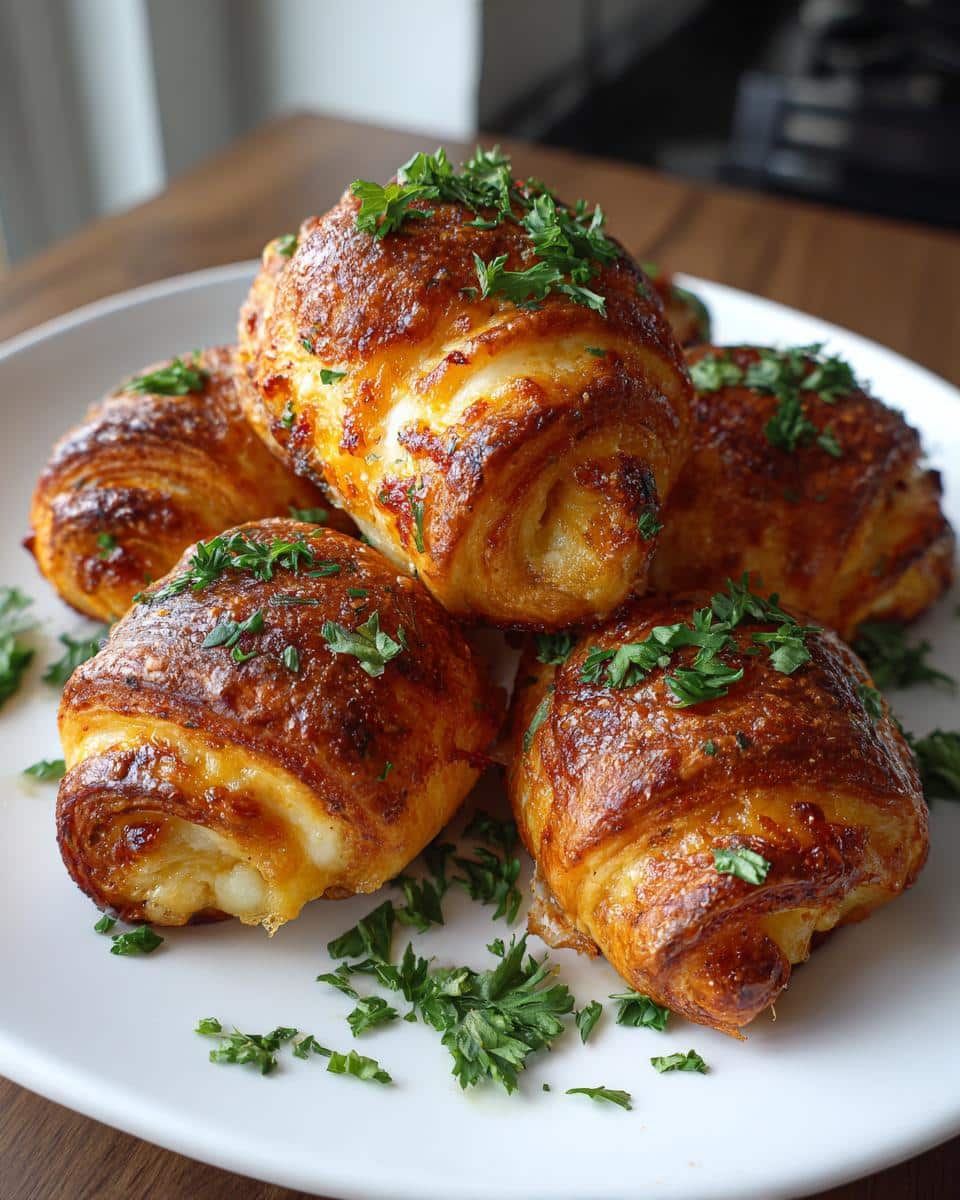
Table of contents:
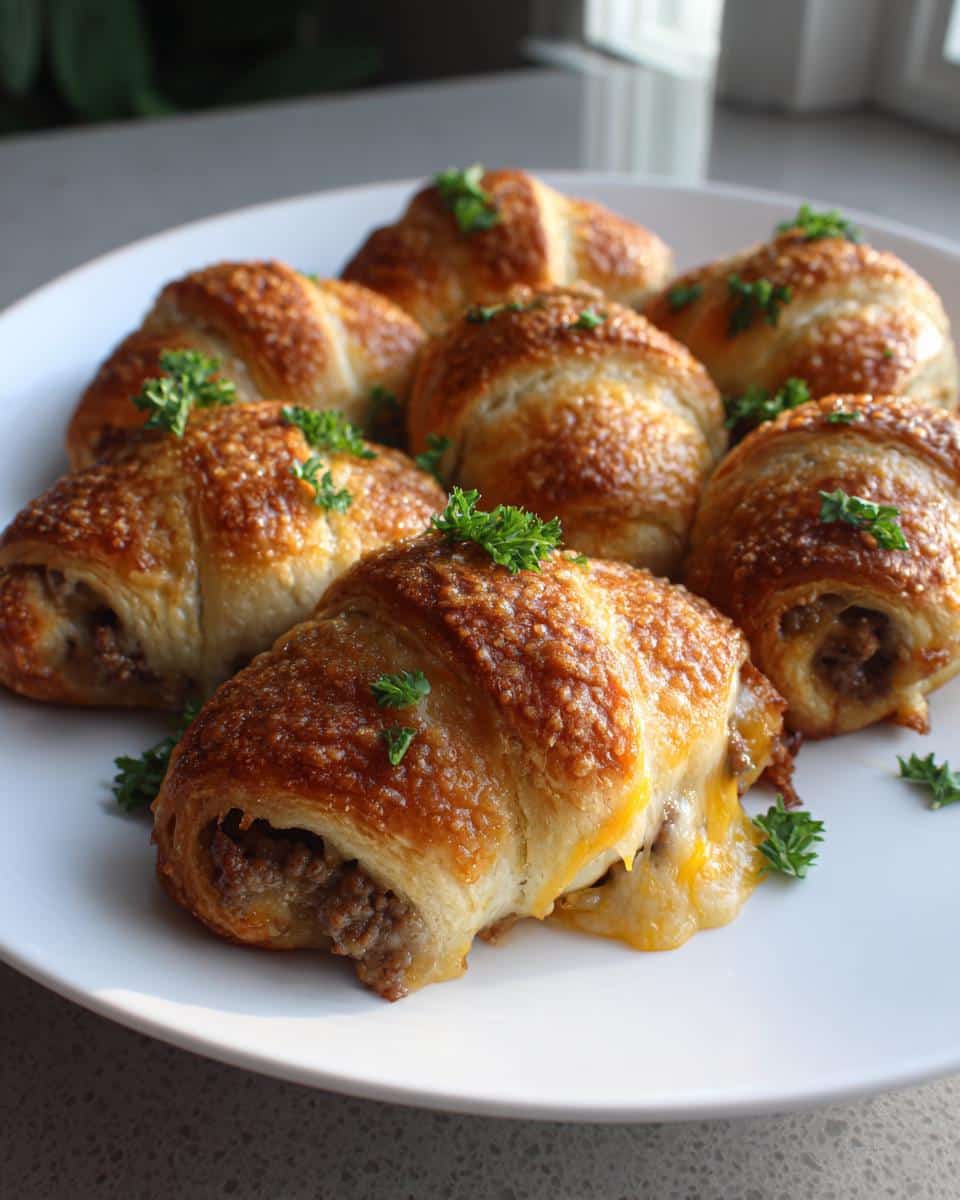
What makes these garlic butter cheeseburger rollups special? That addictive garlic butter glaze, obviously! It transforms ordinary crescent dough into something extraordinary. The first time I made these, my brother ate four before they even hit the serving platter (no regrets). They’re ridiculously easy to throw together when you’ve got hungry crowds to feed, and trust me – nobody can resist that cheesy, garlicky aroma wafting through the house. Pro tip: Make double batches. They disappear faster than you can say “touchdown!”
Why You’ll Love These Garlic Butter Cheeseburger Rollups
Let me count the ways these rollups will become your new go-to party trick:
- Effortless crowd-pleaser: Even my picky nephew devours these – that’s saying something! They disappear faster than chips at a tailgate.
- Flavor fireworks: That garlic butter crust? Absolute game-changer. It adds this golden, crispy magic that makes ordinary cheeseburgers jealous.
- Foolproof assembly: If you can roll up a sleeping bag, you can make these. Seriously – the crescent dough does all the hard work for you.
- Endless customization: Swap in pepper jack cheese, add bacon bits, or toss in some jalapeños. I’ve made at least a dozen variations, and they’re all winners.
The best part? You probably have most ingredients in your fridge right now. What are you waiting for?
Ingredients for Garlic Butter Cheeseburger Rollups
Here’s what you’ll need for these cheesy, garlicky delights:
- 1 lb ground beef (80/20 blend for juiciness)
- 1 tsp salt (I use kosher salt for better distribution)
- 1/2 tsp black pepper (freshly cracked is best)
- 1 tsp garlic powder (trust me, double if you’re a garlic lover)
- 1 tsp onion powder (the unsung hero of flavor)
- 1 cup packed shredded cheddar cheese (the sharper, the better)
- 8 slices American cheese (about 1 oz each – yes, both cheeses are non-negotiable!)
- 1 tube crescent roll dough (the 8-count kind)
- 4 tbsp butter, melted (salted or unsalted both work)
- 2 cloves garlic, minced (fresh is ideal, see notes below)
- 1 tbsp parsley, chopped (for that fresh pop of color)
Ingredient Substitutions & Notes
Can’t find something or want to mix it up? Here’s how to adapt:
- No beef? Ground turkey or chicken works great – just add an extra pinch of seasoning.
- Cheese swaps: Swiss or pepper jack instead of cheddar? Absolutely. For the American cheese, provolone makes a great stand-in.
- Dough drama: Out of crescent rolls? Puff pastry sheets work beautifully – just cut into 8 rectangles.
- Garlic options: In a pinch, use 1/2 tsp garlic powder instead of fresh cloves for the butter glaze.
- Pro tip: If your cheese slices are sticking when you unpeel them, let them sit at room temp for 5 minutes first.
Don’t stress about being exact – I’ve made these with all sorts of variations when the pantry was looking bare, and they always turn out delicious!
Step-by-Step Instructions for Garlic Butter Cheeseburger Rollups
Ready to create these cheesy masterpieces? Let’s get rolling! (Pun totally intended.)
Step 1: Get that beef golden
Preheat your oven to 375°F. While it heats up, grab your favorite skillet and brown the ground beef over medium heat. Break it into small crumbles with a wooden spoon – we want that perfect burger texture. When it’s nearly cooked through, drain the excess fat (but leave a little for flavor), then stir in the salt, pepper, garlic powder, and onion powder. Your kitchen should smell amazing right about now.
Step 2: Roll call for dough
Unroll your crescent dough on a clean surface – if it sticks, I sometimes sprinkle a tiny bit of flour. Separate the triangles along the perforations (no judgment if you sneak a bite of raw dough here). Place one American cheese slice on each triangle, slightly overlapping the wide end. The cheese should peek out about 1/2 inch from the edge.
Step 3: Load ’em up!
Working quickly (this prevents soggy dough), spoon about 2 tablespoons of the beef mixture onto each cheese-topped triangle. Sprinkle with that glorious cheddar cheese – be generous! The cheese acts like edible glue holding everything together.
Step 4: Roll with it
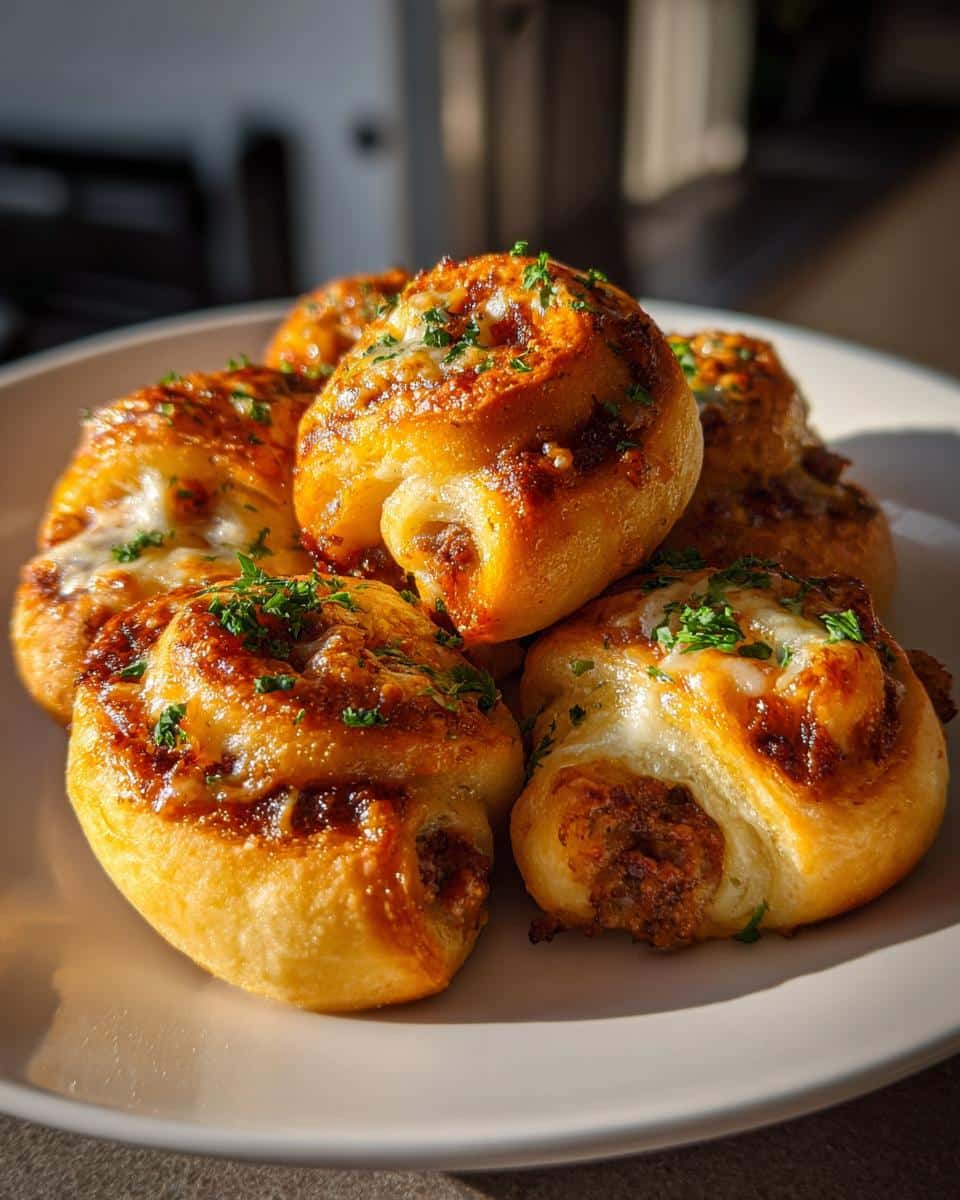
Start rolling from the wide end, tucking the filling in as you go. When you get to the pointy tip, give it a gentle press to seal. If any filling escapes, just tuck it back in – I call these “cook’s treats.” Arrange the rollups seam-side down on a parchment-lined baking sheet, spacing them about 2 inches apart.
Step 5: Butter up
Mix your melted butter with minced garlic – I sometimes add a pinch of salt here too. Generously brush this golden elixir over each rollup, getting all the nooks and crannies. Save some for later – we’re doing a second coat!
Step 6: Bake to perfection
Pop them in the oven for 12-15 minutes until they’re gorgeously golden brown. About halfway through, I like to brush on the remaining garlic butter for extra flavor and shine. When they come out, immediately sprinkle with fresh parsley – the heat will wake up those herbal notes.
Pro Tips for Perfect Rollups
Want bakery-level results? Here are my hard-won secrets:
- Chill the dough for 10 minutes before rolling if your kitchen is warm – it prevents sticking.
- Seal those edges tightly! Press the pointy tip firmly to the roll to prevent cheese leaks (though let’s be real – the rogue crispy cheese bits are delicious).
- Double-glaze with garlic butter halfway through baking for maximum flavor and golden color.
- Use a rimmed baking sheet – sometimes butter drips happen, and this contains the mess.
- Let them rest 2-3 minutes before serving – molten cheese burns are no joke!
Serving Suggestions
These garlic butter cheeseburger rollups shine brightest when served fresh from the oven with all the classic burger fixings! Here’s how I love to plate them up:
- Perfect pairings: Crispy fries or sweet potato wedges for crunch, plus tangy coleslaw to cut through the richness
- Dipping sauce bar: Set out small bowls of sriracha mayo, smoky barbecue sauce, and classic ketchup – guests can mix and match!
- Game day spread: Arrange rollups on a board with pickle spears, onion rings, and mini milkshakes for the ultimate burger experience
Pro tip: Keep napkins handy – things get deliciously messy!
Storage & Reheating
Okay, let’s talk leftovers – not that you’ll have many! These garlic butter cheeseburger rollups store beautifully if you manage to save any. Pop them in an airtight container (I love glass ones with the locking lids) and they’ll keep for about 3 days in the fridge. Want that just-baked magic again? Skip the microwave – it’ll make them soggy. Instead, reheat on a baking sheet at 350°F for about 5 minutes until the cheese gets gooey and the crust crisps back up. If you’re feeling fancy, brush on a tiny bit of fresh garlic butter when they come out. Boom – good as new!
Nutritional Information
Just a quick heads up on the nutrition front – these garlic butter cheeseburger rollups are definitely an “everything in moderation” kind of treat! The exact numbers can vary depending on your specific ingredients (like if you use extra cheese – no judgment here!). The values below are estimates per single rollup based on standard ingredients. I’ve been making these for years, and while I don’t obsess over the numbers at game day parties, it’s good to have a general idea. Remember – food is meant to be enjoyed, and these rollups deliver maximum flavor in every bite!
Frequently Asked Questions
I’ve gotten so many questions about these garlic butter cheeseburger rollups from friends who’ve tried them – here are the answers to the ones that come up most often!
Can I make these ahead?
Absolutely! Assemble the rollups completely (right up to the garlic butter brushing), then cover tightly with plastic wrap and refrigerate for up to 12 hours before baking. They might need an extra minute or two in the oven since they’re going in cold. This makes them perfect for stress-free entertaining!
Can I freeze them?
You sure can – though I recommend freezing after baking for best texture. Let them cool completely, then freeze in a single layer on a baking sheet before transferring to freezer bags. They’ll keep for about a month. To reheat, pop them straight into a 375°F oven for 10-12 minutes until heated through and crispy.
How do I prevent soggy bottoms?
The three magic words: parchment paper saves lives! Also, make sure to really drain your cooked beef well – I sometimes even pat it with paper towels. Baking on a preheated sheet pan helps too. If you notice excess butter pooling during baking, just tilt the pan carefully to redistribute it.
Final Thoughts
Listen, I know I’m biased, but these garlic butter cheeseburger rollups have literally saved my reputation at potlucks more times than I can count. That perfect crispy-chewy dough, the cheesy beefy filling, and that ridiculous garlic butter glaze – it’s like all the best parts of a cheeseburger decided to throw a party in your mouth. Trust me, once you make these for your crew, they’ll be begging you for the recipe. So what are you waiting for? Fire up that oven and get rolling – your next gathering deserves these little bites of happiness!
For more delicious recipes and inspiration, be sure to check out our Pinterest page!
Print
1-Pan Garlic Butter Cheeseburger Rollups That Will Steal the Show
- Total Time: 30 minutes
- Yield: 8 rollups
- Diet: Low Lactose
Description
Garlic butter cheeseburger rollups combine juicy beef, melted cheese, and a buttery garlic crust for a flavorful twist on classic cheeseburgers. Easy to make and perfect for sharing.
Ingredients
- 1 lb ground beef
- 1 tsp salt
- 1/2 tsp black pepper
- 1 tsp garlic powder
- 1 tsp onion powder
- 1 cup shredded cheddar cheese
- 8 slices American cheese
- 1 tube crescent roll dough
- 4 tbsp butter, melted
- 2 cloves garlic, minced
- 1 tbsp parsley, chopped
Instructions
- Preheat oven to 375°F.
- Brown ground beef in a skillet, seasoning with salt, pepper, garlic powder, and onion powder. Drain fat.
- Unroll crescent dough and separate into triangles. Place a slice of American cheese on each.
- Spoon ground beef onto the wide end of each triangle, then sprinkle with cheddar cheese.
- Roll up from the wide end to the tip and place on a baking sheet.
- Mix melted butter with minced garlic and brush over rollups.
- Bake for 12-15 minutes until golden brown.
- Sprinkle with parsley before serving.
Notes
- Use parchment paper for easy cleanup.
- Add diced onions or pickles for extra flavor.
- Serve with ketchup or ranch for dipping.
- Prep Time: 15 minutes
- Cook Time: 15 minutes
- Category: Appetizer
- Method: Baking
- Cuisine: American