Skip to content
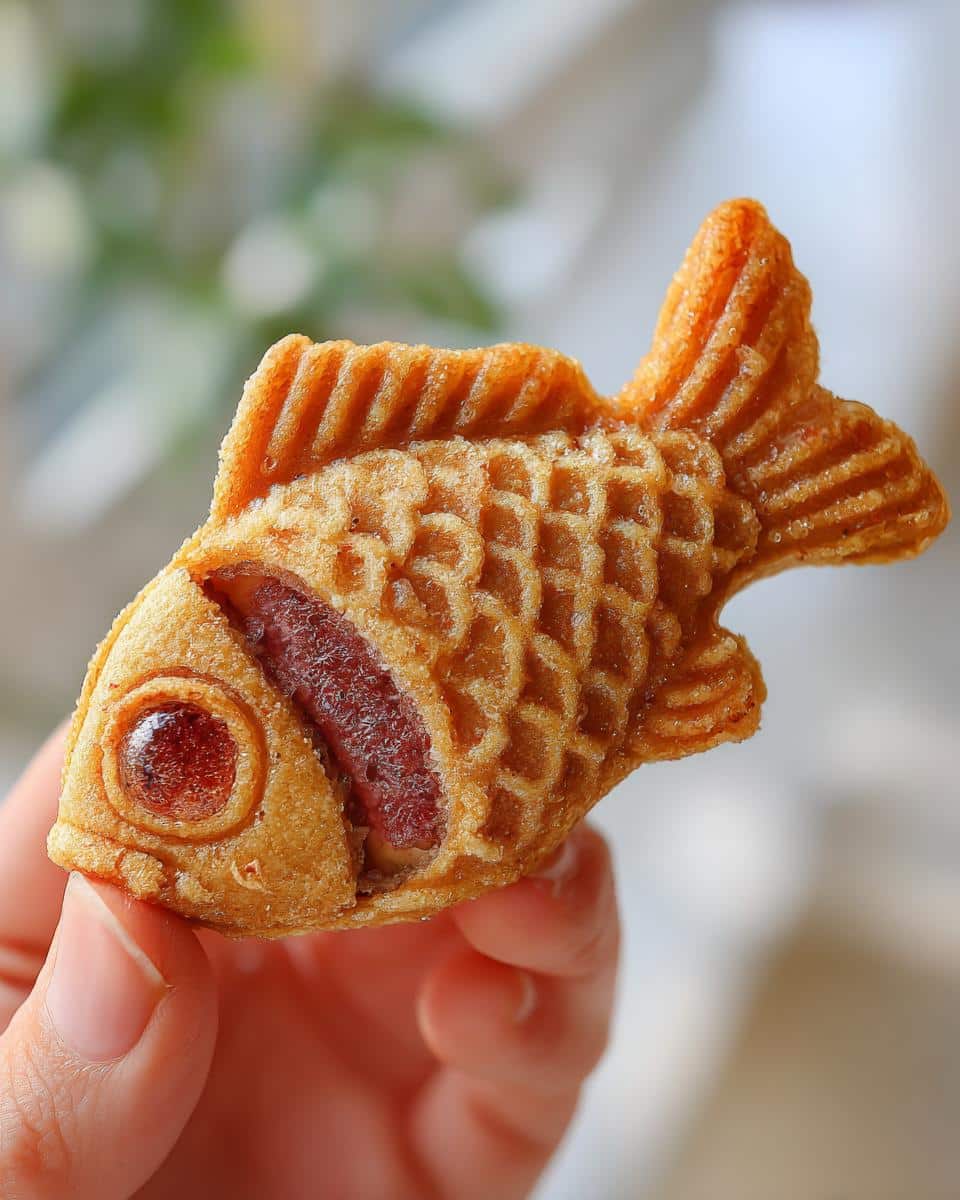
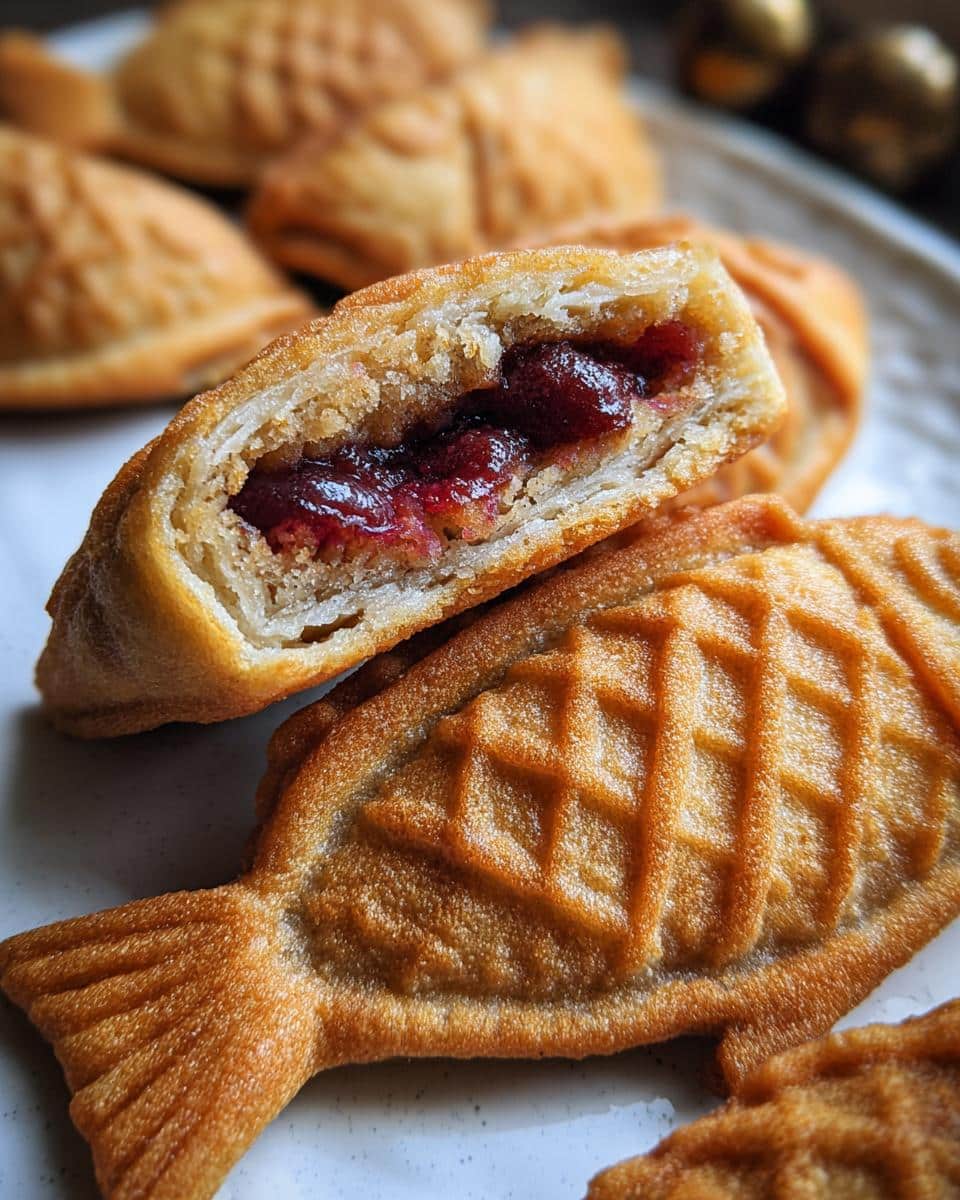
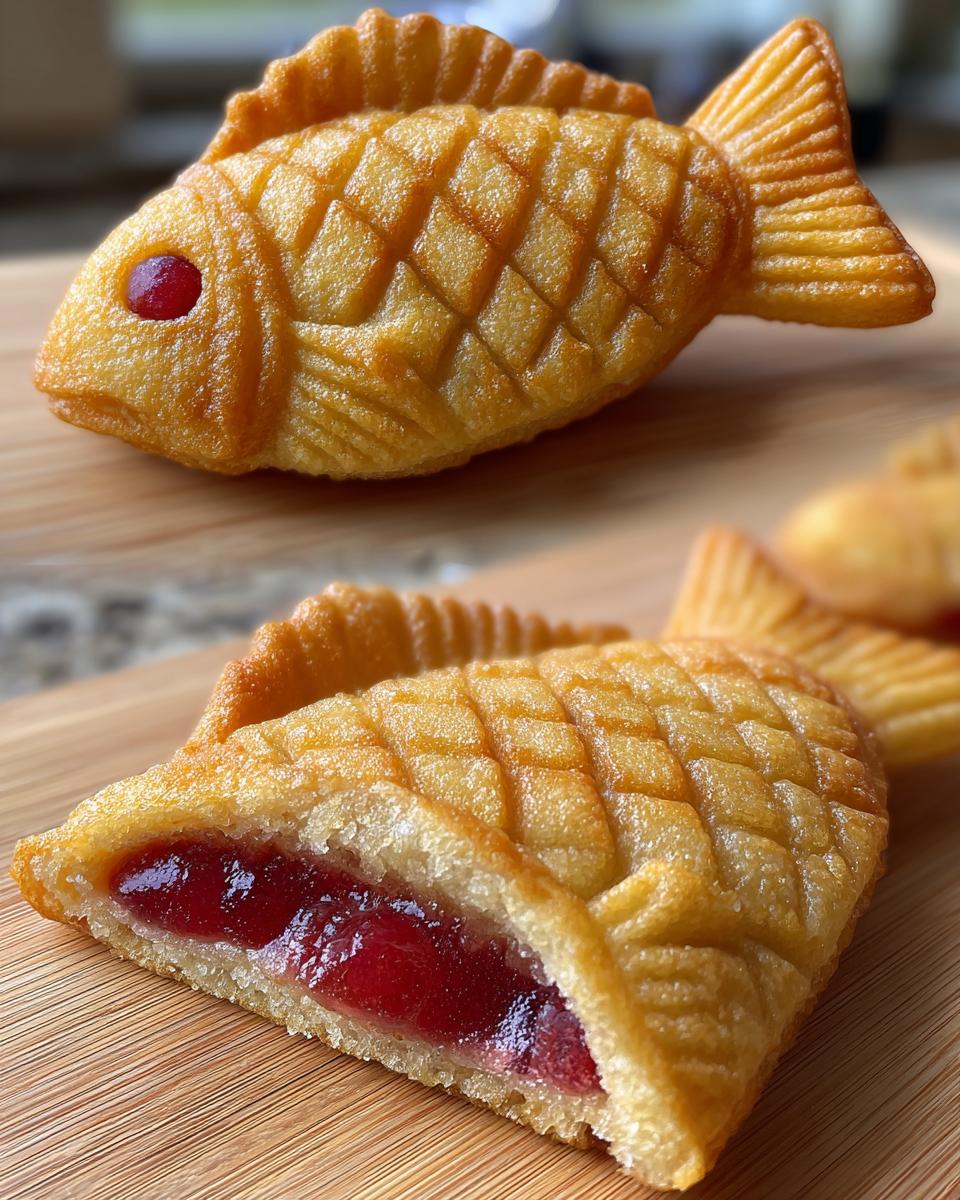
There’s something magical about biting into a warm, golden Taiyaki straight from the pan—that crisp shell giving way to a sweet, gooey center is pure joy. I fell in love with these adorable fish-shaped treats during my first trip to Tokyo, where street vendors sold them piping hot, their tails just begging to be snapped off. What started as a vacation obsession became a weekend ritual in my kitchen. Taiyaki isn’t just dessert; it’s a bite of Japanese culture, a perfect balance of playful shape and serious flavor. The secret? A simple batter that crisps up beautifully, hugging that luscious red bean paste (or whatever filling you dream up) like a cozy edible hug.
Why You’ll Love This Taiyaki Recipe
Listen, if you’ve ever hesitated to make Taiyaki at home, let me tell you why this recipe will change your mind:
- Easiest batter ever: Just whisk and pour—no fancy techniques, I promise!
- Fill it with anything: Red bean paste is classic, but my kids beg for Nutella or sliced strawberries.
- Instant crowd-pleaser: That fish shape? Pure magic for birthday parties or lazy Sunday treats.
- Crisp outside, tender inside: When you nail that golden crunch, oh boy—you’ll feel like a street food pro.
Trust me, once you smell that sweet, toasty aroma filling your kitchen, you’ll be hooked.
Ingredients for Homemade Taiyaki
Here’s the beautiful part – you only need seven simple ingredients to make these crispy, fish-shaped wonders. I’ve made this recipe dozens of times, and here’s exactly what works best:
- 1 cup all-purpose flour (sifted) – Sifting prevents lumps and makes the batter light as air
- 1 teaspoon baking powder – Our secret for that perfect puff
- 1 tablespoon sugar – Just enough sweetness to complement the filling
- 1/2 cup milk (room temperature) – Cold milk makes the batter stubbornly thick
- 1 large egg – Gives our Taiyaki that gorgeous golden color
- 1/2 cup sweet red bean paste (anko) – The classic filling, smooth or chunky style both work
- 1 tablespoon vegetable oil – Plus extra for greasing the pan
See? Nothing fancy – just pantry staples that come together like magic. I always double-check my flour is sifted and milk isn’t cold straight from the fridge. Those little details make all the difference!
Essential Equipment for Making Taiyaki
Okay, let’s talk gear! You’ll need just a few basic tools to make these fish-shaped beauties:
- A Taiyaki pan – Non-stick is my lifesaver here. The fish-shaped molds give that iconic look, and trust me, nothing sticks if you grease it well. (No pan? A waffle maker works in a pinch – you’ll get crispy squares instead of fish, but same delicious taste!)
- Mixing bowls – One for dry ingredients, one for wet. I use my trusty glass bowls.
- A whisk and spatula – The whisk blends the batter smooth, and the spatula helps scrape every last bit into the pan.
- Measuring cups – Precision matters for that perfect batter consistency.
That’s it! Simple tools for seriously impressive results. The pan’s the only specialty item, and it’s worth every penny when you see those golden fish coming out perfectly shaped.
How to Make Taiyaki Step by Step
Alright, let’s get cooking! Making Taiyaki is like a fun little dance – once you get the rhythm down, you’ll be flipping these fish like a pro. Here’s exactly how I do it, with all the little tricks I’ve learned from my (many) trial-and-error batches.
Preparing the Taiyaki Batter
First things first – the batter needs to be smooth as silk. I always start by whisking the dry ingredients (flour, baking powder, and sugar) together in one bowl. In another bowl, I beat the egg lightly before adding the milk and oil – room temp is key here so everything blends beautifully. Then, it’s just a matter of pouring the wet ingredients into the dry and whisking until you’ve got a velvety batter with no lumps. If it seems too thick, a splash more milk will do the trick. This batter should coat the back of a spoon but still drip off easily.
Cooking the Taiyaki
Now for the magic! Heat your Taiyaki pan over medium-low heat – too hot and they’ll burn before cooking through. Brush both sides of the fish molds lightly with oil (I use a silicone brush for this). Pour batter to fill each fish mold halfway – seriously, don’t be tempted to overfill! Drop a tablespoon of red bean paste right in the center, then cover with just enough batter to seal it in (about another tablespoon). Close the pan and let it cook for 3-4 minutes until the edges look set. Here’s my secret: peek after 3 minutes – when the edges are golden and pulling away slightly from the molds, flip the pan carefully. Cook another 3-4 minutes until that beautiful golden brown color appears. Transfer to a rack and resist eating immediately – that molten filling is HOT!
Tips for Perfect Taiyaki Every Time
After burning my fair share of fish-shaped casualties, I’ve learned a few tricks to guarantee golden, crispy Taiyaki every time:
- Batter consistency is key – Too thick? Add milk a teaspoon at a time until it flows like pancake batter. Too runny? Sprinkle in a bit more flour.
- Control that heat – Medium-low is your friend! If the pan smokes when you add oil, it’s way too hot. Adjust as needed between batches.
- The toothpick test never lies – Insert it near the tail; if it comes out clean (no wet batter), your Taiyaki’s done!
Oh, and don’t skip resting the batter for 10 minutes – it makes the texture even better!
Creative Taiyaki Variations
Who says Taiyaki has to stick to tradition? One of my favorite things about this recipe is how easily you can play with fillings! Here are the variations that always disappear fastest in my house:
- Chocolate lovers: Swap red bean paste for Nutella or melted chocolate chips – the kids go wild for these!
- Creamy dreamers: Custard or sweetened cream cheese makes an indulgent, velvety surprise inside.
- Matcha magic: Mix matcha powder into the batter or filling for that earthy green tea flavor.
- Savory twist: Crazy but delicious – try mozzarella with marinara or a mini sausage link for breakfast Taiyaki!
My advice? Start with 1-2 tablespoons of any filling – too much and it’ll burst when cooking. Happy experimenting!
Serving and Storing Taiyaki
Oh, that first bite of warm Taiyaki straight from the pan? Absolute heaven! The crispy shell and oozy center are best enjoyed fresh – I always burn my tongue because I can’t wait. For leftovers (if you somehow have any), pop them in an airtight container for up to 2 days. When you’re ready for round two, a quick toast in the oven or toaster brings back that perfect crunch. Just don’t microwave them – you’ll lose that magical crispy texture we worked so hard for!
Taiyaki Nutrition Information
Now, I’m no nutritionist, but here’s the scoop on what’s in these tasty fish-shaped treats! (Remember, these are estimates – your exact amounts may vary based on ingredients):
- Per Taiyaki: About 120 calories
- Carbs: 20g (that sweet filling does its job!)
- Fat: 3g (mostly from that golden crispy exterior)
Using different fillings? Chocolate will bump up the calories, while fruit fillings might lighten things up a bit. Everything in moderation, right?
Frequently Asked Questions About Taiyaki
I get asked these questions all the time, so let me save you some trouble with my hard-earned Taiyaki wisdom!
- “Can I freeze these?” Absolutely! Let them cool completely, then freeze in a single layer before transferring to a bag. They’ll keep about a month – just reheat in the toaster to revive that crispiness.
- “No red bean paste – help!” No worries! Chocolate chips, fruit jam, or even peanut butter work beautifully. My kids adore strawberry jam-filled Taiyaki.
- “Don’t own a Taiyaki pan…” Been there! A waffle iron makes great crispy squares (just cook like regular waffles), or try pouring batter into greased muffin tins with filling in the center.
Bonus tip: If your first batch sticks? Breathe, regrease the pan, and try again. Even my worst “fish disasters” still tasted amazing!
Share Your Taiyaki Experience!
Did you give these fish-shaped treats a try? I’d love to hear how they turned out! Snap a photo of your golden Taiyaki (even the “uniquely shaped” ones count as wins in my book) and tag me. Your tips might just help the next home cook nail their first batch! You can find more delicious recipes on Pinterest.
Print
7-Ingredient Taiyaki Recipe for Irresistible Sweet Fish Bites
- Total Time: 18 mins
- Yield: 6 Taiyaki
- Diet: Vegetarian
Description
Taiyaki is a Japanese fish-shaped dessert filled with sweet red bean paste or other fillings. It’s crispy on the outside and soft on the inside.
Ingredients
- 1 cup all-purpose flour
- 1 tsp baking powder
- 1 tbsp sugar
- 1/2 cup milk
- 1 egg
- 1/2 cup sweet red bean paste (anko)
- 1 tbsp vegetable oil
Instructions
- Mix flour, baking powder, and sugar in a bowl.
- Add milk and egg, then whisk until smooth.
- Heat the Taiyaki pan and lightly grease with oil.
- Pour batter into the fish molds, filling halfway.
- Add 1 tbsp of red bean paste in the center.
- Cover with more batter to seal.
- Cook for 3-4 minutes per side until golden brown.
- Remove and let cool slightly before serving.
Notes
- Use a non-stick Taiyaki pan for best results.
- Adjust sweetness by adding more or less sugar.
- Store leftovers in an airtight container for up to 2 days.
- Prep Time: 10 mins
- Cook Time: 8 mins
- Category: Dessert
- Method: Stovetop
- Cuisine: Japanese