Skip to content
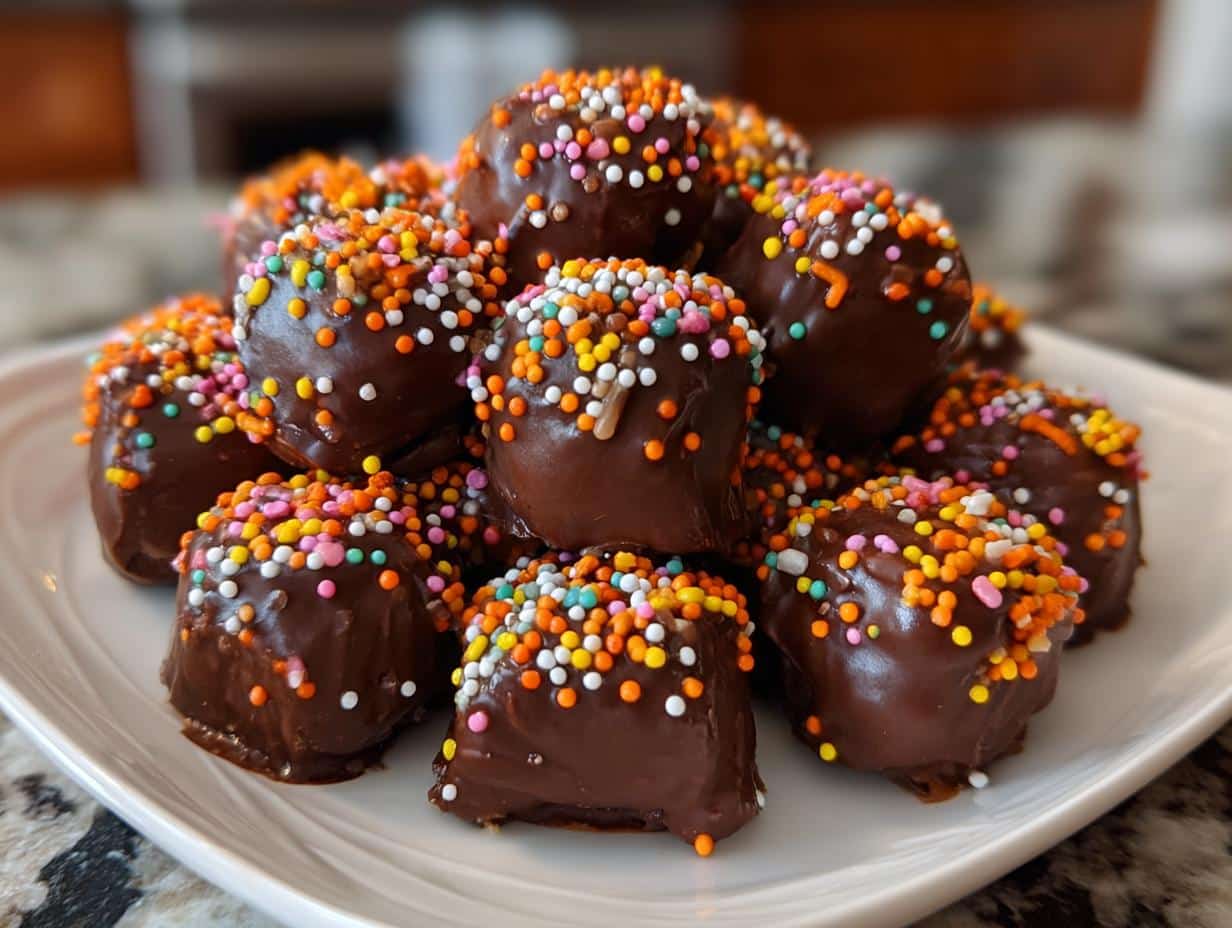
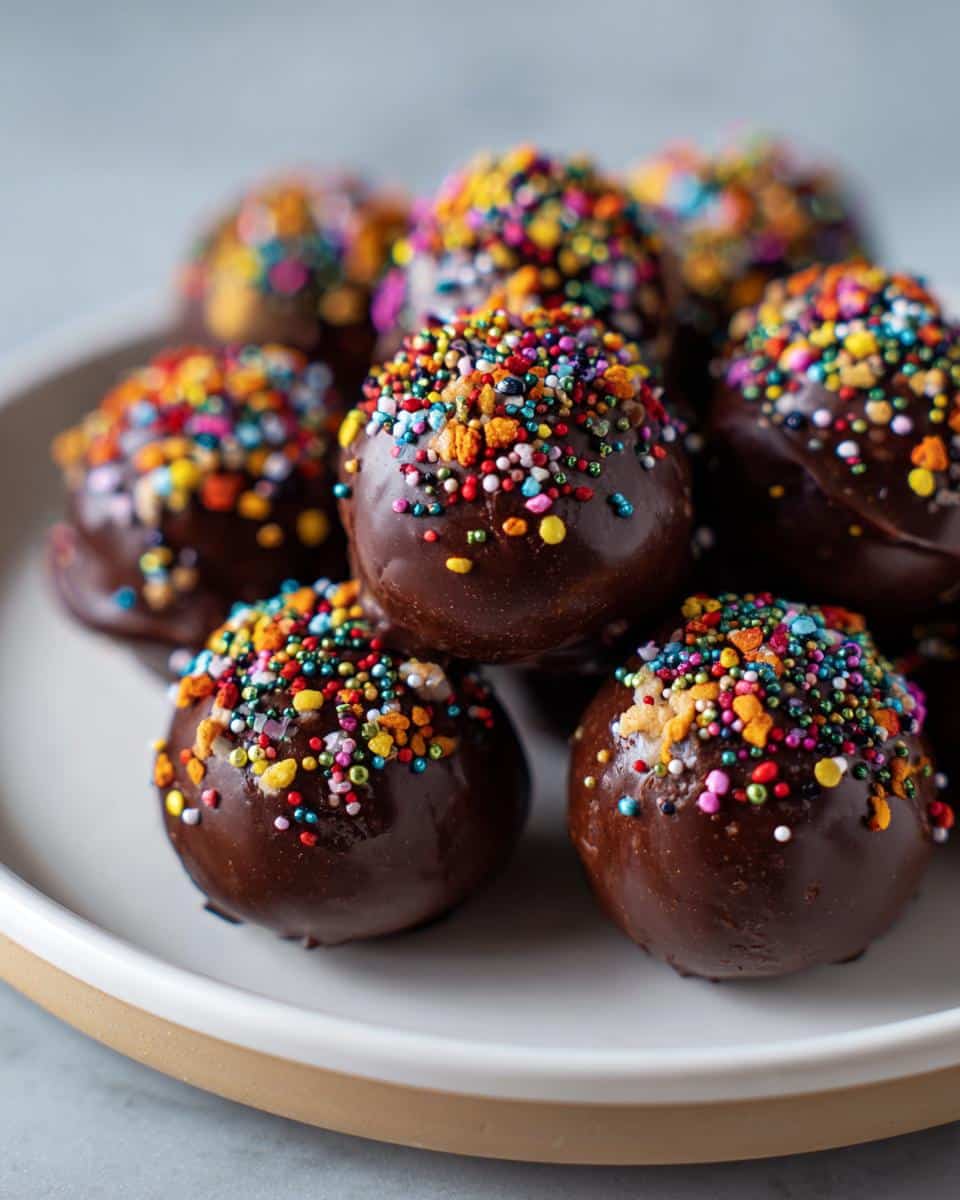
Halloween just isn’t complete without homemade treats that look as fun as they taste! These DIY Halloween goodies have been my go-to for years because they’re ridiculously easy to make (seriously, no oven required) and absolutely foolproof. Last year, my niece and I whipped up a batch while watching “Hocus Pocus,” and by the time the Sanderson sisters sang “I Put a Spell On You,” we had two dozen spooktacular treats ready to decorate. The best part? You probably already have most of these ingredients in your pantry right now.
Whether you’re prepping for a party or just want something special for trick-or-treaters, these chocolate-dipped bites with their crunchy peanut butter centers will disappear faster than a ghost in the night!
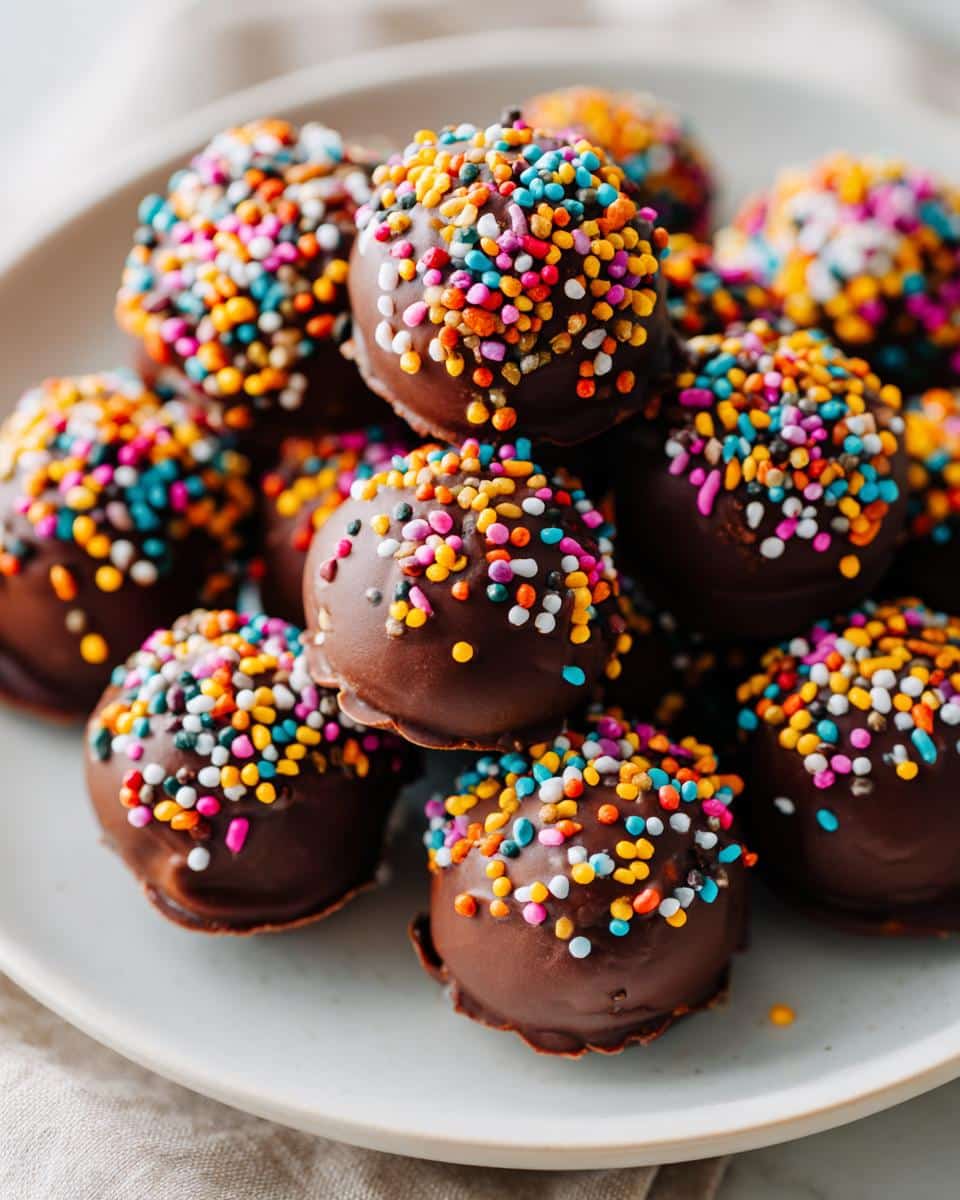
Table of contents:
Why You’ll Love These DIY Halloween Treats
Trust me, these treats are about to become your new Halloween tradition—here’s why:
- No-bake magic: Skip the oven! These come together with just a microwave and some stirring, perfect for when you’re drowning in costume prep and party chaos.
- Kid-approved fun: Little hands love rolling the mixture into balls and going wild with sprinkles. (Pro tip: lay down parchment paper first—you’ll thank me later.)
- Endless creativity: Swap chocolate colors, use cookie cutters for spooky shapes, or add edible googly eyes. Every batch can be a new Halloween character!
- Guaranteed crowd-pleaser: That crispy-peanut butter-chocolate combo? Yeah, it’s addictive. I’ve watched grown adults sneak seconds when they think no one’s looking.
Seriously, these disappear faster than candy corn at a pumpkin patch.
Ingredients for DIY Halloween Treats
Here’s everything you’ll need to whip up these spooky-good treats (and yes, I’ve included all my favorite swaps too!):
- 2 cups chocolate chips – for coating (milk, dark, or white all work—I often mix them!)
- 1 cup peanut butter – creamy works best, but for nut allergies, use sunflower seed butter (it’s just as tasty)
- 3 cups crispy rice cereal – that satisfying crunch is key!
- 1/2 cup powdered sugar – sifted if yours is lumpy
- 1 tsp vanilla extract – the secret flavor booster
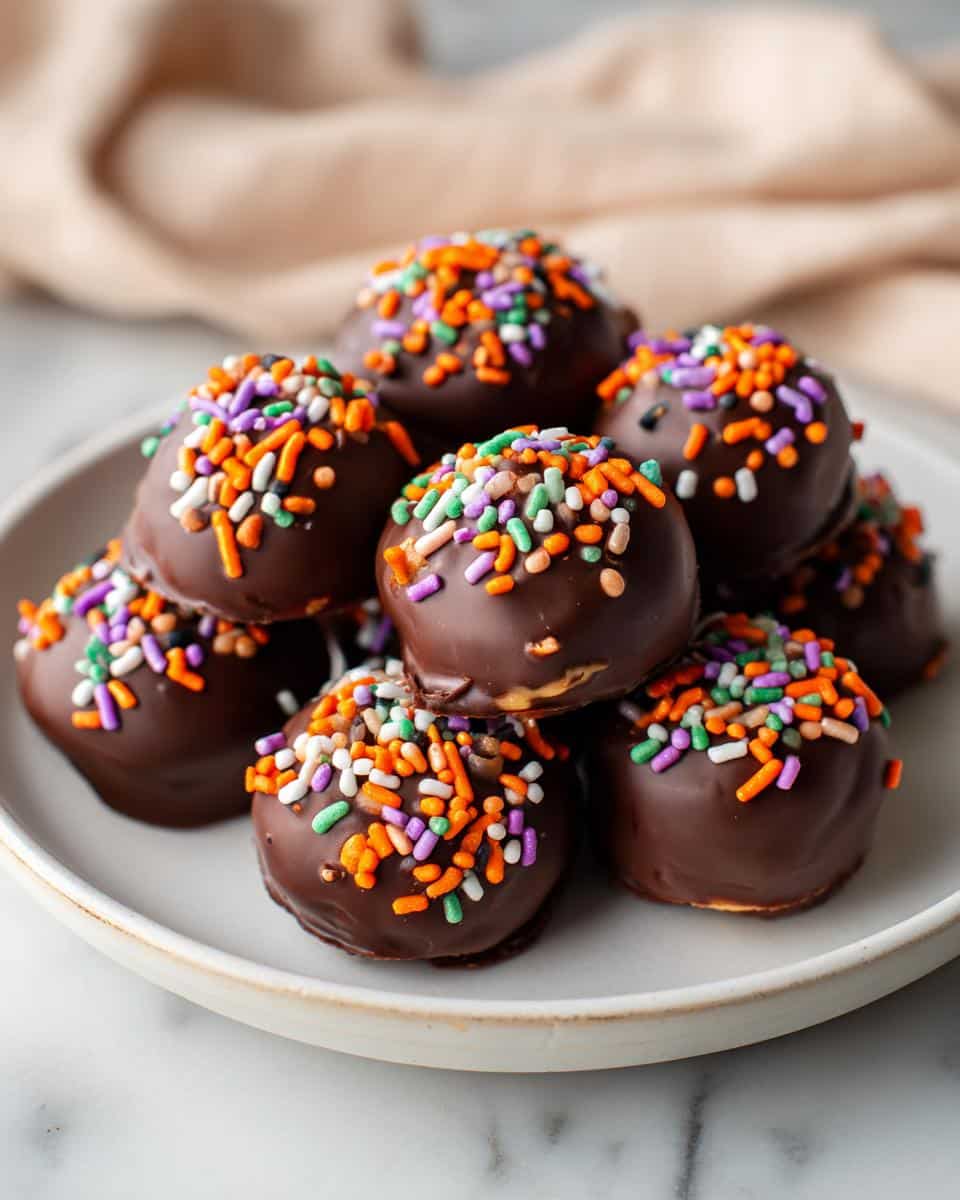
- Assorted Halloween sprinkles – go wild with bats, pumpkins, or orange-and-black mixes
- 12 lollipop sticks – optional, but makes them perfect for little hands
See? Mostly pantry staples—you might just need to grab sprinkles!
Equipment You’ll Need
Gather these basics—chances are you’ve already got ‘em scattered in your kitchen:
- Microwave-safe bowl (I use my trusty glass measuring cup)
- Mixing bowls – one for chocolate, one for the peanut butter mixture
- Baking sheet + parchment paper – lifesavers for easy cleanup
- Lollipop sticks – optional, but so fun for pops!
That’s it! No fancy gadgets needed—just like my grandma used to say, “Good treats come from happy hands, not expensive tools.”
How to Make DIY Halloween Treats
Ready to create some edible magic? Follow these simple steps—I promise it’s easier than carving a pumpkin without breaking it!
Step 1: Melt the Chocolate
First, grab that microwave-safe bowl and dump in your chocolate chips. Microwave in 30-second bursts, stirring vigorously between each round. Stop when it’s just smooth—about 1-2 minutes total. Burnt chocolate smells like regret, so don’t walk away! If it gets too thick, add a teaspoon of coconut oil to loosen it up.
Step 2: Mix the Base
In a separate bowl, mash together peanut butter, cereal, powdered sugar, and vanilla until it looks like a sticky, crumbly dough. No dry spots allowed! I use my hands for this—gets everything evenly mixed and reminds me of playing with edible playdough as a kid.
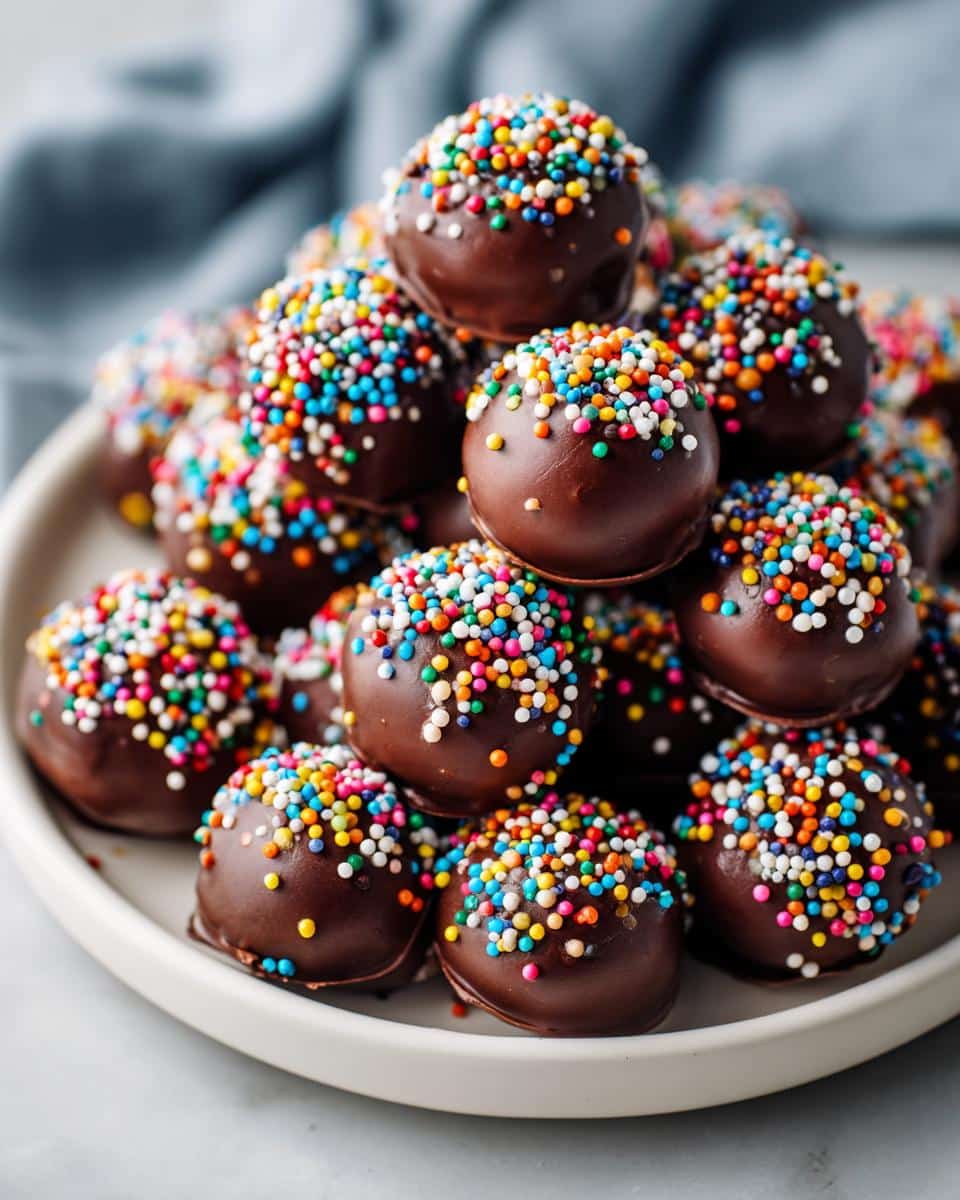
Step 3: Shape and Decorate
Roll tablespoon-sized portions into balls (or flatten into bars for “mummy fingers”). Now the fun part: dip each piece in chocolate using a fork, letting excess drip off before plopping them onto parchment paper. Act fast! Toss on sprinkles while the chocolate’s still wet—this is where kids go nuts creating “zombie eyeballs” or “witch warts.” For pops, stick in lollipop sticks after dipping. Chill for 30 minutes until set, then watch them vanish!
Tips for Perfect DIY Halloween Treats
After making these treats every October for a decade, I’ve learned a few tricks to make them foolproof (and way less messy!):
- Chill before shaping: Pop your peanut butter mixture in the fridge for 15 minutes—it firms up just enough to roll perfect balls without sticking to your palms.
- Tap off that excess: After dipping, gently tap your fork against the bowl’s edge to avoid chocolate puddles underneath each treat. Less waste, neater results!
- Toothpick magic: Use one to draw spiderwebs in white chocolate or add tiny details like monster mouths. It’s my secret weapon for Instagram-worthy decorations!
Bonus tip: Keep wet paper towels nearby—you’ll thank me when the sprinkle frenzy begins!
Storing and Serving Suggestions
These treats stay fresh for days if you store them right! Pop them in an airtight container with parchment between layers—they’ll keep in the fridge for up to a week (if they last that long!). For parties, pair with apple cider or a bubbling “witch’s brew” punch. Want to spread the Halloween cheer? Stack a few in clear cellophane bags tied with black ribbon—they make adorable (and delicious) party favors or neighbor gifts!
DIY Halloween Treats Variations
Once you’ve mastered the basics, the real fun begins—turning these treats into whatever spooky creations your imagination cooks up! Here are my favorite twists:
- Shape shifters: Flatten the mixture and use cookie cutters for bats, ghosts, or tombstones. Bonus points if you add white chocolate “dripping blood” details!
- Flavor adventures: Swap vanilla for peppermint extract (so good with dark chocolate), or stir caramel bits into the peanut butter mixture. My nephew calls these “monster bites.”
- Diet-friendly swaps: Use gluten-free cereal or sunflower seed butter for allergies. For a vegan version, coconut butter works like magic with dairy-free chocolate.
Last year, we made orange-colored white chocolate “pumpkins” with pretzel stems—the possibilities are endless!
DIY Halloween Treats FAQs
Got questions? I’ve got answers—here’s everything people ask me most about these spooky treats!
Can I use milk chocolate instead? Absolutely! Milk chocolate melts beautifully and makes these extra kid-friendly. Just watch it closely—it burns faster than dark chocolate.
How far in advance can I make these? Up to 5 days ahead! Store them in the fridge, then let sit at room temperature for 10 minutes before serving for perfect texture.
Any nut-free alternatives? Sunflower seed butter works like a charm—my allergic niece can’t tell the difference. Just check your chocolate isn’t processed with nuts.
Why are my treats cracking when I dip them? Your mixture might be too dry—next time add a teaspoon of honey or maple syrup to bind it better before shaping.
Nutritional Information
Just so you know what you’re indulging in (because let’s be real—we’re all eating at least three of these!), here’s the scoop per treat. Remember, these are estimates—your exact numbers might dance a bit depending on brands and how generous you are with those sprinkles!
- Calories: 120
- Sugar: 10g
- Fat: 7g (3g saturated)
- Carbs: 12g
- Protein: 3g
Now go enjoy that chocolatey goodness—Halloween calories don’t count if you’re wearing a costume while eating them! Tag me if you make these; I’d love to see your spooky creations. You can find more fun recipes on Pinterest!

3 Easy DIY Halloween Treats Kids Will Gobble Up Instantly
- Total Time: 1 hour (includes chilling)
- Yield: 24 pieces
- Diet: Vegetarian
Description
Easy and fun DIY Halloween treats that are perfect for parties or trick-or-treaters. These simple recipes will impress your guests and add spooky charm to your celebrations.
Ingredients
- 2 cups chocolate chips (for coating)
- 1 cup peanut butter (or almond butter for allergies)
- 3 cups crispy rice cereal
- 1/2 cup powdered sugar
- 1 tsp vanilla extract
- Assorted Halloween sprinkles (for decoration)
- 12 lollipop sticks (optional for pops)
Instructions
- Melt chocolate chips in a microwave-safe bowl in 30-second intervals, stirring until smooth.
- Mix peanut butter, cereal, powdered sugar, and vanilla in a separate bowl.
- Roll mixture into 1-inch balls or shape into small bars.
- Dip each piece into melted chocolate, coating evenly.
- Decorate with sprinkles while chocolate is still wet.
- Insert lollipop sticks if making pops.
- Refrigerate for 30 minutes until set.
Notes
- For nut allergies, use sunflower seed butter instead of peanut butter.
- Store treats in an airtight container for up to 5 days.
- Use white chocolate dyed orange with food coloring for pumpkin-themed treats.
- Prep Time: 20 minutes
- Cook Time: 10 minutes
- Category: Dessert
- Method: No-Bake
- Cuisine: American