Skip to content
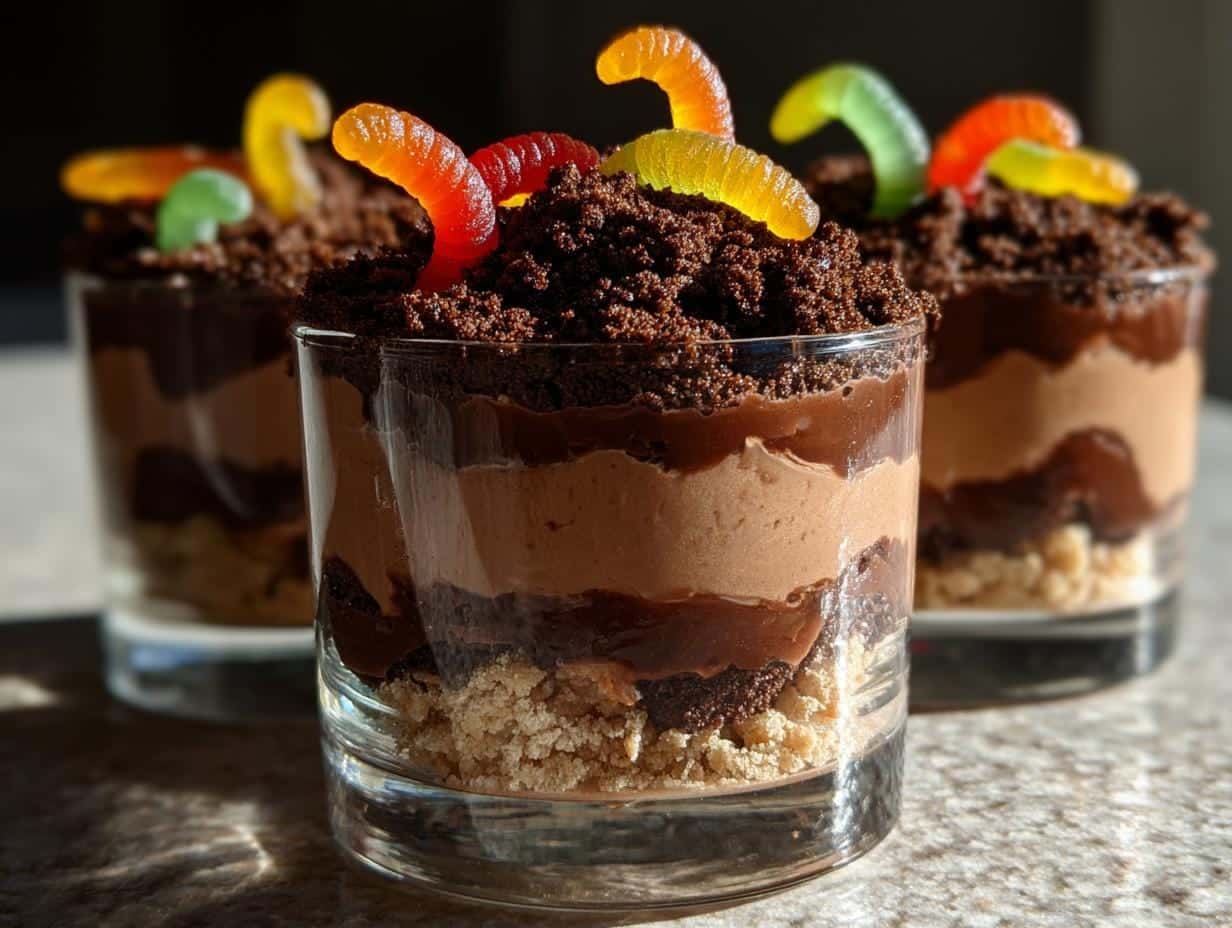
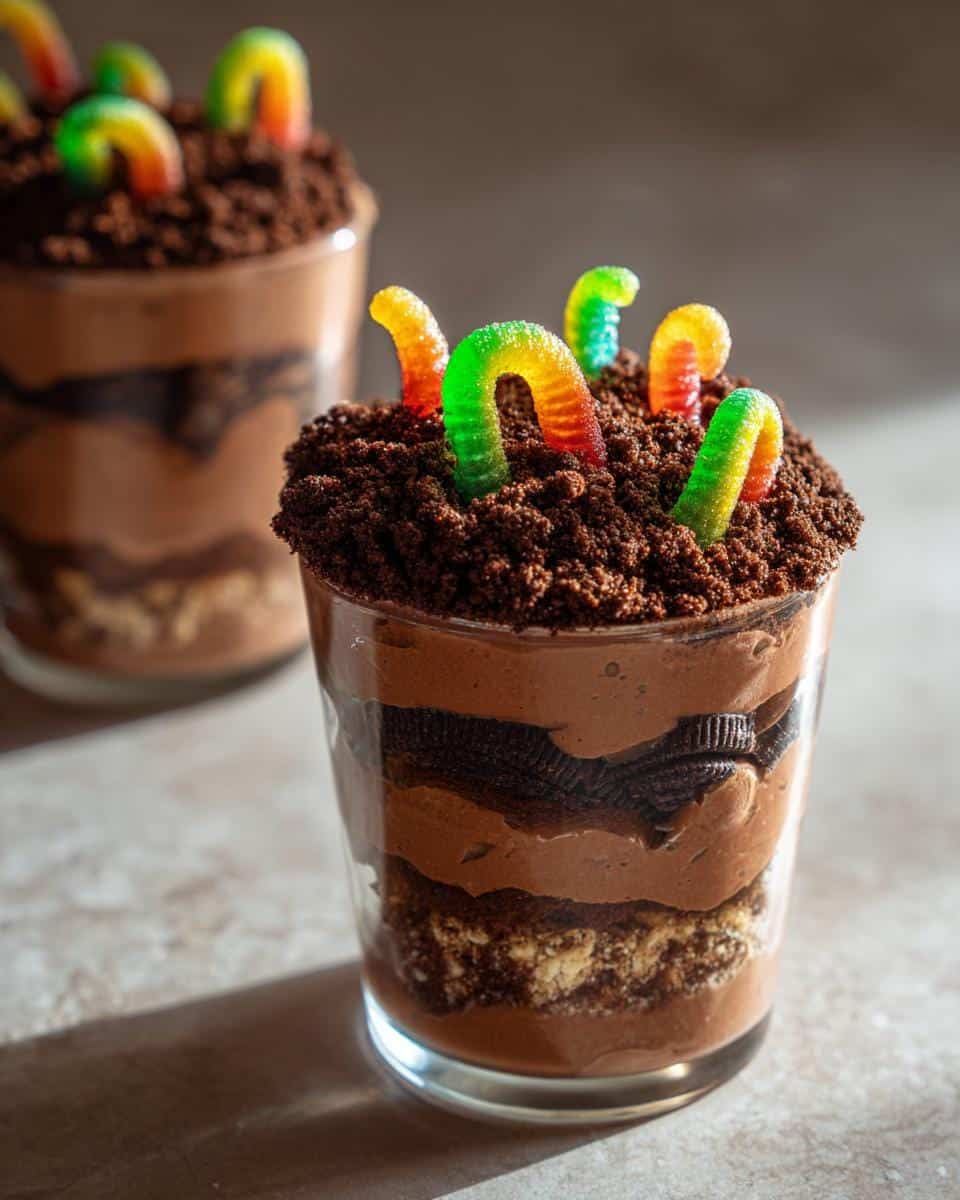
Remember those childhood birthday parties where the dessert table was the main attraction? That’s exactly where my love for dirt pudding cups with gummy worms started. There’s something magical about digging into a cup of chocolatey “dirt” and finding those playful gummy worms peeking out—kids go wild for it, and honestly, so do adults!
I’ve been making these for years, from backyard barbecues to classroom parties, and they never fail to disappear first. The best part? They’re ridiculously easy to throw together—no oven required—just layers of creamy pudding, crushed cookies, and those iconic worms. Trust me, one bite and you’ll be hooked.
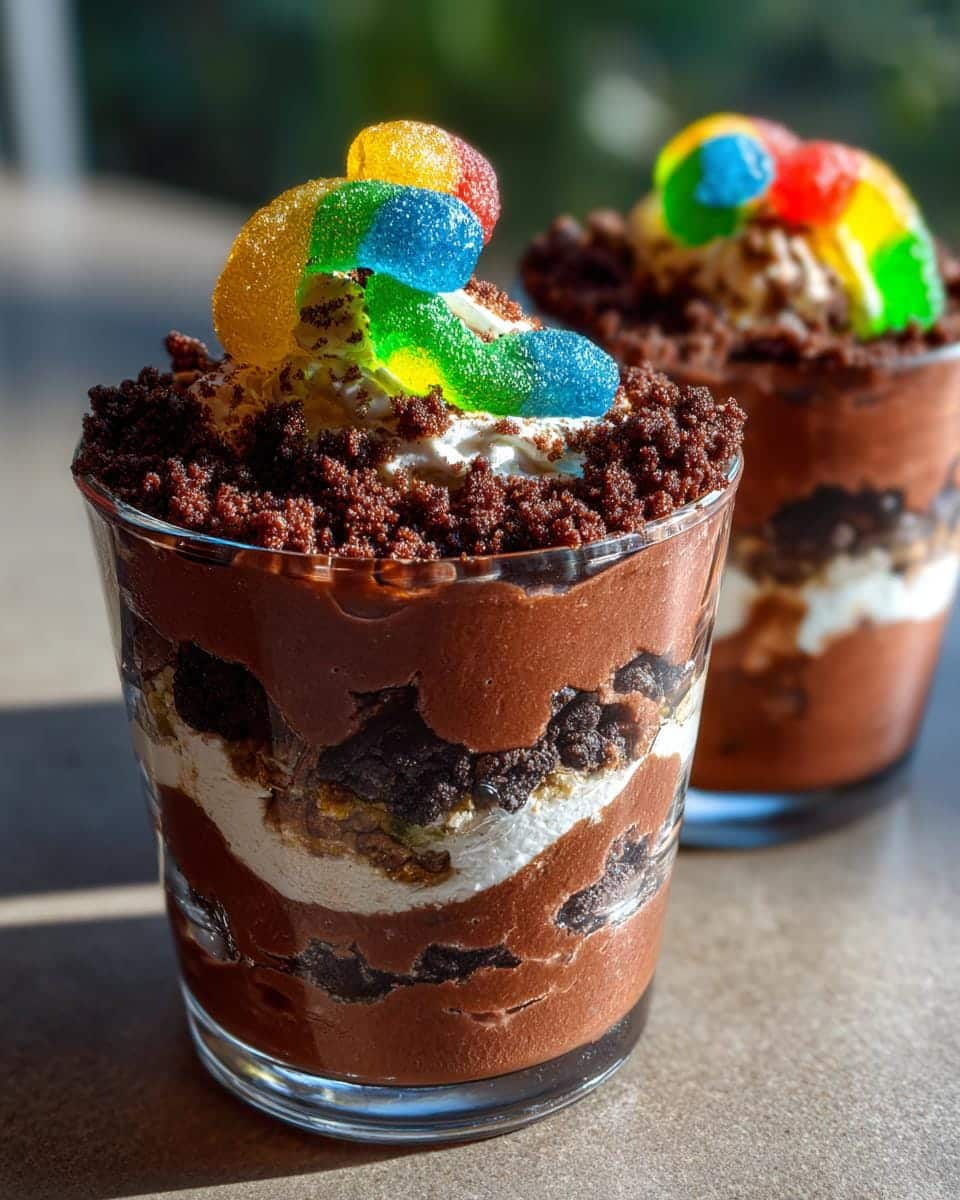
Table of contents:
Why You’ll Love These Dirt Pudding Cups with Gummy Worms
Oh, where do I even start? These dirt pudding cups are pure magic in a cup!
- No-bake bliss: My kind of dessert—zero oven time means more play time (or relax time!)
- Kid magnet: Watching little faces light up when they “dig” for worms? Priceless.
- Sweetness control: Cut back the powdered sugar or swap in sugar-free pudding if you prefer.
- 15 minutes flat: From fridge to table faster than you can say “earthworm!”
- Party-perfect: Works for birthdays, potlucks, or just because it’s Tuesday.
Seriously, these are the ultimate fuss-free treat that makes everyone smile.
Ingredients for Dirt Pudding Cups with Gummy Worms
Here’s the best part—you probably have most of these ingredients in your pantry already! The magic is in the textures: creamy pudding, crunchy “dirt,” and those chewy worms. Just make sure your cream cheese is properly softened (leave it out for 30 minutes) and your whipped topping is thawed (overnight in the fridge works best). Here’s what you’ll need:
- 2 cups cold milk – I use whole milk for extra creaminess, but any kind works
- 1 package (3.9 oz) instant chocolate pudding mix – The no-bake hero of this recipe!
- 1 package (8 oz) cream cheese, softened – Soft is key! No one wants lumpy pudding
- 1/2 cup powdered sugar – Sifted if you’re feeling fancy
- 1 tub (8 oz) whipped topping, thawed – That’s Cool Whip if you’re being official
- 15 chocolate sandwich cookies, finely crushed – I smash mine in a bag—great stress relief!
- 1 pack gummy worms – Get the colorful ones for maximum fun
See? Nothing complicated here. Just seven simple ingredients standing between you and the most fun dessert of your life.
How to Make Dirt Pudding Cups with Gummy Worms
Ready to get your hands dirty (in the best possible way)? Let me walk you through my foolproof method for creating these adorable treats. I’ve made this recipe more times than I can count, and these steps never fail me!
Step 1: Prepare the Pudding Base
First things first – grab a large mixing bowl and whisk together your cold milk and chocolate pudding mix. Now here’s my secret: whisk for a full 2 minutes – no cheating! This ensures your pudding sets up nice and thick. Once it starts thickening, let it stand for 5 minutes (yes, set a timer – patience is key). You’ll notice it getting even thicker as it sits – that’s exactly what we want!
Step 2: Mix the Cream Cheese Layer
While your pudding is resting, grab another bowl and beat that softened cream cheese until it’s completely smooth. No lumps allowed! Gradually add the powdered sugar and keep beating until it’s silky and well incorporated. Now gently fold in your thawed whipped topping – I do this by hand with a rubber spatula to keep things light and fluffy. Finally, fold in your rested pudding mixture until you’ve got one glorious, uniform chocolate cloud.
Step 3: Layer and Assemble
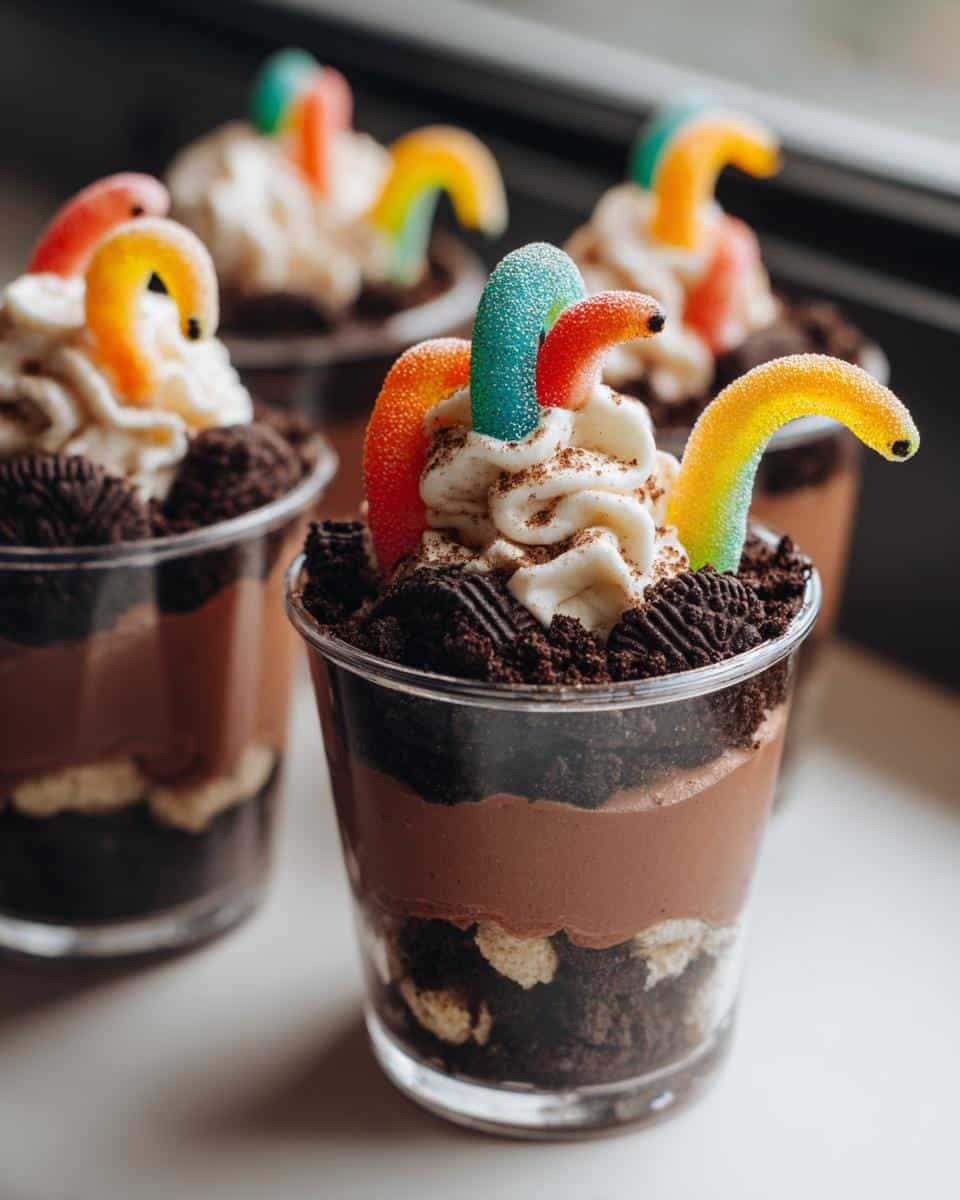
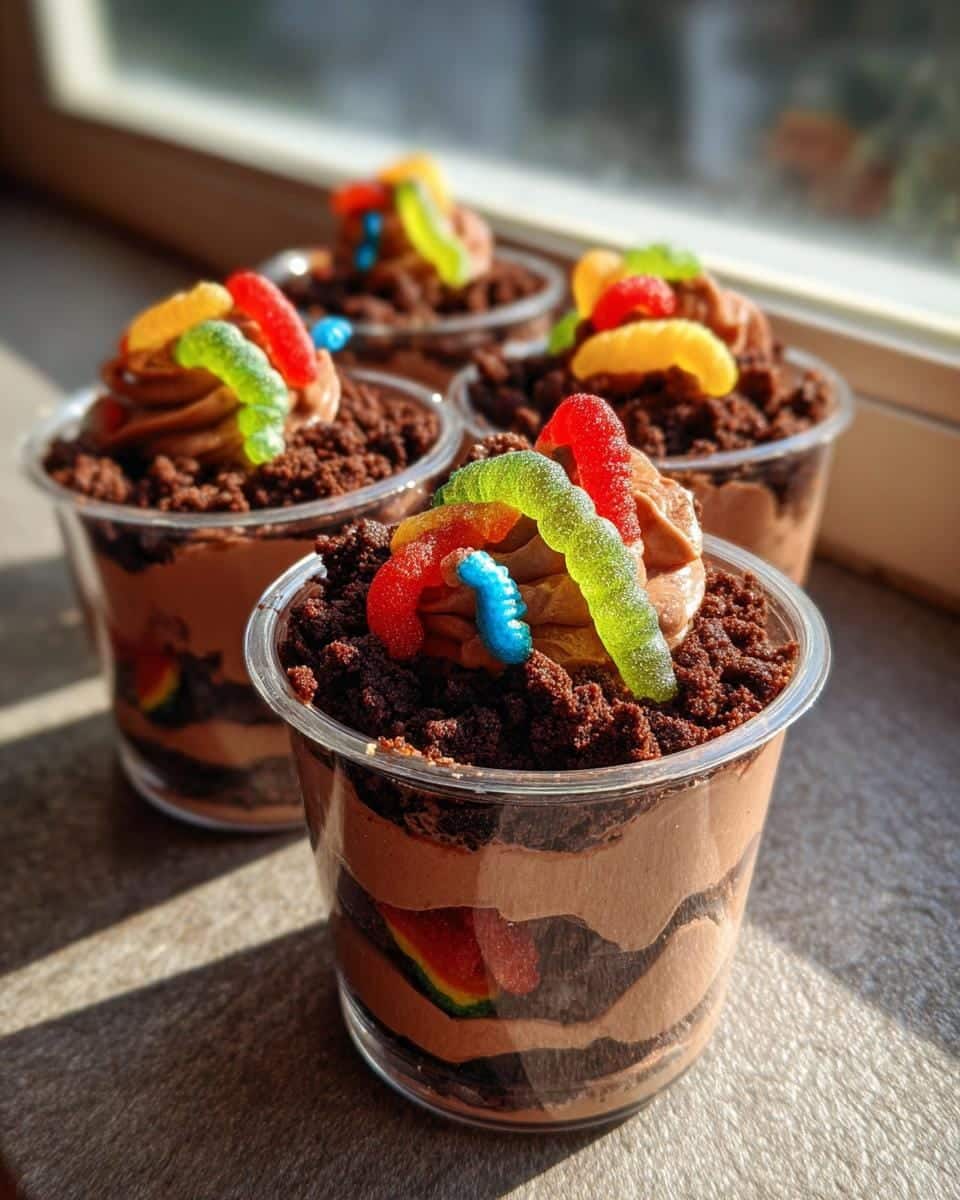
Time for the fun part! Spoon a layer of crushed cookies into each cup – about a tablespoon per cup. Then add a generous dollop of your pudding mixture. Repeat these layers until your cups are nearly full, finishing with a cookie “dirt” layer on top. Now for the pièce de résistance – poke those gummy worms halfway into the pudding so they look like they’re crawling out! Chill for at least an hour (if you can wait that long) before serving.
Tips for Perfect Dirt Pudding Cups with Gummy Worms
Want to take your dirt pudding cups from good to “Oh my gosh, can I have the recipe?” good? Here are my can’t-live-without tips:
- Chill time is magic: That hour in the fridge isn’t just for show – it lets all those flavors get to know each other and gives you that perfect scoopable texture.
- Cookie crushing hack: Toss your cookies in a zip-top bag and roll with a rolling pin – way less mess than a food processor (and more fun!).
- Worm placement: For maximum “eww” factor, poke some worms deep into the pudding so they’re half-buried – kids go nuts for this!
- Make-ahead win: These actually taste better after chilling overnight – just add the final cookie layer and worms right before serving.
See? Pro status achieved with zero extra work!
Variations for Dirt Pudding Cups with Gummy Worms
Want to mix things up? Try these fun twists! Swap regular cookies for Oreo crumbs (double the chocolate!), or use vegan whipped topping for a dairy-free version. For crunch lovers, stir crushed peanuts or almonds into the “dirt” layer. Feeling fancy? Add a drizzle of caramel sauce before serving—pure decadence!
Serving and Storing Dirt Pudding Cups with Gummy Worms
Here’s the beautiful thing about these dirt pudding cups – they practically store themselves! I always make extras because they keep like a dream in the fridge. Pop them in an airtight container (or just cover the cups with plastic wrap if you’re lazy like me), and they’ll stay fresh for up to 2 days. The flavors actually get better as they sit – that pudding mixture becomes even creamier overnight.
Now, a word to the wise: those adorable gummy worms might start to “sweat” if they sit too long in the fridge. For picture-perfect cups, I add the final cookie layer and worms right before serving. They’re best served chilled straight from the fridge – no reheating needed (or recommended – trust me, cold pudding is where it’s at!). If you’re taking these to a party, just toss them in a cooler with some ice packs and they’ll travel like champs.
Nutritional Information
Now, I’m no nutritionist, but I know we all like to have a general idea of what we’re eating (especially when it comes to dessert!). Keep in mind these dirt pudding cups with gummy worms are treats meant to be enjoyed in moderation—because let’s be honest, no one’s stopping at just one! The nutritional values will vary depending on the specific ingredients you use (like fat content in your milk or whether you choose regular vs. sugar-free pudding).
That said, this is a dessert that actually has some redeeming qualities—you’re getting calcium from the milk and dairy, and those gummy worms provide a little fun energy boost. But let’s be real—we’re here for the chocolatey, creamy goodness and the pure joy of digging for worms! As with any good thing, enjoy responsibly and save the nutrition deep-dive for another day.
FAQs About Dirt Pudding Cups with Gummy Worms
Q1. Can I use homemade pudding instead of instant?
Absolutely! If you’ve got a favorite cooked chocolate pudding recipe, go for it—just make sure it’s chilled and thickened before mixing. Though I’ll admit, on busy days, I reach for that instant pudding mix every time. It’s my little shortcut for guaranteed perfect texture!
Q2. How far ahead can I make these?
These dirt pudding cups are practically made for procrastinators! You can assemble them (minus the final worm topping) up to 2 days ahead. Just keep them covered in the fridge and add the cookie “dirt” and worms right before serving for maximum freshness and crunch.
Q3. My gummy worms are sticking together—help!
Oh, I’ve been there! Try dusting them lightly with powdered sugar or cornstarch before adding to the cups. If they’re super stuck, pop them in the freezer for 5 minutes—they’ll separate like magic. Pro tip: buy an extra pack because, well… taste-testing happens!
Q4. Can I make these gluten-free?
You bet! Simply swap regular chocolate cookies for gluten-free ones—they crush up just the same. All other ingredients are naturally gluten-free (just double-check your pudding mix label to be safe).
For more delicious recipes and inspiration, follow us on Pinterest!
Print
15-Minute Dirt Pudding Cups with Gummy Worms Kids Love
- Total Time: 1 hour 15 minutes
- Yield: 6 servings
- Diet: Vegetarian
Description
A fun and easy dessert that looks like dirt with gummy worms peeking out. Perfect for kids’ parties or a playful treat.
Ingredients
- 2 cups cold milk
- 1 package (3.9 oz) instant chocolate pudding mix
- 1 package (8 oz) cream cheese, softened
- 1/2 cup powdered sugar
- 1 tub (8 oz) whipped topping, thawed
- 15 chocolate sandwich cookies, crushed
- 1 pack gummy worms
Instructions
- Whisk milk and pudding mix in a bowl for 2 minutes. Let stand for 5 minutes.
- Beat cream cheese and powdered sugar in a separate bowl until smooth.
- Fold in whipped topping and pudding mixture until well combined.
- Layer crushed cookies and pudding mixture in cups.
- Top with more crushed cookies and gummy worms.
- Chill for at least 1 hour before serving.
Notes
- Use gluten-free cookies for a gluten-free version.
- Adjust sweetness by reducing powdered sugar.
- Can be made ahead and stored in the fridge for up to 2 days.
- Prep Time: 15 minutes
- Cook Time: 0 minutes
- Category: Dessert
- Method: No-Bake
- Cuisine: American