Skip to content
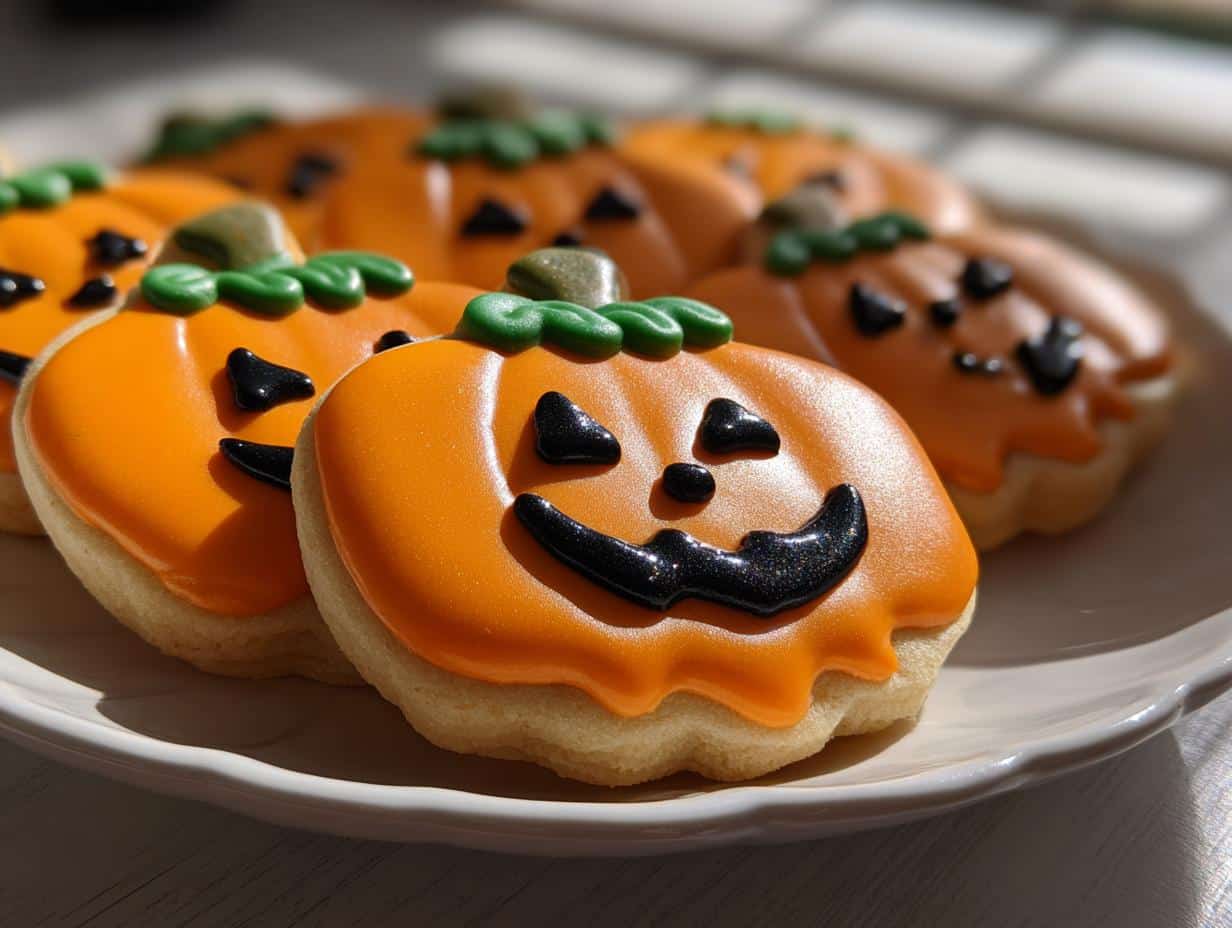
Oh, Halloween baking—there’s nothing quite like it! Every October, my kitchen transforms into a pumpkin patch of Decorated Jack-O’-Lantern Sugar Cookies with Royal Icing, and honestly, it’s my favorite part of the season. I still remember the first time I attempted these as a kid—royal icing everywhere, lopsided faces, and cookies thicker than my thumb.
(Oops!) But now? After years of trial and error (and many, many batches), I’ve nailed the perfect balance of crisp edges, soft centers, and icing that actually stays put. These cookies aren’t just treats—they’re little edible works of art that make everyone smile. Whether you’re hosting a spooky party or just want to surprise the kids, trust me: these are the cookies that’ll steal the show.
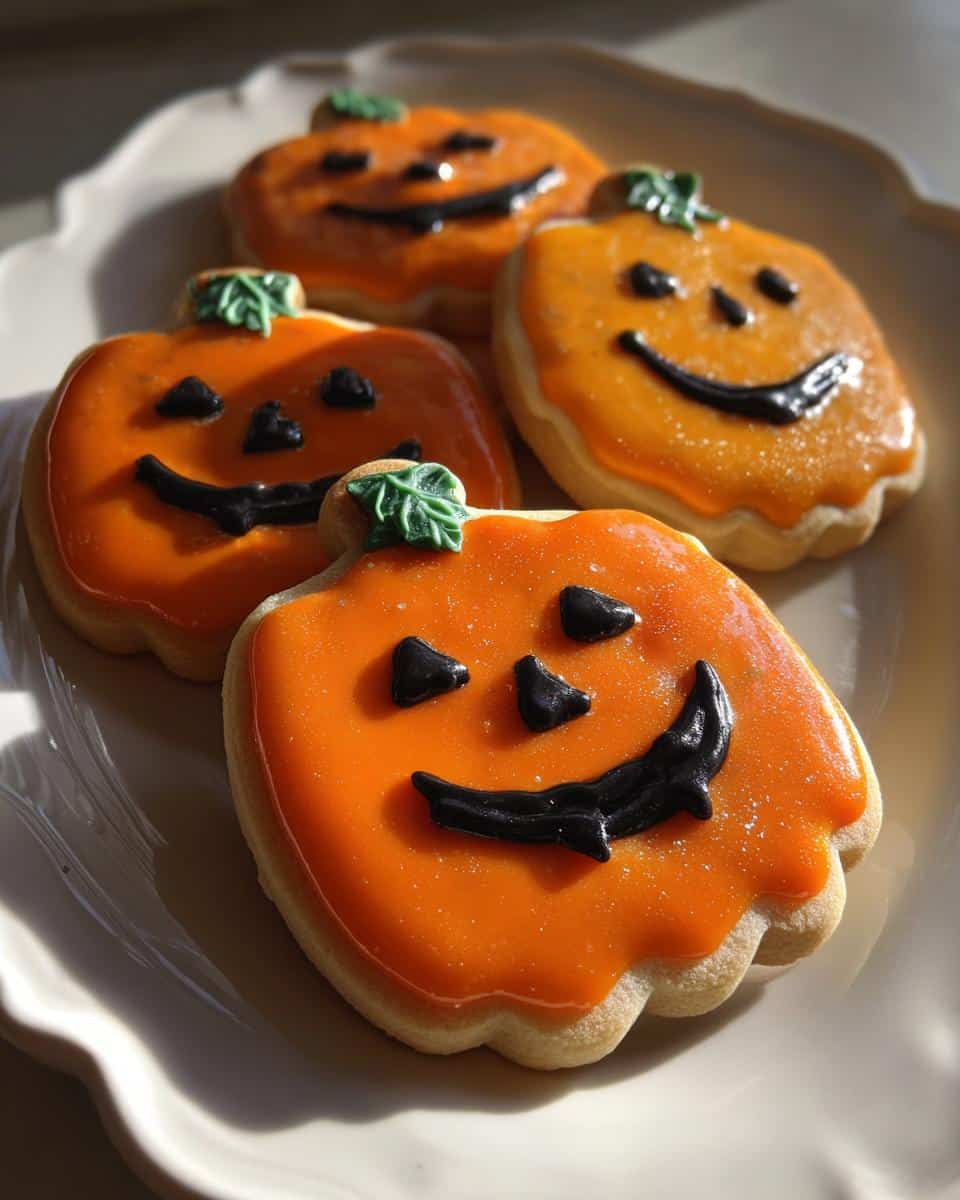
Table of contents:
Why You’ll Love These Decorated Jack-O’-Lantern Sugar Cookies
These cookies aren’t just delicious—they’re pure Halloween magic! Here’s why they’re my go-to treat every October:
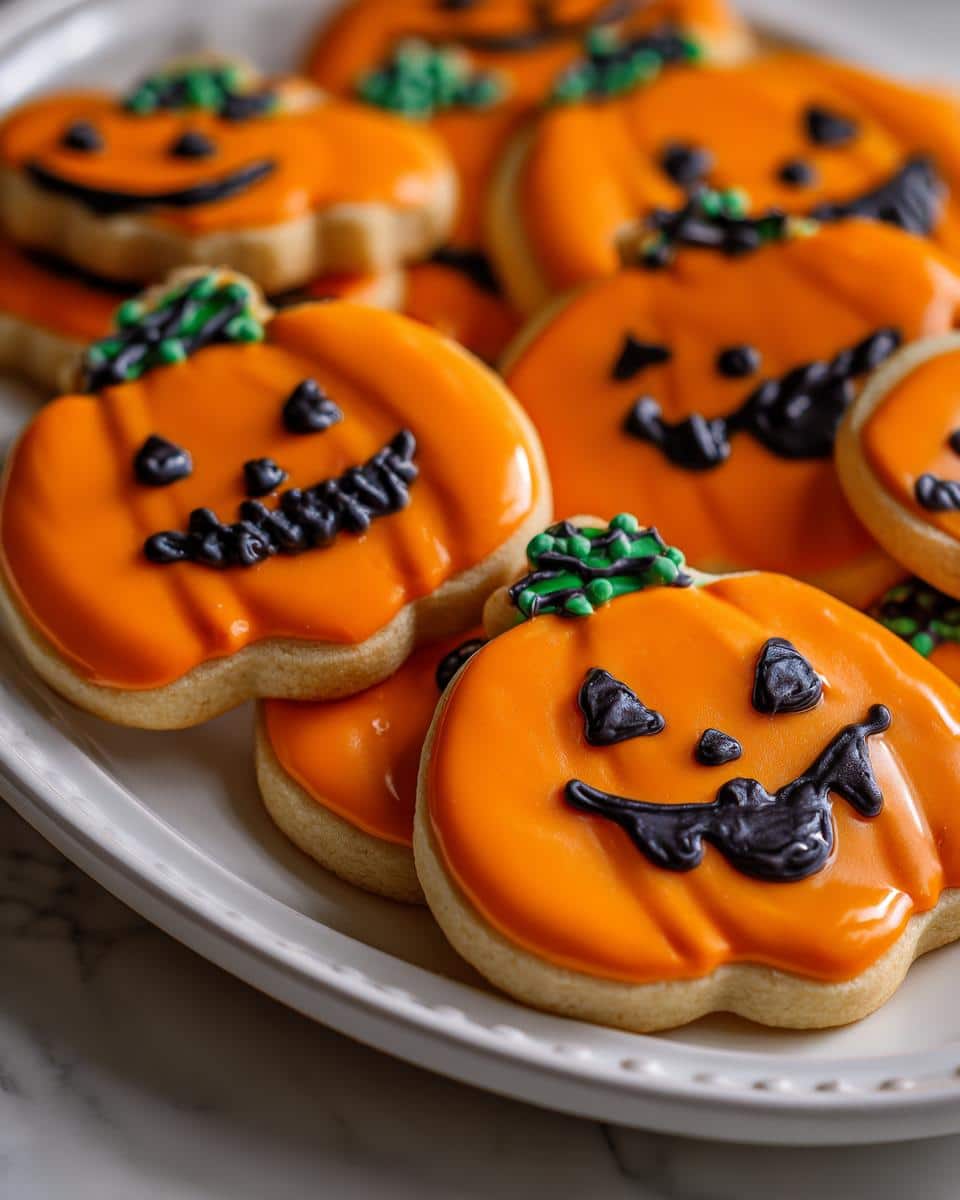
- Total showstoppers: The bright orange icing and silly faces instantly put everyone in the Halloween spirit
- So fun to decorate: Let your creativity run wild with different expressions—grumpy, silly, or even surprised pumpkins!
- Party perfect: They’re sturdy enough to stack on platters and always disappear first at gatherings
- Endless variations: Swap colors for ghosts or witches’ hats—the royal icing canvas is yours to play with
Seriously, once you try these, you’ll understand why my friends beg me to make them every year!
The Exact Ingredients You Need (And Why They Matter)
Now let’s talk about what goes into these spooky little masterpieces! I’ve learned over the years that using the right ingredients—and preparing them just so—makes all the difference between “meh” cookies and ones that’ll have people asking for your recipe.
For the Sugar Cookie Base:
- 2 3/4 cups all-purpose flour: Spooned and leveled—don’t pack it! This gives structure without being too dense
- 1/2 tsp baking powder: Just enough lift for tender cookies that hold their shape
- 1/4 tsp salt: Trust me, this tiny amount balances the sweetness perfectly
- 1 cup unsalted butter, softened: Leave it out for 30 minutes—you want it cool but spreadable
- 1 1/2 cups granulated sugar: Creates that classic crispy edge and soft center
- 1 large egg: Room temperature blends smoother into the dough
- 1 tsp vanilla extract: The secret background note that makes people say “these taste amazing!”
For the Royal Icing:
- 2 cups powdered sugar: Sift it first—no one wants lumpy icing!
- 1 1/2 tbsp meringue powder: Makes the icing dry hard so your designs stay put
- 3-4 tbsp water: Add slowly until it’s like thick glue
- Gel food coloring: Orange for the pumpkins, black for faces, green for stems (liquid coloring makes icing runny)
See those notes about butter temperature and sifting? Those aren’t just suggestions—they’re my hard-won lessons from batches where the dough crumbled or the icing wouldn’t pipe right. Follow these exactly, and you’re golden!
Equipment You’ll Need
Listen, decorating these cookies is way more fun when you’ve got the right tools within arm’s reach! Here’s what I always grab before starting:
- Rolling pin (my wooden one’s covered in flour stains—proof it’s well-loved!)
- Pumpkin-shaped cookie cutters (bonus points if you have multiple sizes)
- Piping bags with small round tips (#2 or #3 are perfect)
- Baking sheets—line them with parchment so your cookies slide right off
That’s it! Simple, right? Now let’s make some magic.
How to Make Decorated Jack-O’-Lantern Sugar Cookies with Royal Icing
Alright, let’s dive into the fun part! Making these cookies is like conducting a delicious science experiment—each step builds on the last to create something magical. Follow along closely, and I promise you’ll end up with cookies that look professionally decorated (even if it’s your first try)!
Preparing the Cookie Dough
First things first—preheat that oven to 350°F (175°C) and line your baking sheets with parchment paper. Now grab two bowls: in one, whisk together the flour, baking powder, and salt. In another bowl (or your stand mixer), cream the softened butter and sugar until it’s light and fluffy—about 2 minutes should do it. Beat in the egg and vanilla until just combined.
Here’s my trick: add the dry ingredients to the wet in three batches, mixing just until the flour disappears after each addition. The dough should come together cleanly without being sticky. Now roll it out on a lightly floured surface to 1/4-inch thickness—use guide sticks if you have them! Pop the rolled dough in the fridge for 30 minutes (this prevents spreading). Then cut out your pumpkin shapes, re-rolling scraps as needed.
Baking and Cooling the Cookies
Arrange your pumpkin cookies about an inch apart on the prepared baking sheets—they don’t spread much, but you want even baking. Slide them into the oven for 8-10 minutes until the edges just barely start turning golden. Don’t wait for browning—that means they’re overdone!
Here’s the hardest part: let them cool completely on the baking sheets before even thinking about decorating. I know it’s tempting, but warm cookies melt royal icing into a sad, runny mess. Wait at least 30 minutes—go watch some Halloween cartoons to pass the time.
Making and Coloring the Royal Icing
While the cookies cool, let’s make the magic happen! Sift your powdered sugar and meringue powder together (no lumps allowed!). Gradually add water while mixing on low speed until it’s thick but still pipeable—think toothpaste consistency.
Divide the icing into three bowls: one large portion for the orange (about 2/3), and smaller ones for black and green. Use gel food coloring—trust me, the liquid stuff makes the icing too runny. Stir slowly to avoid air bubbles. Pro tip: cover bowls with damp towels so the icing doesn’t crust while you work.
Decorating the Jack-O’-Lantern Cookies
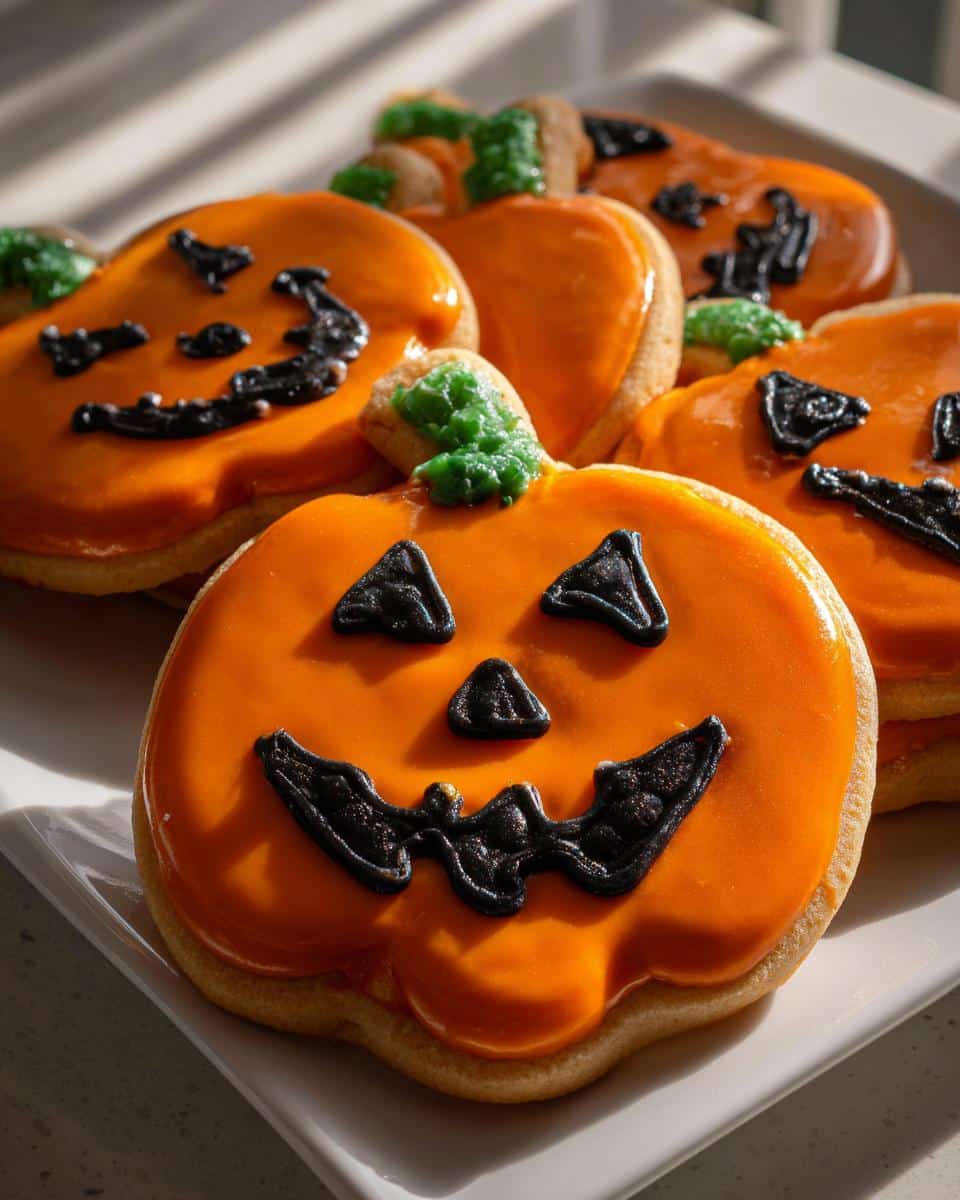
Time for the grand finale! Pipe orange outlines around each cookie’s edges, then flood with more orange icing—use a toothpick to nudge it into corners. Let this layer dry for about 30 minutes (it should be tacky but not wet).
Now pipe on those silly faces! I like to do triangle eyes and a zigzag mouth—simple but classic. Add little green stems last. Let them dry completely overnight (cover lightly with a towel) before stacking or packaging. And voila—you’ve just made edible Halloween art!
Tips for Perfect Decorated Jack-O’-Lantern Sugar Cookies
After years of Halloween baking fails (and triumphs!), here are my foolproof secrets:
- Chill that dough: 30 minutes minimum—it prevents spreading and keeps your pumpkin shapes crisp
- Gel colors only: Liquid food coloring turns royal icing into a watery disaster
- Patience is key: Let each icing layer dry completely before adding details
- Store smart: Airtight containers prevent humidity from ruining your hard work
Follow these, and you’ll avoid all the mistakes I made the hard way!
Ingredient Substitutions and Variations
Want to mix things up? Here are my favorite swaps that still keep these cookies amazing:
- Gluten-free? Use a 1:1 gluten-free flour blend—the texture stays perfect
- Natural colors: Try beet powder for orange and spirulina for green (just add slowly—they’re potent!)
- Vegan option: Coconut oil works for butter, and aquafaba replaces the egg in the dough
Just remember: liquid sweeteners like maple syrup will change the dough’s consistency, so stick with granulated sugar substitutes if needed!
Storing and Serving Decorated Jack-O’-Lantern Sugar Cookies
Here’s my golden rule with these cookies—keep them sealed tight in an airtight container with parchment between layers. They’ll stay fresh and crisp for up to 5 days (if they last that long!). Humidity is their worst enemy, so avoid refrigerating unless your kitchen feels like a steam room. As for serving? Stack them on a spooky platter at parties, pop them into treat bags for neighborhood kids, or—my favorite—arrange them around a bowl of punch so guests can admire your handiwork before devouring them!
Nutritional Information for Decorated Jack-O’-Lantern Sugar Cookies
Each smiling pumpkin cookie clocks in at about 180 calories—not bad for a treat this festive! You’re looking at roughly 15g of sugar (hey, it’s Halloween!) and 7g of fat per cookie. Now, here’s the thing: these numbers can wiggle a bit depending on your exact ingredients—different butter brands or how thick you pipe that icing. But whether you’re counting calories or just enjoying the holiday spirit, these cookies are meant to be savored one spooky bite at a time!
Frequently Asked Questions
Over the years, I’ve gotten the same handful of questions about these cookies every Halloween—so let me save you some time with answers straight from my flour-dusted notebook!
Can I use buttercream instead of royal icing?
You can, but it won’t dry hard—expect smudged faces if cookies touch! Royal icing’s crust is what makes these decorations last. If you must use buttercream, chill decorated cookies before stacking.
How long do these cookies last?
Stored properly (read: airtight container!), they stay fresh for 5 days. The icing actually helps preserve them! Just keep away from humidity—no one likes a sweaty pumpkin.
Can I freeze the dough?
Absolutely! Wrap dough tightly in plastic and freeze for up to 3 months. Thaw overnight in the fridge before rolling. Already baked cookies freeze beautifully too—just wait to decorate until thawed.
Why do my cookies spread?
Three likely culprits: butter too warm, dough not chilled enough, or overmixing after adding flour. My golden rule? Cold dough + hot oven = perfect pumpkin shapes every time.

Delectable Decorated Jack-O’-Lantern Sugar Cookies Everyone Loves
- Total Time: 40 minutes
- Yield: 24 cookies
- Diet: Vegetarian
Description
Decorate your Halloween with these festive Jack-O’-Lantern sugar cookies topped with royal icing. Perfect for parties or spooky treats.
Ingredients
- 2 3/4 cups all-purpose flour
- 1/2 tsp baking powder
- 1/4 tsp salt
- 1 cup unsalted butter, softened
- 1 1/2 cups granulated sugar
- 1 large egg
- 1 tsp vanilla extract
- 2 cups powdered sugar
- 1 1/2 tbsp meringue powder
- 3–4 tbsp water
- Orange, black, and green food coloring
Instructions
- Preheat oven to 350°F (175°C). Line baking sheets with parchment paper.
- Whisk flour, baking powder, and salt in a bowl.
- Cream butter and sugar until fluffy. Beat in egg and vanilla.
- Gradually add dry ingredients to wet, mixing until combined.
- Roll dough to 1/4-inch thickness. Cut into pumpkin shapes.
- Bake for 8-10 minutes. Cool completely.
- For icing, mix powdered sugar, meringue powder, and water until smooth.
- Divide icing and tint orange, black, and green.
- Pipe outlines and fill cookies with orange icing.
- Add black icing for faces and green for stems.
- Let icing set before serving.
Notes
- Chill dough for 30 minutes for easier handling.
- Use gel food coloring for vibrant shades.
- Store cookies in an airtight container.
- Prep Time: 30 minutes
- Cook Time: 10 minutes
- Category: Dessert
- Method: Baking
- Cuisine: American