Skip to content
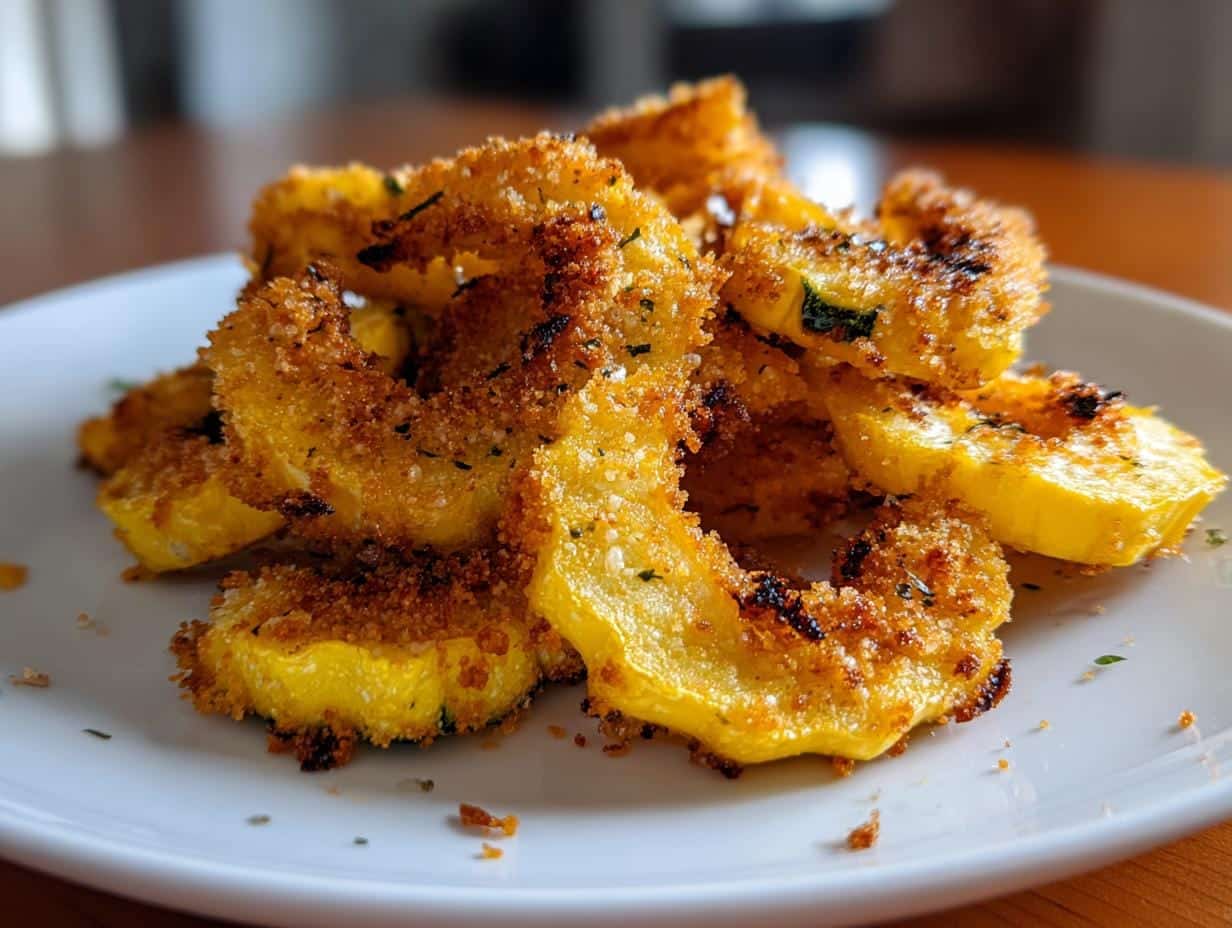
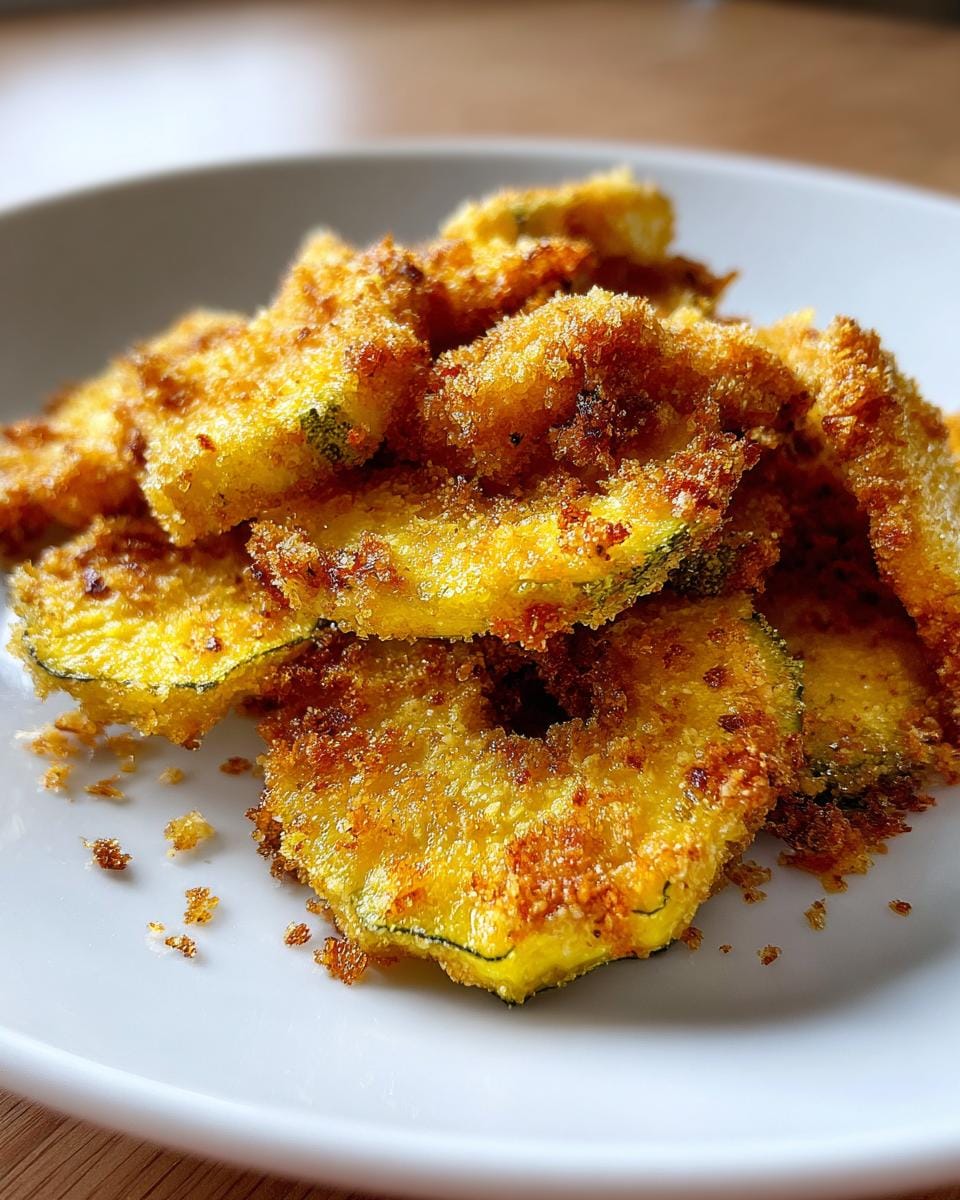
You know those summer afternoons when you’re staring at a pile of fresh squash from the garden, wondering what magic to work? That’s exactly how I discovered oven-fried squash – and wow, did it become my go-to! The first time I pulled that golden, crispy batch from the oven, my kitchen smelled like comfort food heaven. What I love most is how simple it is – just a few pantry staples transform humble squash into something spectacular. No messy deep-frying, just delicious crunch with way less guilt. Trust me, once you try this method, you’ll never look at squash the same way again!
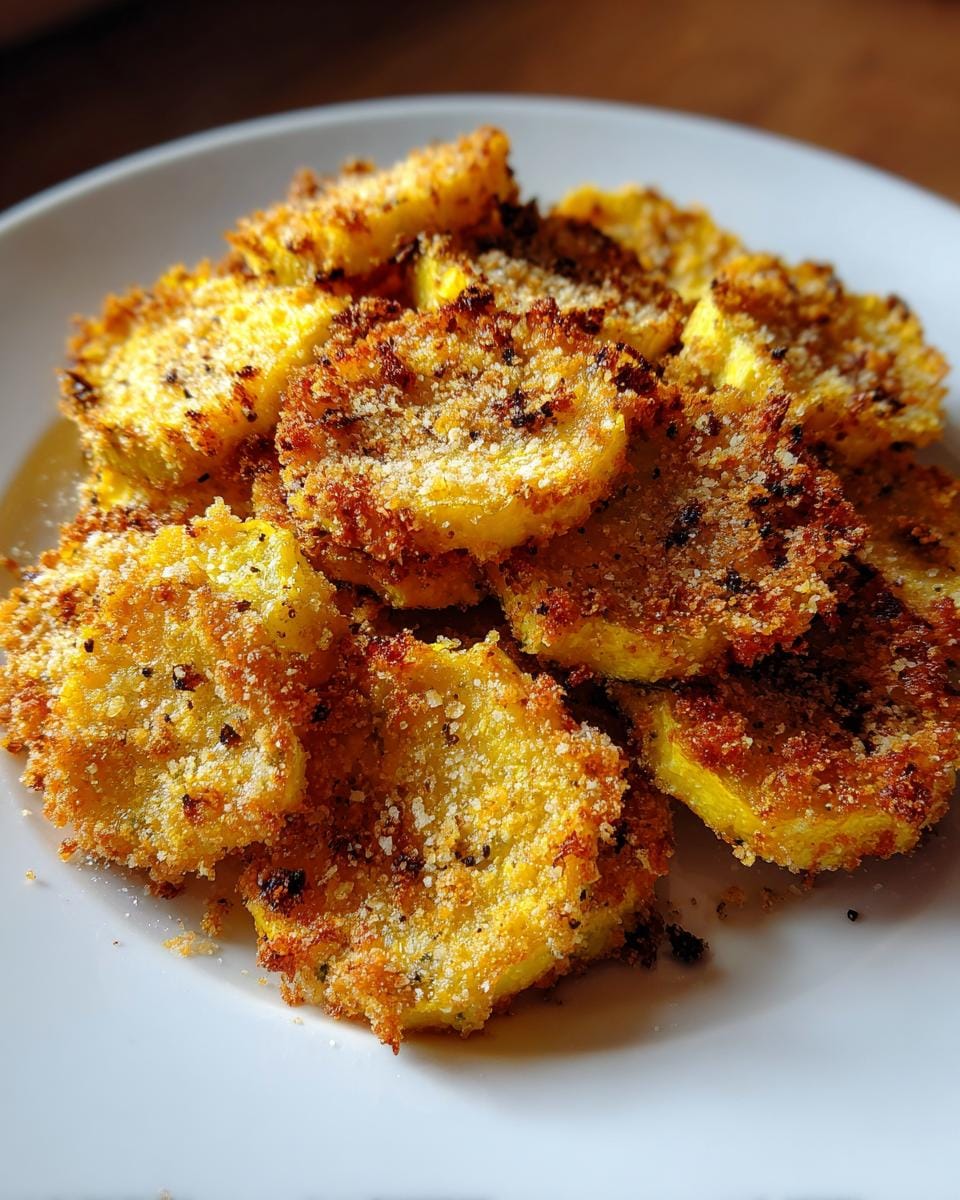
Table of contents:
Why You’ll Love This Oven-Fried Squash
This recipe checks all the boxes for a perfect side dish – here’s why it’s my absolute favorite:
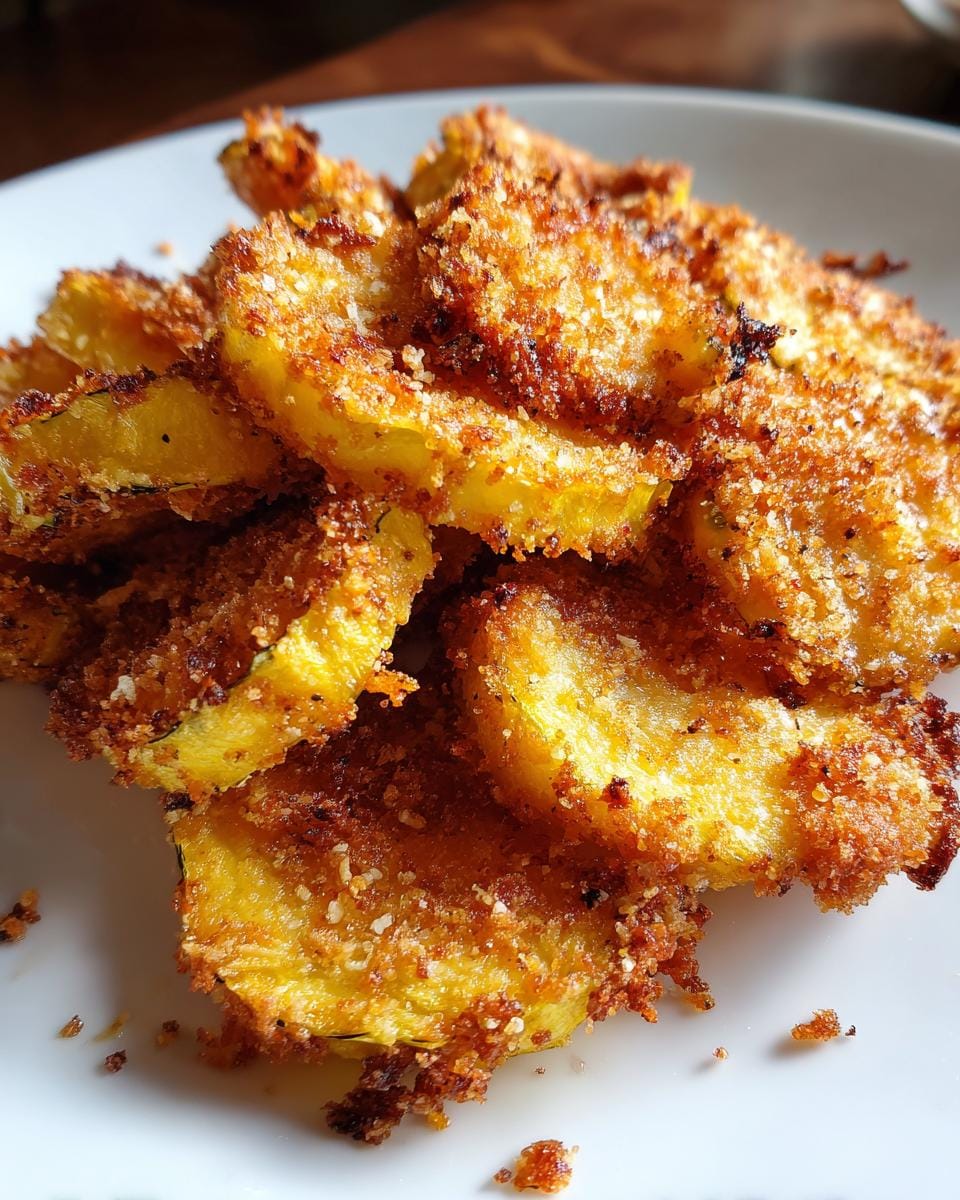
- That irresistible crunch: The breadcrumb-Parmesan coating bakes up so crispy, you won’t believe it’s not fried!
- Healthier without sacrificing flavor: All the satisfaction of fried squash with way less oil – just a light drizzle does the trick.
- Pantry-friendly ingredients: I always have everything I need on hand – no special grocery runs required.
- Quick from prep to plate: Ready in under 30 minutes, even on my busiest weeknights.
Seriously, it’s the kind of recipe that makes people ask for seconds while pretending they’re being healthy. Win-win!
Ingredients for Oven-Fried Squash
Here’s everything you’ll need for that perfect crispy bite – I’ve learned through trial and error that these exact measurements make all the difference:
- 2 medium yellow squash, sliced 1/4-inch thick (don’t go thinner or they’ll dry out!)
- 1 cup breadcrumbs (panko gives the best crunch)
- 1/2 cup freshly grated Parmesan (the pre-shredded stuff doesn’t stick as well)
- 1 teaspoon garlic powder
- 1 teaspoon smoked paprika (regular works too)
- 1/2 teaspoon sea salt
- 1/4 teaspoon freshly cracked black pepper
- 2 large eggs, beaten
- 2 tablespoons good olive oil
Pro tip: Measure everything before you start – it makes the coating process so much smoother!
Equipment You’ll Need
Gather these trusty kitchen tools – nothing fancy required:
- 1 sturdy baking sheet (I swear by my half-sheet pan)
- Parchment paper (saves so much cleanup!)
- 2 mixing bowls (one for dry, one for wet ingredients)
- Tongs or fork for flipping
That’s it – see? I told you this recipe keeps things simple!
How to Make Oven-Fried Squash
Alright, let’s get to the fun part – transforming those squash slices into golden, crispy perfection! I’ve made this recipe dozens of times, and these steps never fail me. Just follow along – it’s easier than you think!
Step 1: Prep the Squash
First things first – grab your squash and make sure your slices are uniform. I like mine about 1/4-inch thick – any thinner and they’ll overcook, any thicker and they won’t get crispy enough. Pro tip: use a mandoline if you have one for perfectly even slices (just watch those fingers!). Lay them out on a clean towel and pat them dry – this helps the coating stick better. Trust me, skipping this step leads to sad, sliding breadcrumbs!
Step 2: Coat the Squash
Now for the magic coating! Here’s my secret weapon: set up your dipping station assembly-line style. One bowl with beaten eggs, one with your breadcrumb-Parmesan-spice mixture. Dip each squash slice in the egg first, letting excess drip off, then press firmly into the breadcrumbs. I mean really press – flip it, press again, make sure every inch is coated. Sometimes I do a second dip in egg and crumbs for extra-crispy results (my husband calls these “squash crunchies” and hoards them all!).
Step 3: Bake to Perfection
Spread your coated squash in a single layer on the parchment-lined baking sheet – don’t crowd them! Drizzle lightly with olive oil (about 2 tablespoons total). Pop them in your preheated 400°F oven and set a timer for 10 minutes. When it dings, use tongs to carefully flip each piece – this ensures even browning. Bake another 10-15 minutes until they’re deeply golden and crispy at the edges. The smell will drive you crazy! Peek at the 20-minute mark – oven temps vary, and you want that perfect crunch without burning.
Pull them out when they’re crisp but still have a little give – they’ll firm up as they cool slightly. Transfer to a wire rack if you can wait (I never can!). That first crunchy bite? Pure summer happiness on a plate!
Tips for Crispy Oven-Fried Squash
After making this recipe more times than I can count, here are my foolproof secrets for maximum crispiness every single time:
- Give them breathing room: Crowding the pan = soggy squash. I leave at least 1/2 inch between slices so hot air can circulate.
- Breadcrumb freshness matters: Stale crumbs just won’t crisp up right. I toast fresh panko in a dry skillet for 2 minutes if mine’s been in the pantry awhile.
- The oil drizzle dance: Don’t drown them! Just a light zig-zag of olive oil – too much makes them greasy, too little won’t brown properly.
Bonus trick: For extra crunch, finish with a sprinkle of flaky salt right after baking while they’re still piping hot!
Serving Suggestions
Oh, the possibilities with these golden crispy bites! Here’s how I love to serve them:
- As a snack: With garlic aioli or my quick buttermilk ranch (just stir together Greek yogurt, buttermilk, and herbs)
- Alongside mains: Perfect with grilled chicken or piled next to juicy burgers – the crunch cuts through rich flavors beautifully
- Salad topper: I’ll toss warm slices over fresh greens with lemon vinaigrette – the contrast of textures is amazing
Last summer, I even served them as “squash fries” with ketchup for the kids – total hit at backyard BBQs!
Storage and Reheating
Here’s the good news – if you somehow have leftovers (rare in my house!), they’ll keep beautifully. Just pop them in an airtight container in the fridge for up to 2 days. When you’re ready for round two, skip the microwave – it makes them soggy. Instead, spread the squash slices on a baking sheet and give them a quick 5-minute toast in a 350°F oven. They’ll come out nearly as crispy as the first time! Pro tip: I sometimes sprinkle a tiny bit of fresh Parmesan before reheating for extra flavor.
Oven-Fried Squash Variations
Once you’ve mastered the basic recipe, the fun really begins! Here are my favorite ways to mix things up:
- Zucchini swap: Works just as beautifully as yellow squash – sometimes I do half and half for a colorful plate
- Herb explosion: Add 1 tablespoon each of dried oregano and thyme to the breadcrumb mix for Italian vibes
- Spicy version: Kick it up with 1/2 teaspoon cayenne or chili powder in the coating
- Nutty twist: Replace half the breadcrumbs with finely crushed almonds or pecans
The best part? You can’t really mess it up – have fun experimenting with your own creations!
Nutritional Information
Now, I’m no nutritionist, but I do like knowing roughly what’s going into my favorite dishes! Here’s the scoop per serving (about 1/4 of the recipe) based on my standard ingredients:
- Calories: Around 180 per serving
- Protein: About 8g (that Parmesan really adds up!)
- Carbs: Roughly 20g
- Fiber: 2g from our squash star
- Fat: 8g (mostly the good kind from olive oil)
Remember, these are estimates – your actual numbers might vary based on the exact size of your squash or brand of breadcrumbs. What I love is that compared to traditional fried squash, we’re saving so much oil without losing any of that crave-worthy crunch!
Share Your Results
I’d love to hear how your oven-fried squash turns out! Did you add any fun twists? Did your family go crazy for that crispy crunch? Drop a comment below or snap a photo – nothing makes me happier than seeing your kitchen creations. Happy baking!
Print
Crispy 2-Ingredient Oven-Fried Squash Your Family Will Devour
- Total Time: 40 minutes
- Yield: 4 servings
- Diet: Vegetarian
Description
Crispy and delicious oven-fried squash made with simple ingredients.
Ingredients
- 2 medium yellow squash, sliced
- 1 cup breadcrumbs
- 1/2 cup grated Parmesan cheese
- 1 teaspoon garlic powder
- 1 teaspoon paprika
- 1/2 teaspoon salt
- 1/4 teaspoon black pepper
- 2 eggs, beaten
- 2 tablespoons olive oil
Instructions
- Preheat oven to 400°F (200°C).
- Mix breadcrumbs, Parmesan cheese, garlic powder, paprika, salt, and pepper in a bowl.
- Dip squash slices in beaten eggs, then coat with breadcrumb mixture.
- Place coated squash on a baking sheet lined with parchment paper.
- Drizzle with olive oil.
- Bake for 20-25 minutes until golden and crispy.
- Serve warm.
Notes
- For extra crispiness, flip squash halfway through baking.
- Use panko breadcrumbs for a crunchier texture.
- Add a pinch of cayenne pepper for a spicy kick.
- Prep Time: 15 minutes
- Cook Time: 25 minutes
- Category: Side Dish
- Method: Baking
- Cuisine: American
FAQ About Oven-Fried Squash
I get questions about this recipe all the time – here are the ones that pop up most often with my tried-and-true answers:
Absolutely! My air fryer version works like magic at 375°F for about 12 minutes (flip halfway). The basket’s tight space means you’ll need to cook in smaller batches, but oh that crispiness is worth it!
Crushed saltine crackers or Ritz crackers make a fantastic swap – they add such nice buttery flavor. For extra crunch, try cornflake crumbs (my grandma’s secret weapon!).
Easy peasy – just use almond flour or gluten-free panko crumbs instead of regular breadcrumbs. The coating still gets deliciously crispy!
Got more questions? Drop them in the comments – I’m always happy to help troubleshoot your squash adventures!