Skip to content
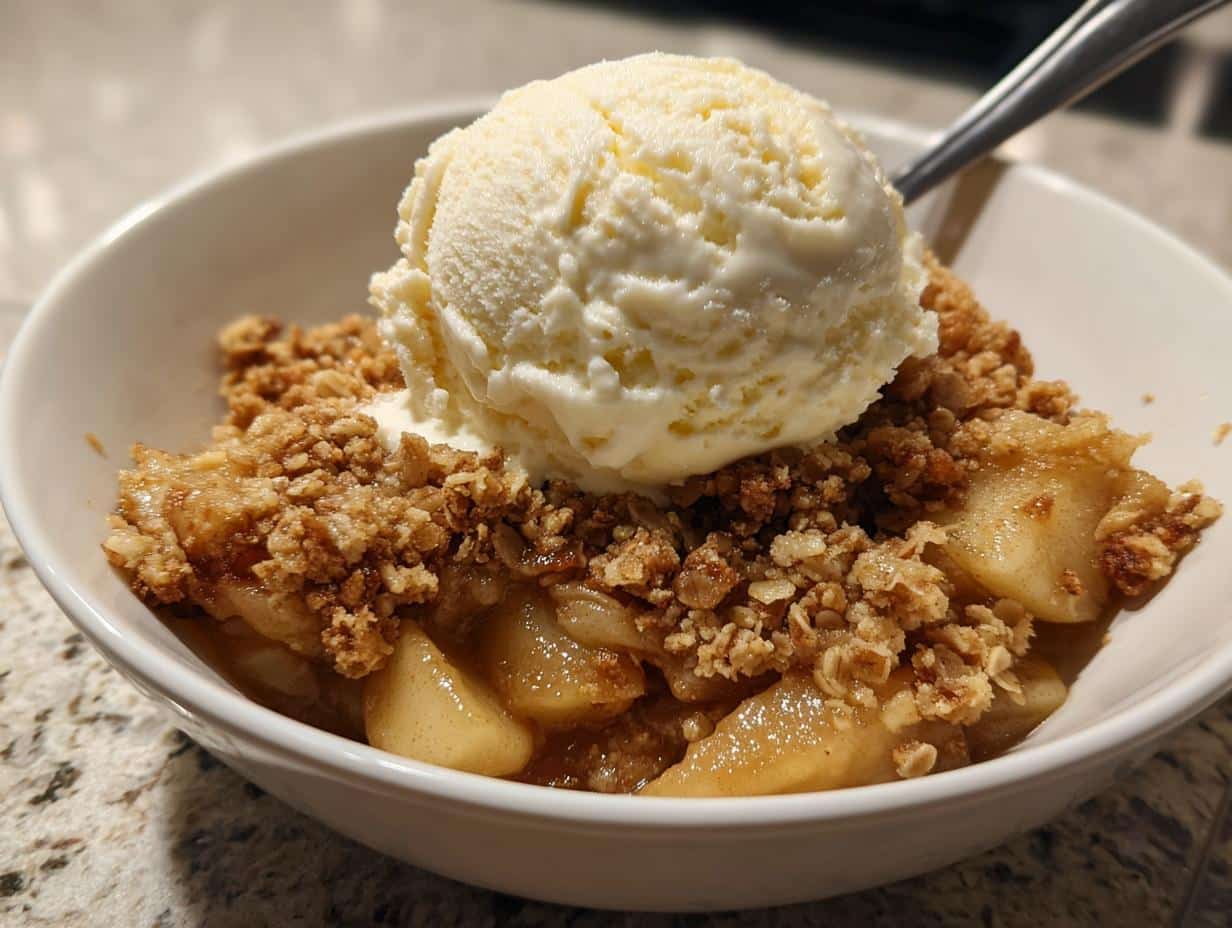
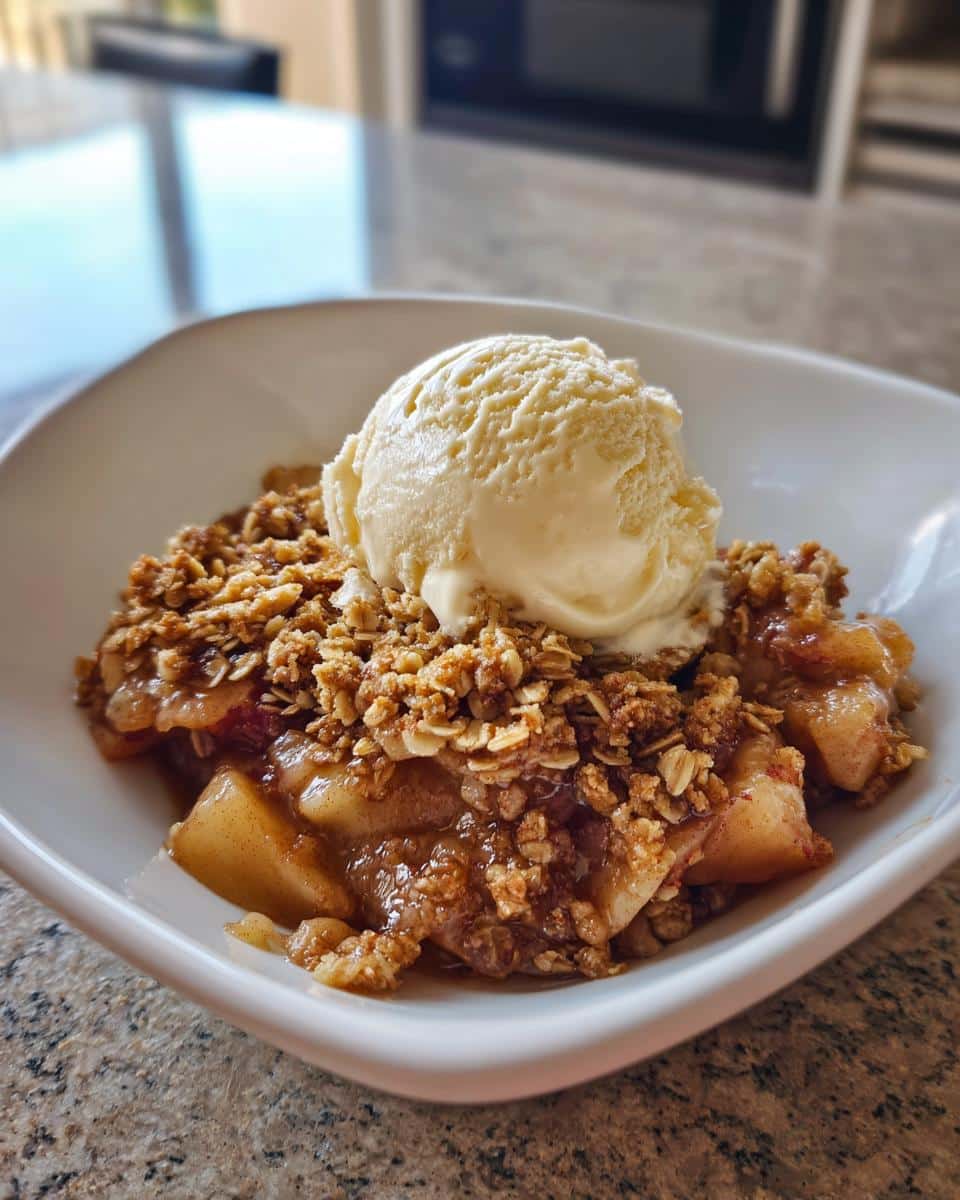
Nothing says home quite like the smell of cinnamon and apples baking in the oven. My classic apple crisp with oat crumble and vanilla ice cream has been warming hearts (and bellies!) at our family gatherings for years. I can still picture my grandma pulling her cast iron skillet out of the oven, the golden crumble topping crackling as she scooped vanilla ice cream on top.
This simple dessert became our tradition – from chilly autumn nights to summer reunions under the stars. The magic happens when tart apples meet that buttery oat topping, then get hugged by melting vanilla ice cream. It’s the kind of recipe that makes people linger at the table, scraping their bowls clean while sharing stories.
What I love most is how this apple crisp bridges generations. My kids now beg to help layer the apples just like I did with my grandmother. Some recipes are about precision, but this one? It’s about joy, simplicity, and that perfect crispy-sweet bite that takes you right back to childhood.
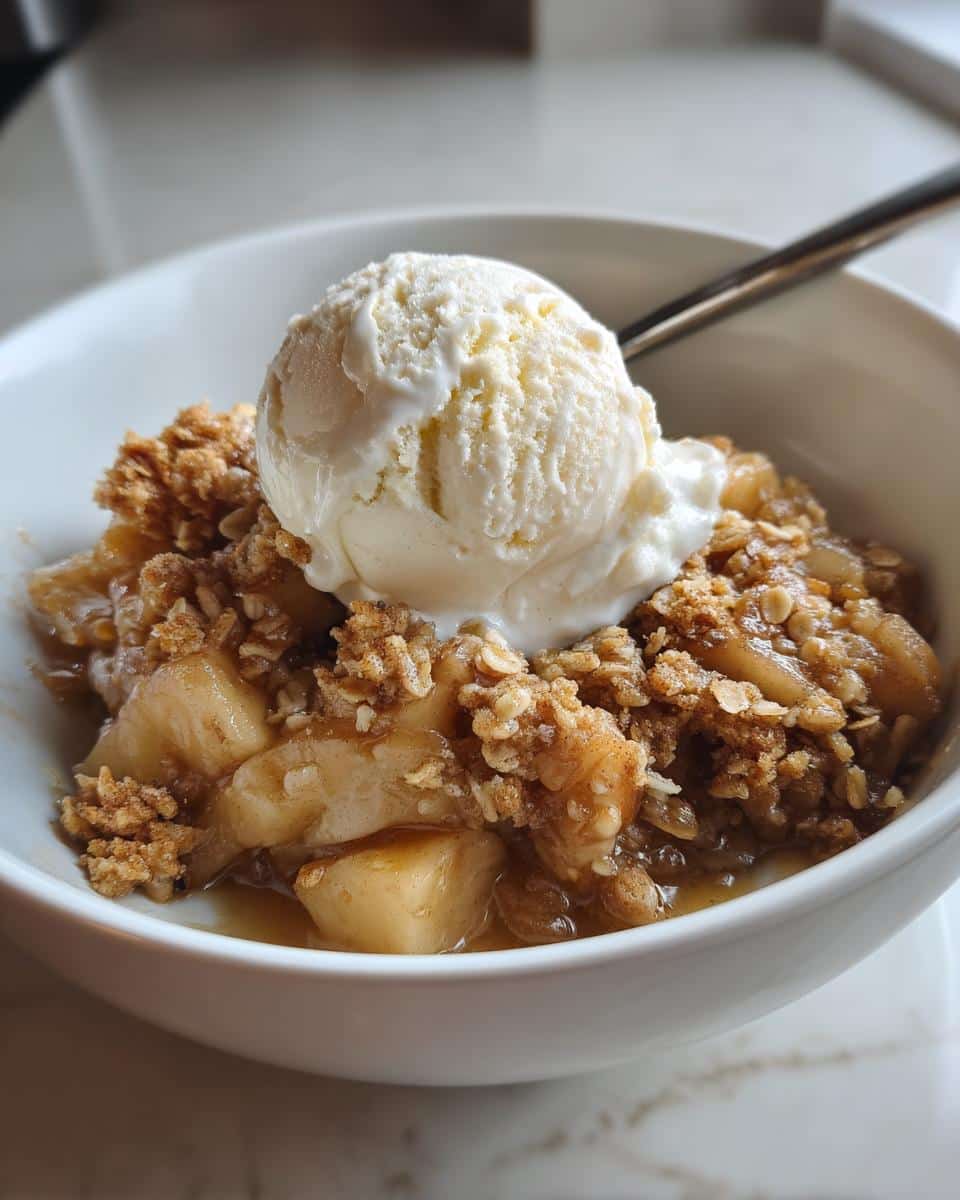
Table of contents:
Why You’ll Love This Classic Apple Crisp with Oat Crumble and Vanilla Ice Cream
This recipe has won over so many hearts (and appetites) in my kitchen, and here’s why it’ll become your new favorite too:
- Effortless comfort food – With just 15 minutes of prep, you’re moments away from that magical apple-cinnamon aroma filling your home
- Perfect texture contrast – The tender baked apples and crispy oat topping create that irresistible hot-cold combo when paired with melting vanilla ice cream
- Crowd-pleasing versatility – Equally at home at weeknight dinners or holiday gatherings, this dessert disappears fast wherever I serve it
- Nostalgia in every bite – That first spoonful takes me right back to childhood, and now my kids beg me to make it just like Grandma did
Ingredients for Classic Apple Crisp with Oat Crumble and Vanilla Ice Cream
Here’s everything you’ll need to make this cozy dessert sing – I’ve learned the hard way that using the right apples and keeping your butter cold makes all the difference!
- 6 cups peeled and sliced apples (about 4-5 medium) – I swear by Granny Smith for their perfect tartness, but Honeycrisp or Braeburn work great too
- 1 tbsp fresh lemon juice – This little splash keeps the apples from browning and adds brightness
- 1/2 cup granulated sugar – Just enough sweetness to balance those tart apples
- 1 tsp ground cinnamon – My secret? I use Vietnamese cinnamon for extra warmth
- 1/4 tsp ground nutmeg – Freshly grated if you’ve got it – the aroma is unreal
For that irresistible crumble topping:
- 1 cup old-fashioned rolled oats – Not quick oats! We want that satisfying crunch
- 1/2 cup all-purpose flour – Spoon and level it for accuracy
- 1/2 cup packed brown sugar – Really pack it in – this creates those delicious crispy edges
- 1/4 tsp salt – Just a pinch to balance all the sweetness
- 1/2 cup cold unsalted butter, cubed – Straight from the fridge is key for perfect crumbs
And the non-negotiable finishing touch:
- Vanilla ice cream for serving – Go for the good stuff with real vanilla beans
Essential Equipment for Making Classic Apple Crisp
You probably have most of these tools in your kitchen already – that’s the beauty of this recipe! Here’s what I always grab when making my classic apple crisp:
- 9-inch baking dish – My trusty Pyrex pie dish works perfectly, but any similar-sized ceramic or glass dish will do
- 2 medium mixing bowls – One for the apples, one for the crumble – I like glass so I can see what’s happening
- Pastry cutter or fork – Essential for cutting that cold butter into the oat mixture (though clean hands work in a pinch!)
- Peeler and sharp knife – Makes quick work of prepping those apples
- Measuring cups and spoons – Especially important for packing that brown sugar just right
- Rubber spatula – Helps scrape every last bit of that delicious crumble topping
See? Nothing fancy needed. The only “special” tool is the pastry cutter, but I’ve used two forks crossed together when I couldn’t find mine. Grandma would say the best tool is always a little patience – especially when waiting for that first heavenly bite!
How to Make Classic Apple Crisp with Oat Crumble and Vanilla Ice Cream
Now for the fun part – let’s bring this comforting dessert to life! I’ve made this recipe dozens of times (maybe hundreds), and these steps will guide you to crispy, apple-y perfection every time. Just follow along, and you’ll have that heavenly aroma filling your kitchen before you know it.
Preparing the Apple Filling
First things first – those beautiful apples need some love! Here’s how I prepare them for maximum flavor:
- Peel and slice your apples about 1/4-inch thick – not too thin or they’ll turn to mush, not too thick or they won’t soften properly. I like irregular slices for that rustic, homemade look.
- Toss them immediately with lemon juice in a large bowl – this keeps them from browning and adds just the right amount of tang.
- Sprinkle in the granulated sugar, cinnamon, and nutmeg. Now here’s my trick: use your hands to gently mix everything together, making sure each slice gets coated evenly. The sugar will start drawing out the apple juices, creating that amazing syrupy base.
- Pour the apple mixture into your greased baking dish, scraping all those tasty spices from the bowl. Spread them in an even layer – no need to press down, just let them settle naturally.
Making the Oat Crumble Topping
This is where the magic happens! That crispy, buttery topping is what takes this dessert from good to “can I have seconds?” Here’s how I nail it every time:
- Whisk together the oats, flour, brown sugar, and salt in a separate bowl. Make sure there are no brown sugar lumps – I like to break them up with my fingers as I mix.
- Add your cold butter cubes. Now grab your pastry cutter (or two knives, or clean hands if you’re feeling rustic) and start cutting the butter into the dry ingredients. You’ll know it’s ready when the mixture looks like coarse crumbs with some pea-sized bits of butter remaining – these melt to create delicious crispy pockets.
- Sprinkle the crumble evenly over the apples, covering them completely but not packing it down. I use my fingers to distribute it, letting some apple slices peek through – they’ll caramelize beautifully in the oven.
Baking and Serving Your Classic Apple Crisp
Now for the hardest part – waiting while your kitchen fills with that incredible aroma! Here’s what to watch for:
- Bake at 375°F (190°C) for 35-40 minutes. You’ll know it’s ready when the topping is golden brown (about the color of a sugar cookie) and you see those apple juices bubbling up around the edges.
- Let it rest for 10 minutes before serving – I know, torture! But this lets the juices thicken slightly so your crisp holds its shape when scooped.
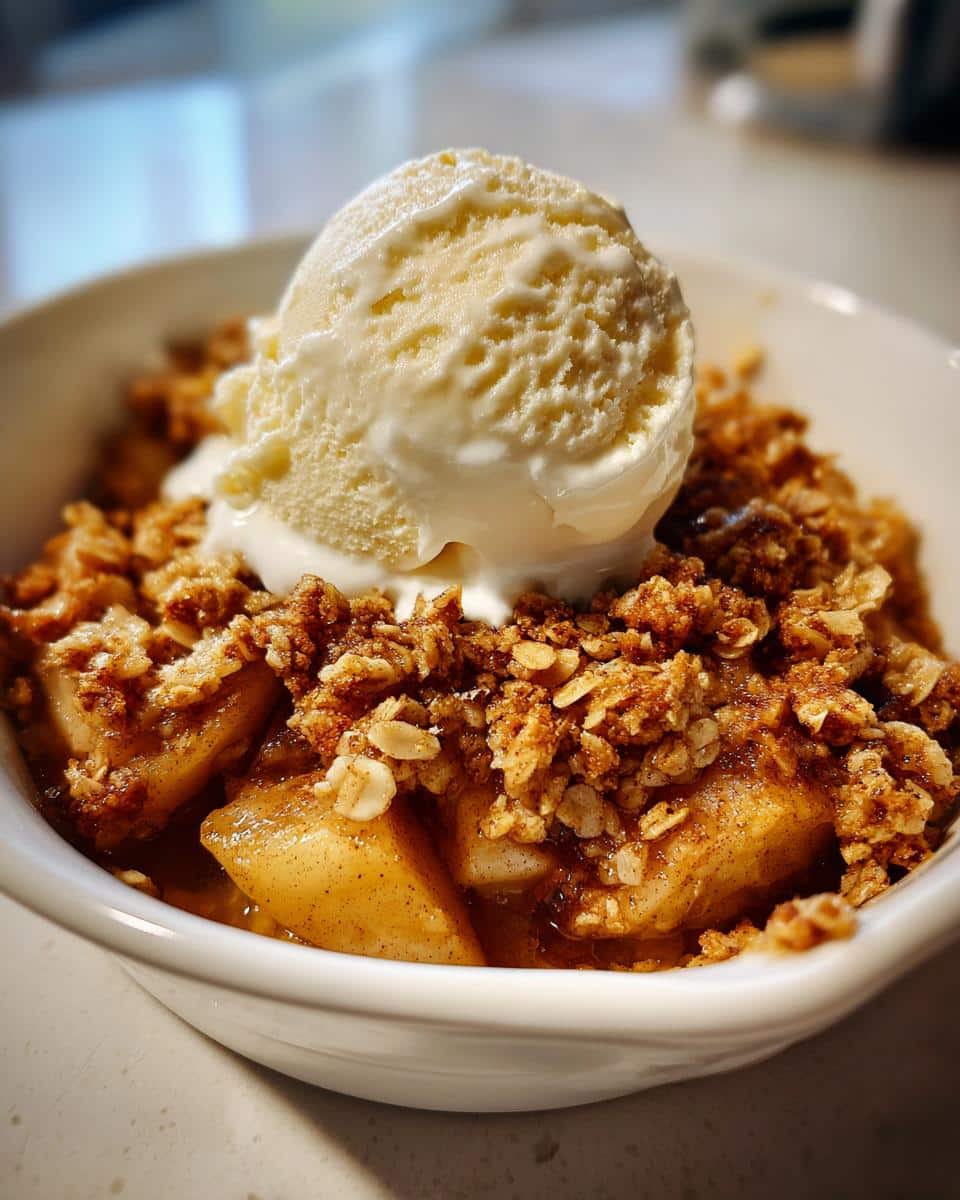
- Scoop generous portions into bowls and top with vanilla ice cream – watch it melt into all those nooks and crannies. That first bite of warm crisp and cold ice cream? Absolute heaven!
Pro tip from my grandma: The crisp continues to set as it cools, so if you can resist, it’s even better after 20-30 minutes when the juices have thickened more. But honestly? I’ve never been able to wait that long!
Expert Tips for Perfect Classic Apple Crisp Every Time
After making this apple crisp more times than I can count, I’ve learned a few tricks that’ll help you nail it every single time. These are the little things that turn a good crisp into something truly special:
Getting Those Apples Just Right
Slice your apples about 1/4-inch thick – this isn’t just about looks! Too thin, and they’ll collapse into mush. Too thick, and they won’t soften enough. I like irregular slices (some thick, some thin) because they bake differently and create amazing texture contrasts. And always toss them with lemon juice immediately after slicing to prevent browning and add brightness!
The Butter Temperature Secret
Cold butter is your crumble topping’s best friend! I keep mine in the fridge until the second I need it. The colder it stays while you mix, the more those little butter pockets will create crispy, golden bits in the oven. If your kitchen is warm, pop the bowl of topping ingredients in the fridge for 5 minutes before adding butter – it helps.
Testing for Doneness
Besides the golden color, look for small bubbles of juice peeking through the topping – that’s your signal that the apples are perfectly tender underneath. The topping should feel crisp to touch, not soft. If unsure, poke a fork into the center gently – you want the apples soft but not mushy, with the topping resisting slightly before giving way.
Letting It Rest
That 10-minute rest after baking? Non-negotiable! It lets the juices thicken just enough so your crisp holds its shape when scooped. I use this time to take the ice cream out of the freezer so it softens slightly for the perfect scoop onto warm crisp. The wait makes those first melty-crispy bites even better!
These little things make such a difference. Once you try them, you’ll notice how that crisp turns out perfectly golden, with the ideal balance of tender apples and crunch every time. And if something goes slightly wrong (like if the top bakes faster than the apples), just cover the crisp with foil and wait – it’ll keep cooking underneath while protecting the topping!
Variations on Classic Apple Crisp with Oat Crumble
While I adore the original version, sometimes I love mixing things up with these simple twists – each one brings its own special personality to the classic apple crisp we all love!
The Nutty Professor
Add 1/4 cup of chopped pecans or walnuts to the crumble topping before baking. The nuts toast up beautifully, adding extra crunch and richness. My husband swears by toasted pecans – just toss them in with the oats and flour. Walnuts bring a slightly bitter note that balances the sweetness perfectly. Pro tip: toast the nuts lightly before adding for even deeper flavor!
Spiced Apple Delight
Boost the warm spices by adding 1/4 teaspoon each of ground ginger and cardamom to the apple mixture. This creates this incredible aromatic depth that makes the kitchen smell like a holiday market. Sometimes I’ll even throw in a tiny pinch of cloves (seriously, just a pinch – they’re strong!) for extra warmth. If I’m feeling fancy, I’ll add orange zest to the apples too – the citrus brightens everything up.
Berry Apple Fusion
Replace 1 cup of the apples with fresh or frozen berries – my favorites are blackberries or raspberries. The berries burst during baking, creating these gorgeous jewel-toned juices that swirl through the apples. Frozen berries work great here (no need to thaw), just toss them in straight from the freezer. The tartness of berries cuts through the sweetness beautifully. Just be ready for some dramatic purple-pink juices – they make for stunning presentation!
These variations are all simple enough that you can try them without changing your routine much. The best part? You can mix and match – add nuts AND extra spices, or try half apples and half pears with the berry version. That’s the beauty of apple crisp – it’s endlessly adaptable to whatever makes your taste buds happy!
Serving Suggestions for Classic Apple Crisp with Vanilla Ice Cream
Oh, the joy of serving this warm apple crisp! Here’s how I make it extra special for family and friends:
The perfect scoop: Always serve in warmed bowls – it keeps the crisp cozy longer. I place our bowls near the oven while baking so they’re toasty when dessert’s ready. And don’t be shy with that vanilla ice cream! A big melting scoop right in the center lets it cascade down the sides beautifully.
Beverage pairings: For adults, I love serving it with hot spiced cider or a glass of late-harvest Riesling – the honeyed notes complement the apples perfectly. The kids get warm apple cider with cinnamon sticks. Coffee fans? A dark roast with a splash of cream creates amazing bitter-sweet contrast.
Presentation tricks: Sprinkle the plate with cinnamon sugar before plating, or add a few thin apple slices fanned out beside the scoop. In fall, I’ll tuck a small cinnamon stick into the ice cream for a festive touch. And always – always! – bring extra ice cream to the table for those (inevitable) requests for seconds.
Storing and Reheating Classic Apple Crisp
Here’s the good news – this apple crisp keeps beautifully, and with a few simple tricks, you can bring back that just-baked magic even days later. I’ve tested every storage method imaginable, and here’s what really works:
Room Temperature Storage
Cover your baking dish tightly with foil or transfer leftovers to an airtight container. It’ll stay delicious at room temperature for about 2 days – perfect for midnight snacking! The topping loses some crispness over time, but those flavors just keep getting better as the spices mingle. My family actually argues about whether it’s better fresh or the next day!
Refrigerating for Longer Storage
For up to 5 days, pop it in the fridge – the cold helps retain texture better than room temp. Here’s my trick: place a paper towel under the lid to absorb any condensation that might make the topping soggy. The apples will soften more in the fridge, but that just makes them extra luscious.
Freezing Like a Pro
Yes, you can freeze apple crisp! Bake and cool completely, then wrap the whole dish tightly in plastic wrap followed by foil. It keeps for 3 months frozen. When ready, thaw overnight in the fridge, then reheat (more on that below). The texture changes slightly, but it’s still downright delicious – especially for emergency dessert cravings!
Reheating for That Fresh-Baked Feel
To revive that perfect crispiness, use a 350°F (175°C) oven. Single servings go on a baking sheet for 10 minutes, while the whole dish takes 20-25 minutes covered with foil (remove foil last 5 minutes to re-crisp the top). The microwave works in a pinch (about 30 seconds per serving), but expect a softer texture – still tasty though!
Pro tip: If your topping seems a bit soft after storage, sprinkle on a handful of fresh oats before reheating – they’ll toast up and add back that satisfying crunch. And always serve reheated crisp with fresh ice cream – it makes everything better!
Nutritional Information for Classic Apple Crisp
Okay, let’s talk numbers – but remember, these are estimates since every apple, every scoop of flour, every brand differs slightly. I calculate based on how I make it at home with standard ingredients, but your mileage may vary!
Per serving (1/6 of recipe, without ice cream):
- Calories: 320 – Mostly from those good-for-you apples and oats!
- Fat: 12g (7g saturated) – Thank you, butter, for making life delicious
- Carbs: 55g – With 4g fiber from the apples and oats
- Sugar: 35g – Mostly natural from the apples and brown sugar
- Protein: 3g – Those oats pull through!
- Sodium: 100mg – Just from that pinch of salt
A few notes: Using different apples? Sweeter varieties like Fuji will bump up the sugar. Swap nuts into the topping? Add about 20 extra calories per serving but get healthy fats. And that vanilla ice cream? A standard 1/2 cup scoop adds roughly 150 calories – but oh, is it worth it!
Remember, nutrition info varies based on exact measurements and ingredients. I use an online calculator with my specific brands, but your favorite butter or brown sugar might differ slightly. The main thing? This is dessert – meant to be enjoyed! Everything in moderation, including moderation, as my grandma used to say.
FAQs About Classic Apple Crisp with Oat Crumble and Vanilla Ice Cream
Over the years, I’ve gotten so many great questions about this recipe – here are the ones that come up most often, along with all my hard-earned tips!
What are the best apples for apple crisp?
I swear by tart Granny Smith apples – their firm texture holds up beautifully during baking and their tanginess balances the sweet topping perfectly. Honeycrisp and Braeburn are fantastic too if you prefer slightly sweeter apples. Avoid super-soft varieties like Red Delicious – they turn to mush! My grandma always mixed two types – half tart, half sweet – for the most complex flavor.
Can I make apple crisp ahead of time?
Absolutely! You’ve got two great options: 1) Assemble the crisp (without baking) up to a day ahead, cover tightly, and refrigerate – just add 5-10 minutes to the baking time since it’s cold. 2) Bake it completely, then reheat when needed (it’ll keep at room temp for 2 days or freeze for months). The topping loses a bit of crispness, but the flavors actually deepen – some say it’s even better!
How can I make this gluten-free?
Easy swap! Use certified gluten-free oats and replace the all-purpose flour with either almond flour (for richer flavor) or a gluten-free flour blend. The texture changes slightly – almond flour makes it crumblier while blends keep it closer to original. Just be sure all your other ingredients are GF too (some oats are processed in facilities with wheat).
Why is my topping soggy?
Usually two culprits: 1) Butter wasn’t cold enough when mixing (warm butter melts too fast), or 2) The crisp didn’t rest after baking – those 10 minutes let steam escape so the topping crisps up. If it happens, pop it under the broiler for 1-2 minutes to re-crisp (watch closely!). Also, make sure your baking dish isn’t overcrowded – apples need space to bubble without steaming the topping.
Can I use frozen apples?
You can, but thaw and drain them first – frozen apples release way more liquid. I’ll often toss thawed apples with 1 extra tablespoon of flour to absorb excess moisture. Texture won’t be quite as firm as fresh, but still delicious in a pinch! Frozen berries mixed in work great though – no need to thaw those first.
Got more questions? Just ask in the comments – I’m happy to share everything I’ve learned from decades of crisp-making (and eating)!

Irresistible Classic Apple Crisp with Oat Crumble in 30 Minutes
- Total Time: 55 minutes
- Yield: 6 servings
- Diet: Vegetarian
Description
A comforting dessert combining tender baked apples with a crispy oat topping, served warm with vanilla ice cream.
Ingredients
- 6 cups peeled and sliced apples
- 1 tbsp lemon juice
- 1/2 cup granulated sugar
- 1 tsp ground cinnamon
- 1/4 tsp ground nutmeg
- 1 cup rolled oats
- 1/2 cup all-purpose flour
- 1/2 cup packed brown sugar
- 1/4 tsp salt
- 1/2 cup cold unsalted butter, cubed
- Vanilla ice cream for serving
Instructions
- Preheat oven to 375°F (190°C).
- Toss apples with lemon juice, granulated sugar, cinnamon, and nutmeg in a bowl.
- Spread apple mixture in a greased 9-inch baking dish.
- Combine oats, flour, brown sugar, and salt in another bowl.
- Cut in butter until the mixture resembles coarse crumbs.
- Sprinkle the crumb mixture evenly over the apples.
- Bake for 35-40 minutes until topping is golden and apples are tender.
- Serve warm with vanilla ice cream.
Notes
- Use firm apples like Granny Smith or Honeycrisp for best texture.
- The crisp can be stored covered at room temperature for up to 2 days.
- For extra crunch, add 1/4 cup chopped nuts to the topping.
- Prep Time: 15 minutes
- Cook Time: 40 minutes
- Category: Dessert
- Method: Baked
- Cuisine: American